You can find out about all the other changes for this development iteration by reviewing the milestone on Github.
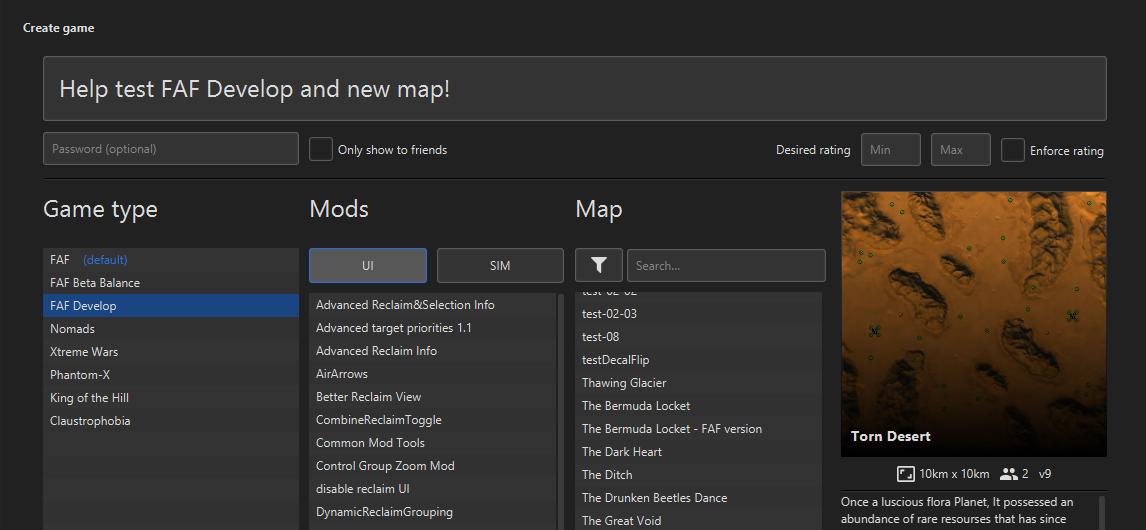
# Game version 3751 (25th of February, 2022)
In this first development update of 2023, we introduce three month's work of bugfixes, quality of life changes, and assorted improvements. It is, by far, the most exciting patch we've released so far. While the full changes are detailed below, a quick summary of those changes we think you'll find most important:
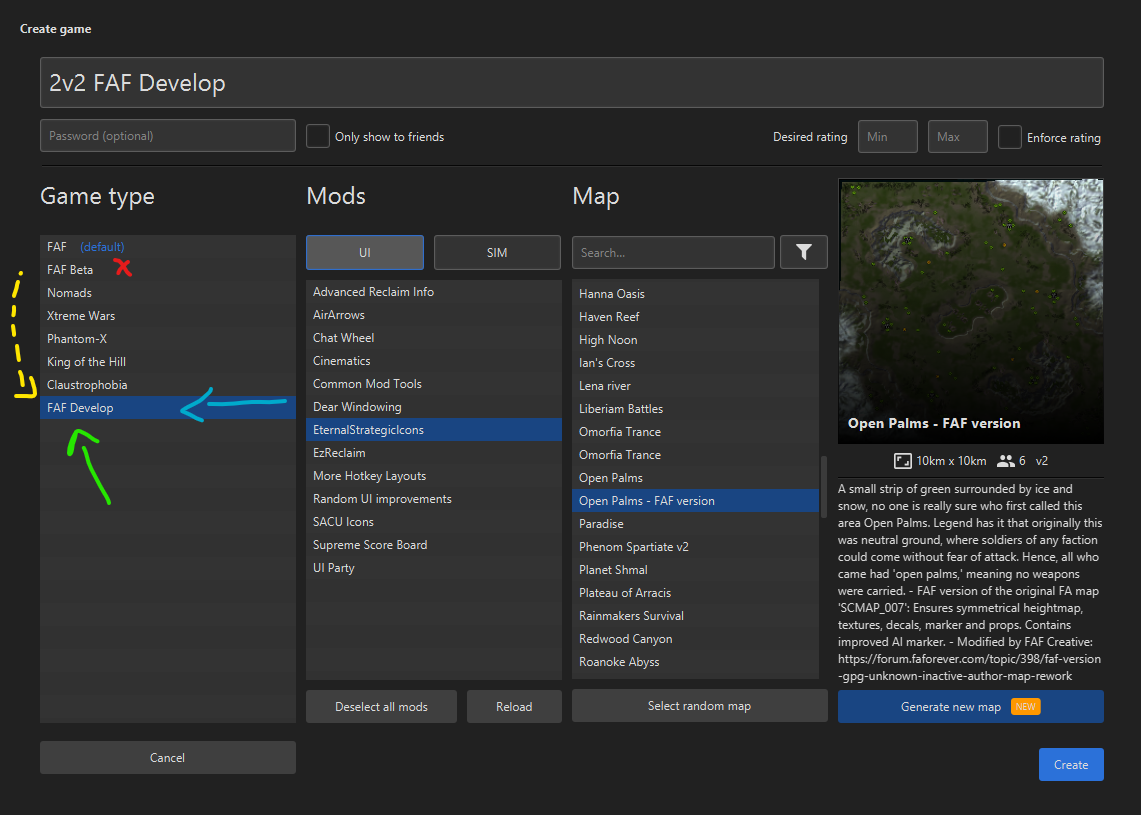
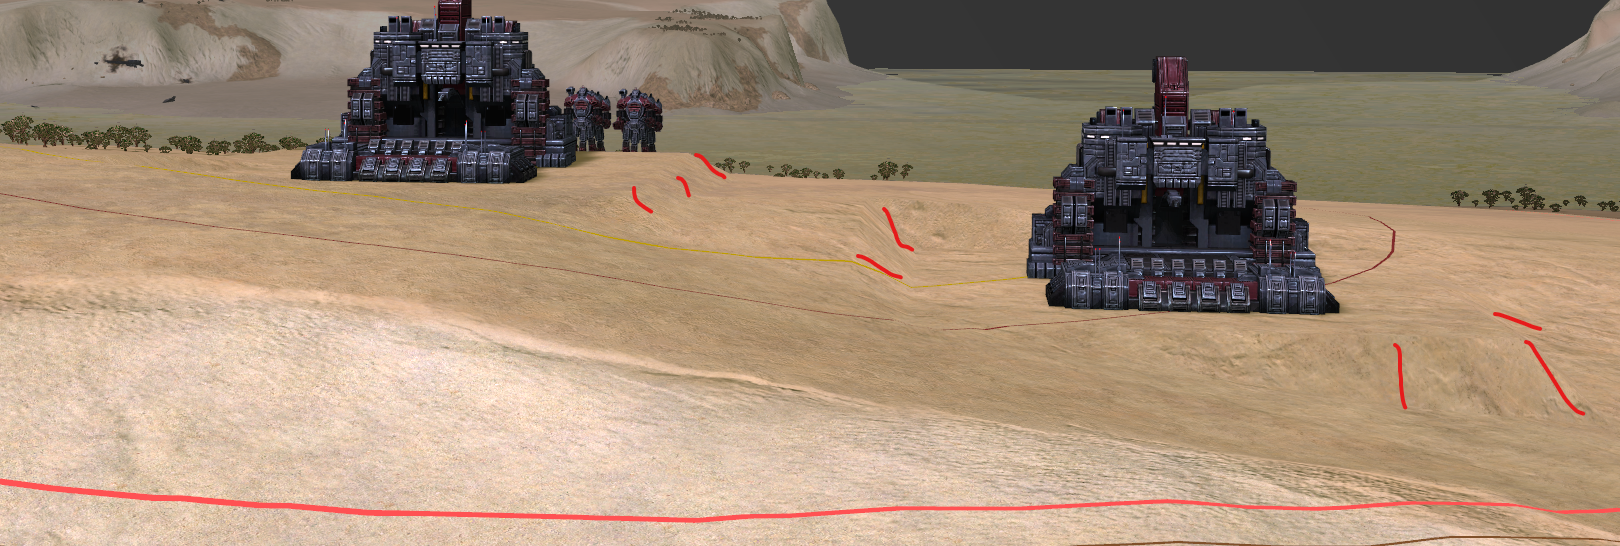
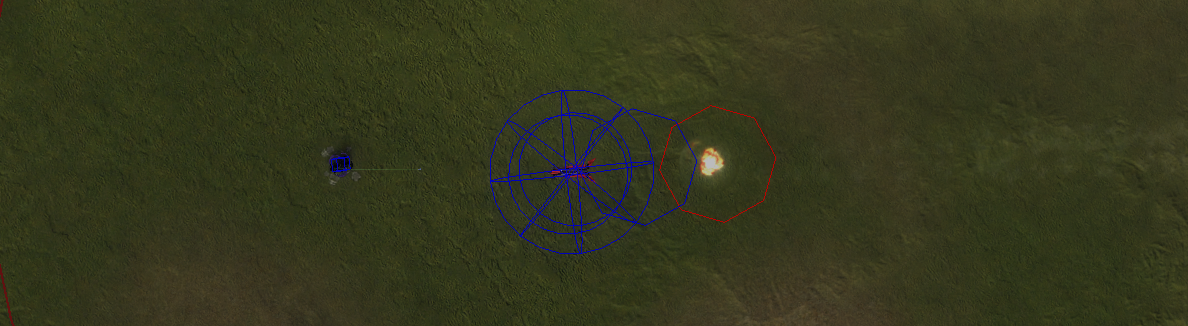
- We've changed how structures interact with the terrain. Previously, structures built on uneven ground could create terrain deformations. On some maps, this resulted in changes to the terrain that prevented the player from placing neighboring structures and created pathing issues for units. With this update, buildings deform the terrain less and may be placed at a slight angle.
- We've introduced a new series of hotkeys that will make it easier to select and micromanage your units.
- The process of managing your mex upgrades will now be easier than ever thanks to several small features. You can now choose to have mexes automatically queue an upgrade and (un)pause extractors when you order engineers to assist them.
- Several smaller quality of life changes have been made to existing features, such as no more empty reclaim orders and preventing ground attack orders from snapping to props or units. You can read more about all these changes in the 'Features' section.
In future updates, we'll be shifting our focus to improving the AI we ship with FAF. So far, we've been working on a navigational mesh that can help the AI understand any map you throw at it. The task ahead is to extend this with additional features to help the AI understand specifics about a map. You can read what we've achieved this patch in the 'AI' and 'Navigational mesh' sections.
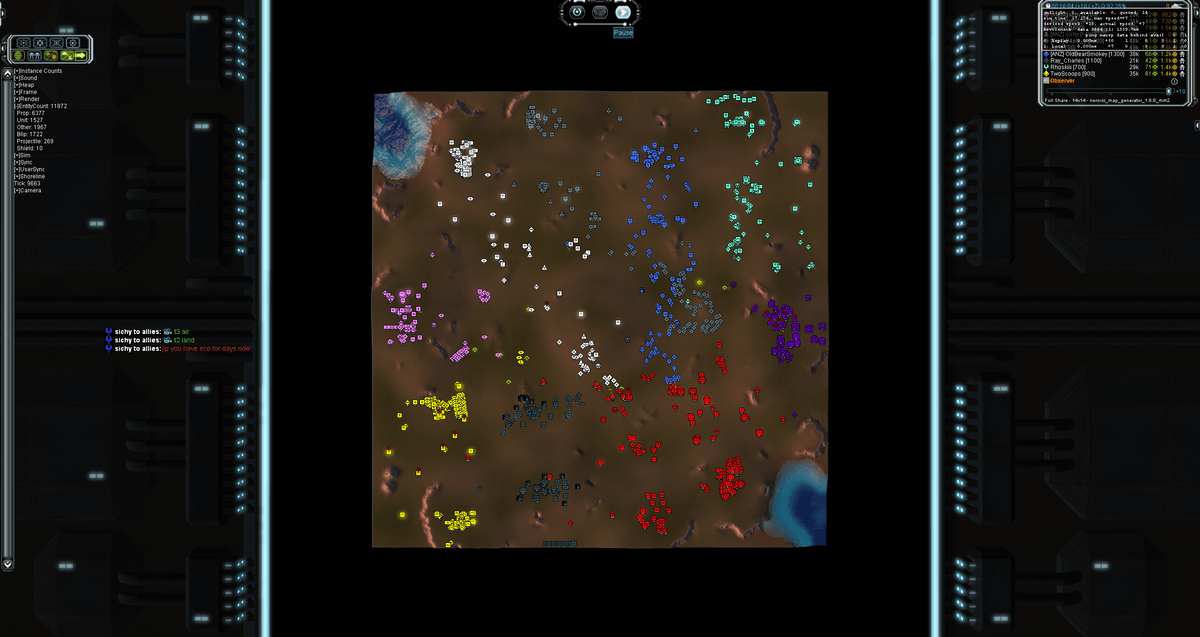
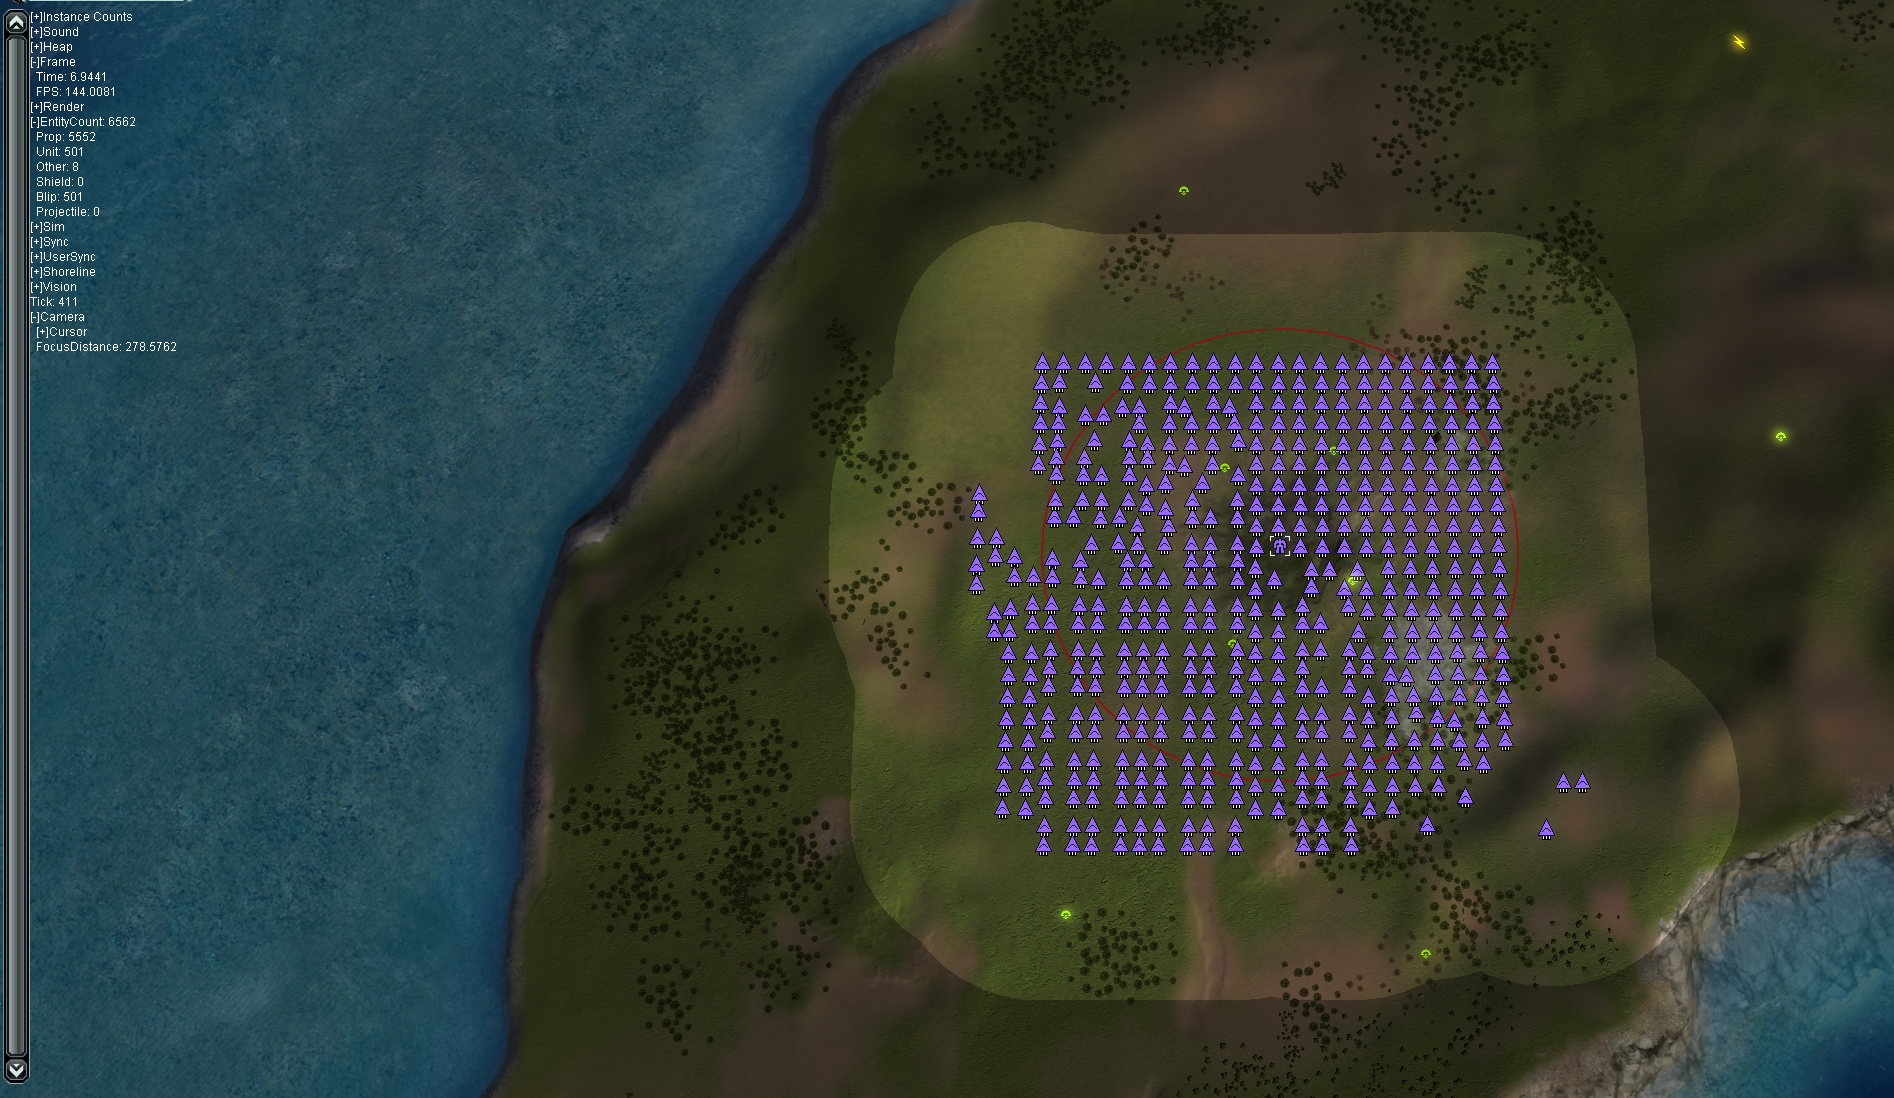
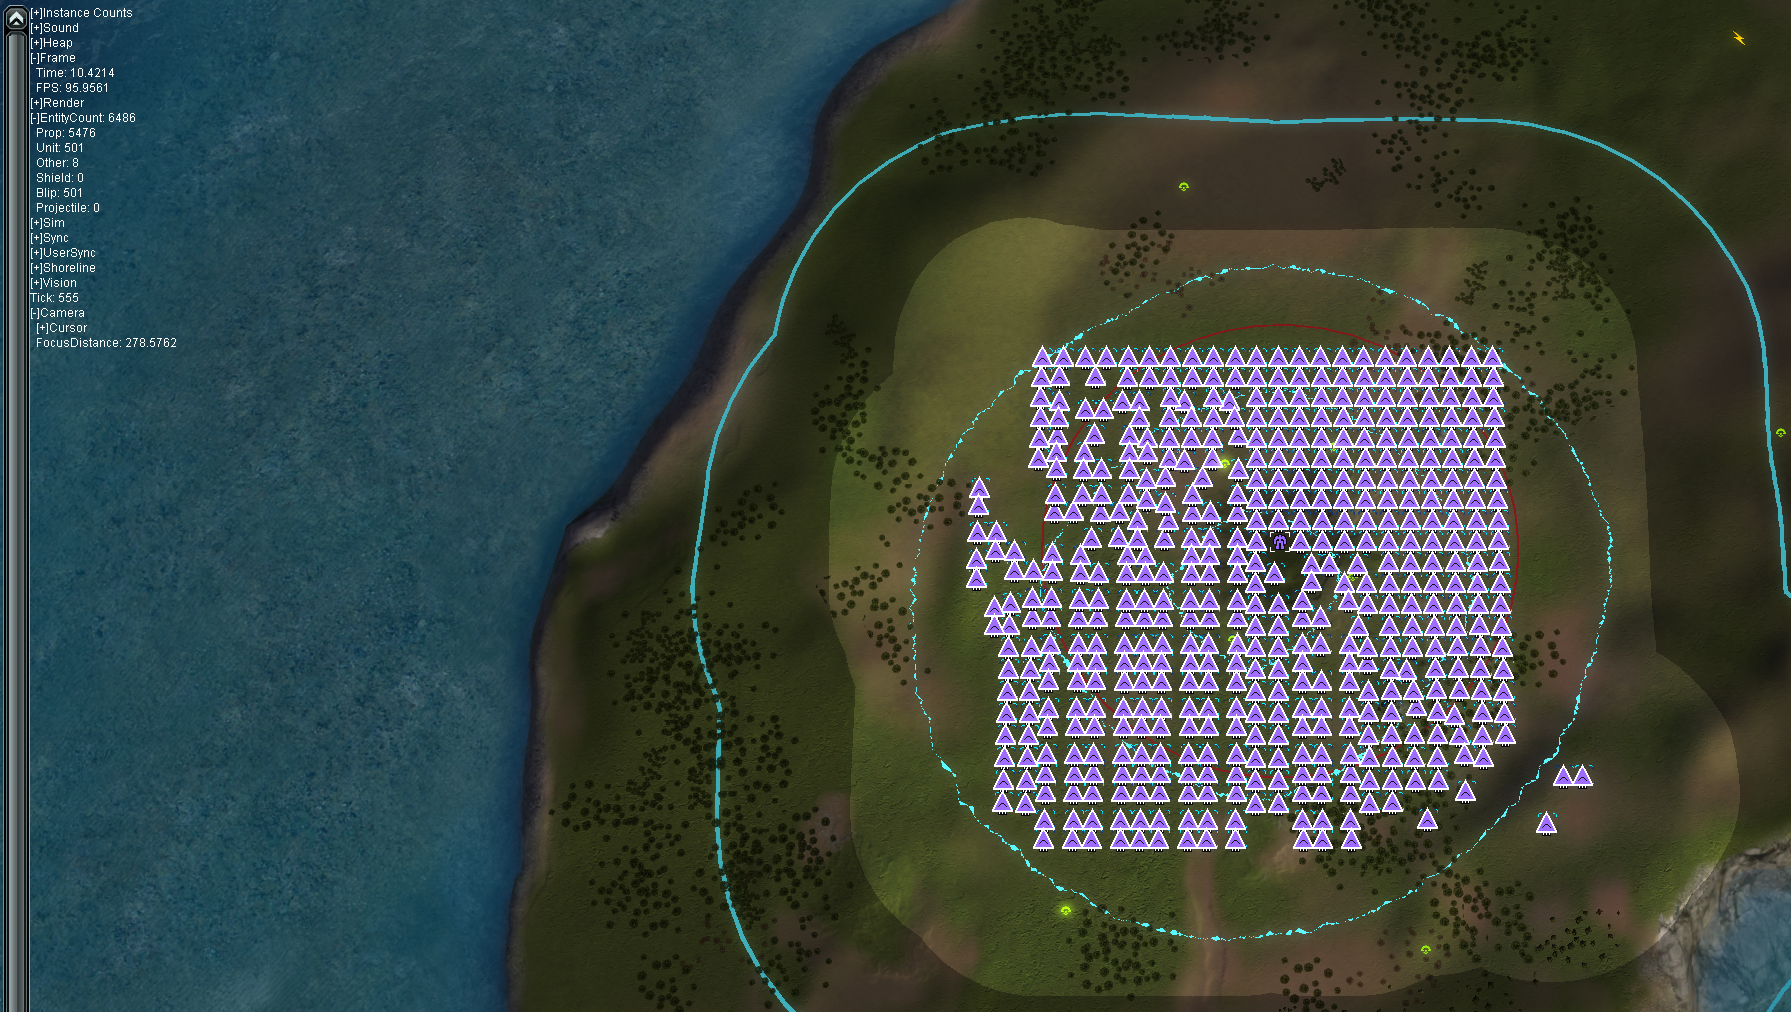
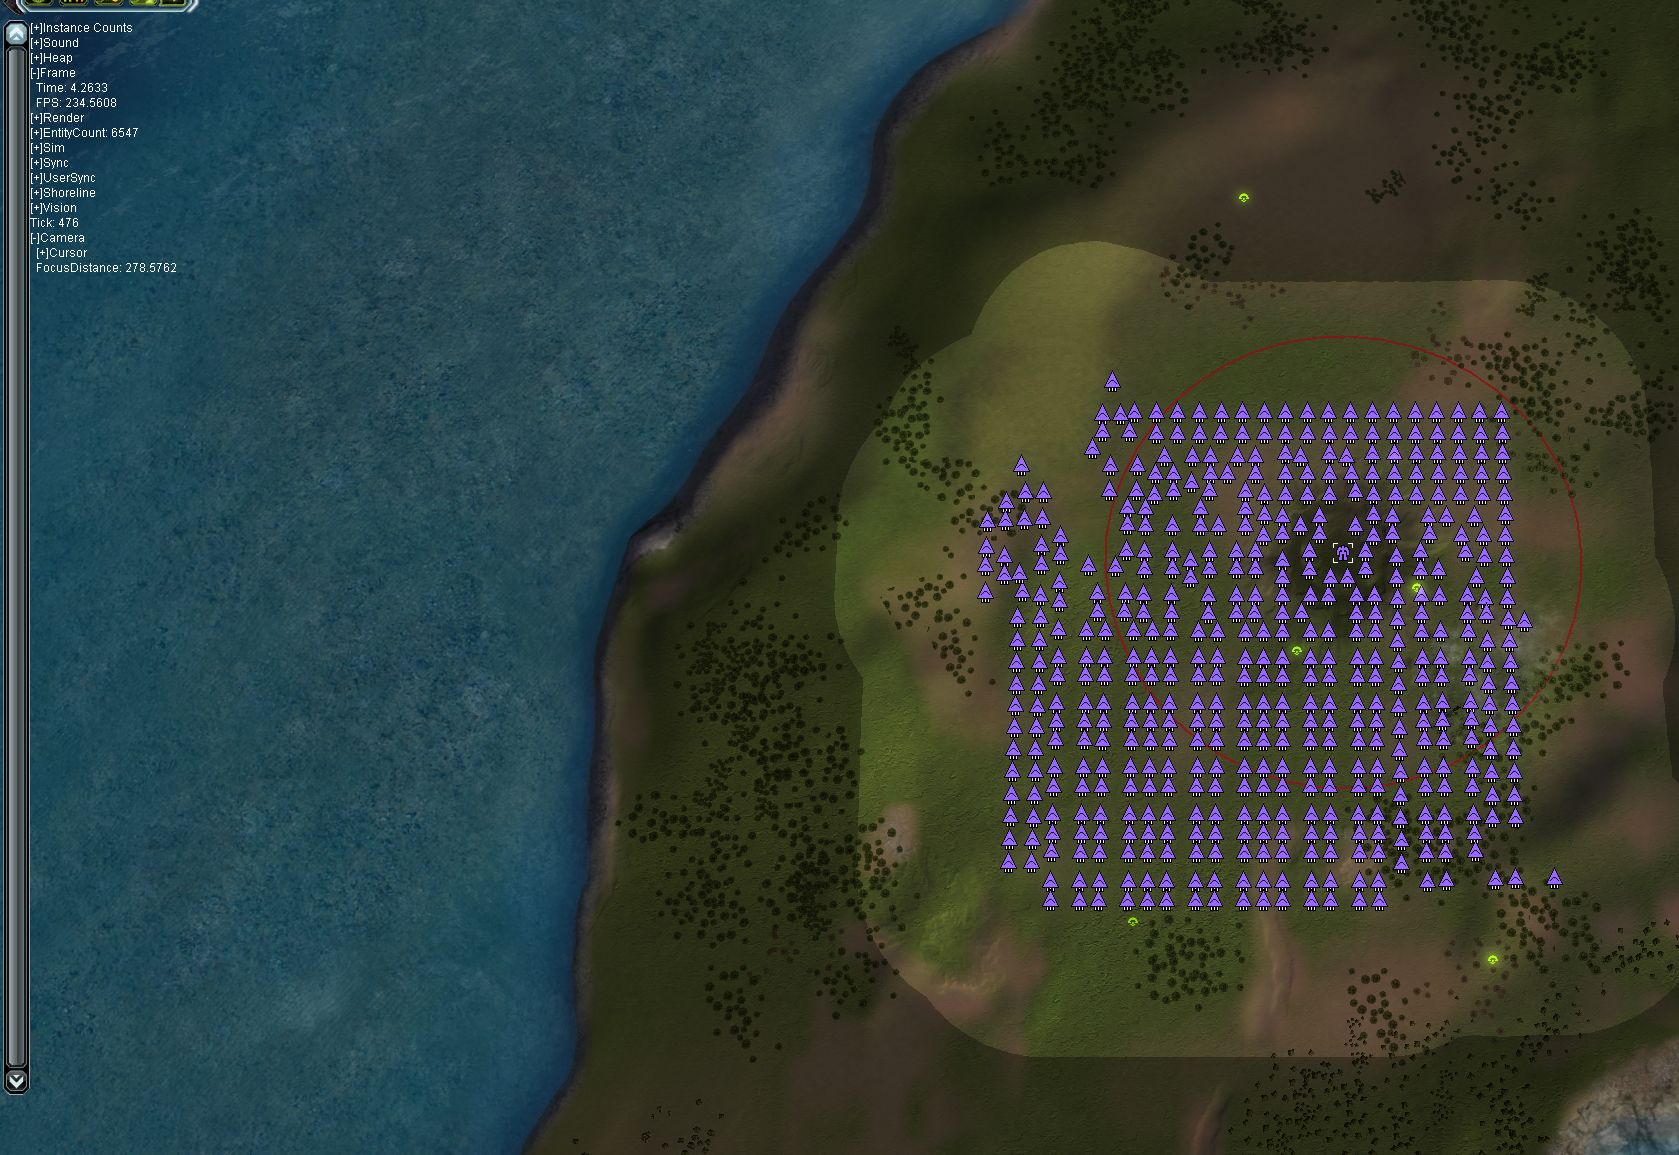
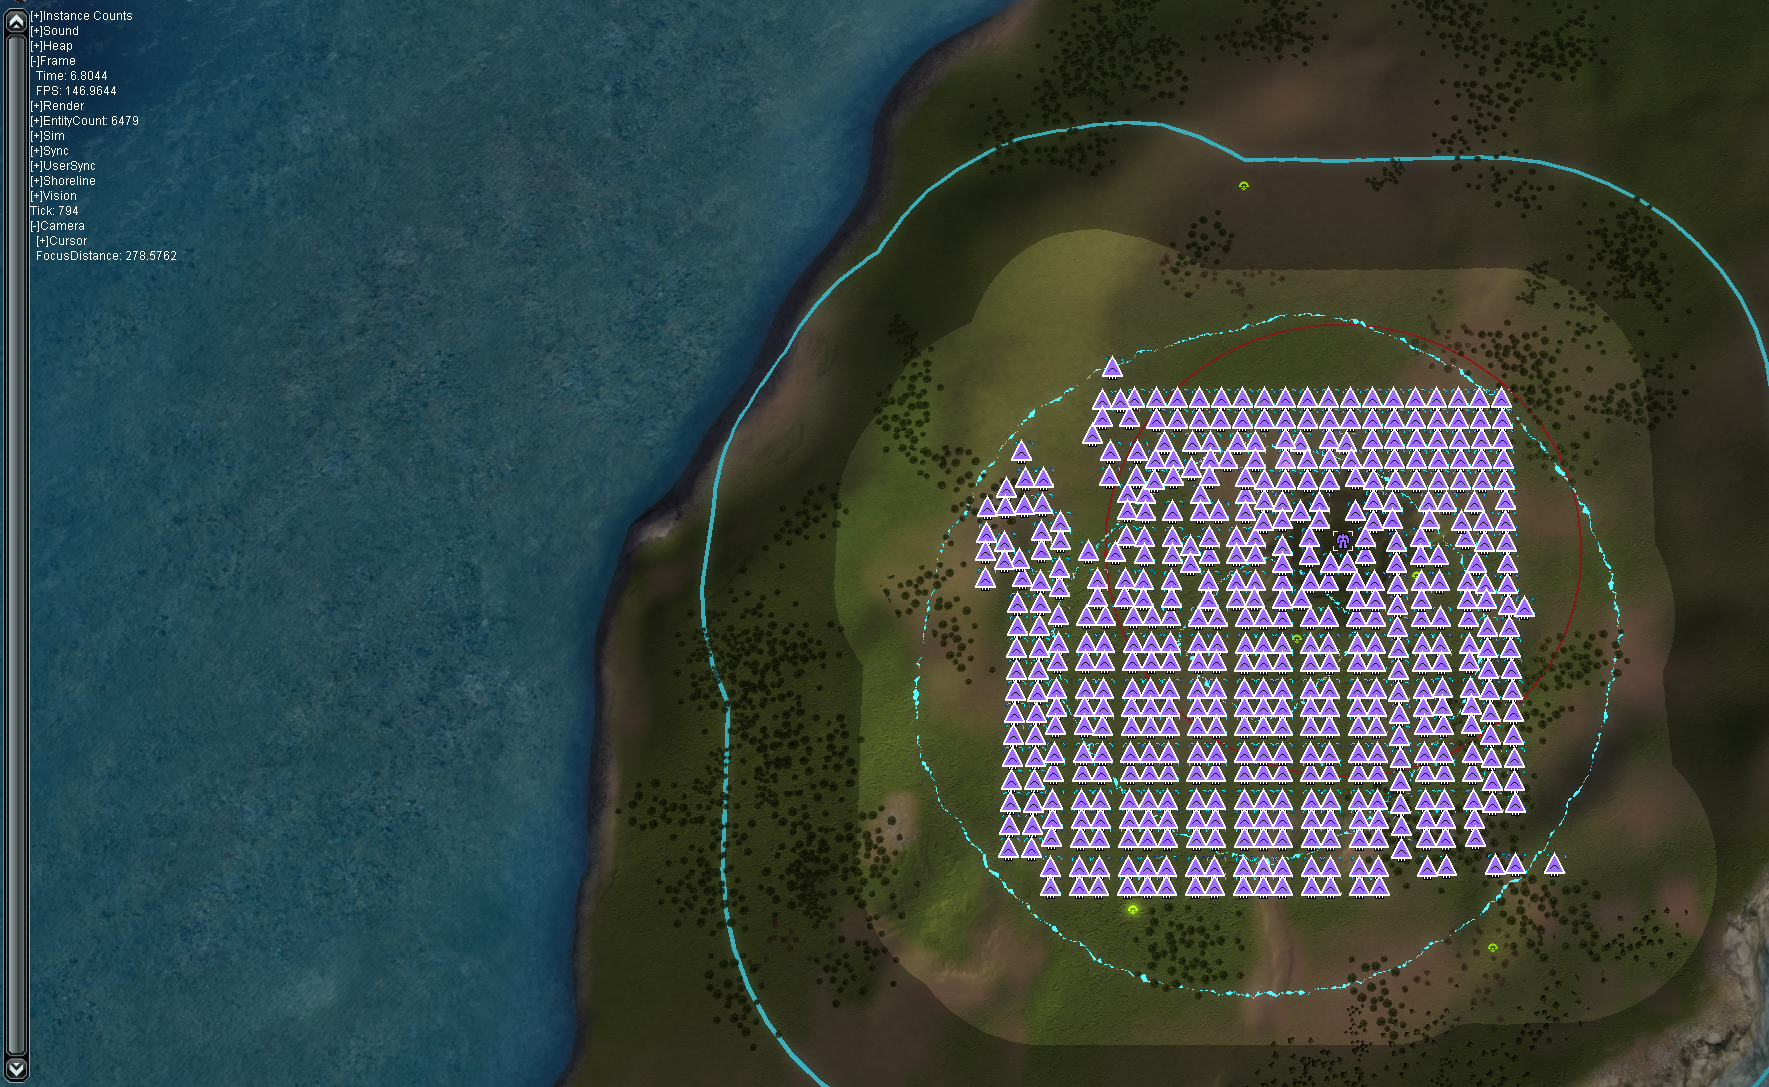
And last, but certainly not least: this patch contains the largest performance improvement to date; the game is on average 10% to 20% faster in comparison to the last developers patch! This is exciting because with this patch the average game no longer slows down. We've been running tests and a CPU as cheap as a Ryzen 3600 can now run up to 6000 units without slowing down. We find this is extremely exciting: the game is nearing the point where you can just enjoy playing the originally intended experience in real-time!
With appreciation towards all the contributors that made this patch possible,
Jip
## Features
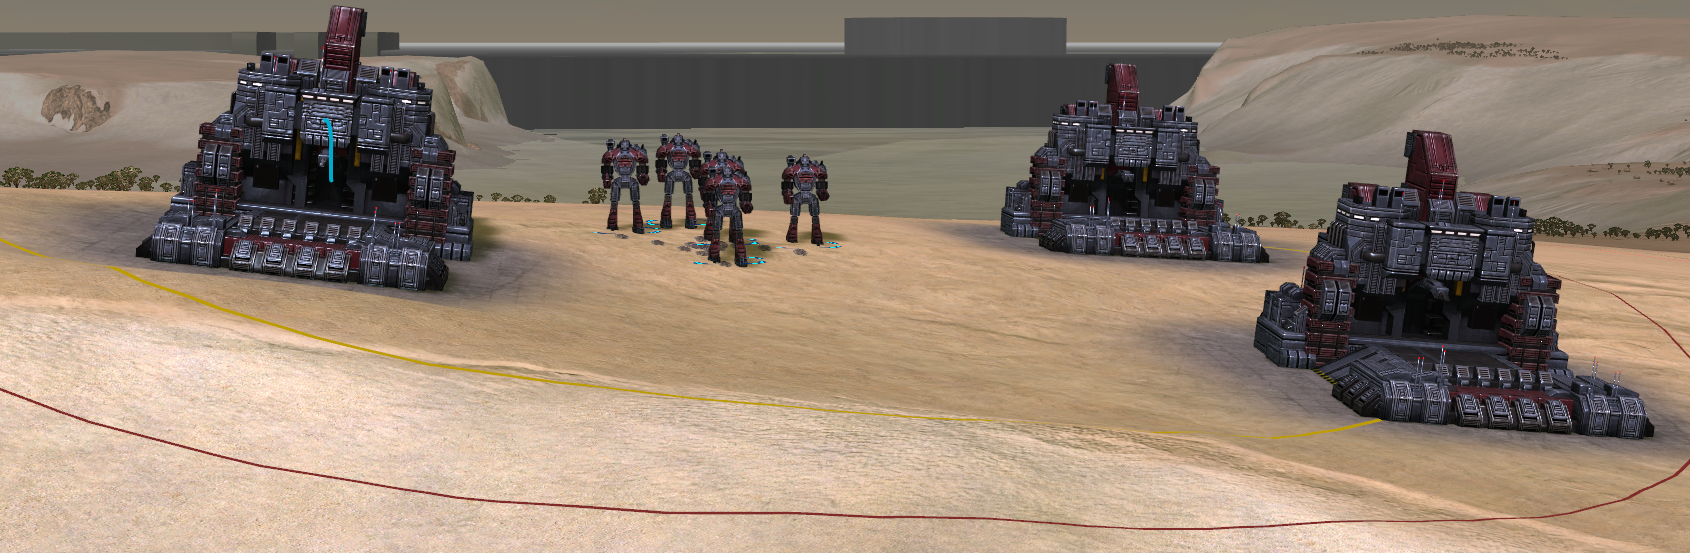
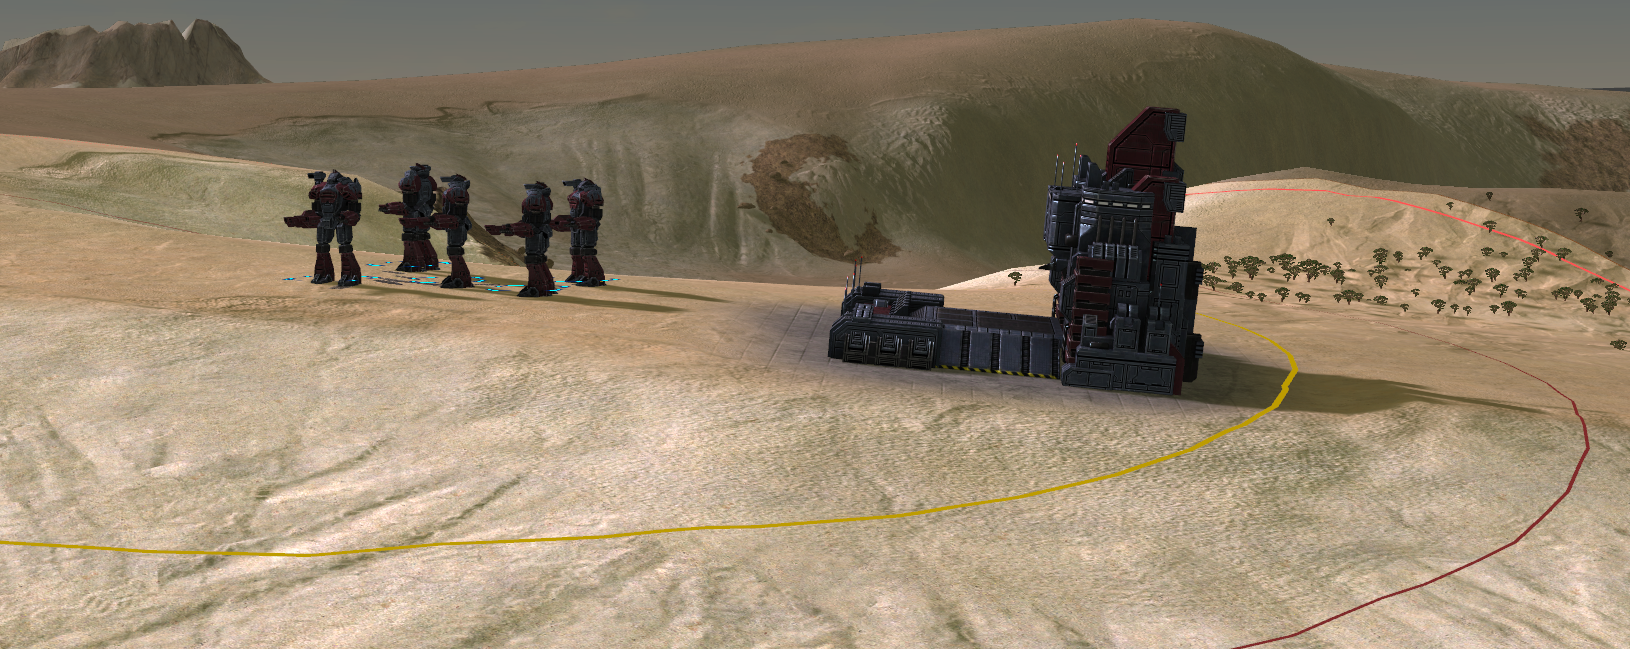
- (#4584, #4607, #4615, #4636, #4714, #4724) Improve terrain structure interactions
Instead of flattening the ground below structures, they now slightly tilt to reduce terrain deformation.
- (#4474) Ground attack now ignores all props/units
You can now assign a ground attack exactly where you clicked without it accidentally snapping to props or units
- (3e34599) Prevent being able to issue 'empty' reclaim orders
It is now impossible to create a reclaim order with no prop or unit attached to it
- (#4474) Move command mode no longer creates patrol orders by accident
When you specifically issue move commands using the hotkey (usually 'm') or by clicking on the move command button it now ignores the 'convert to patrol' functionality
- (3e34599) Remove the use of CTRL to issue commands with formations
When you hold control units first move towards each other and create a formation before they would go to where you told them to. This is a hidden feature of the engine and often players were not aware. We patched this out because often people use the same key for hotkeys, after which players (usually accidentally) would issue a formation order instead of a regular move or attack move order
- (#4510) Add a game option to set the zoom threshold at which reclaim values are grouped together in the reclaim-overlay
- (#4586) Add game option to tweak the camera shake multiplier
When set to zero it will entirely remove shaking from the game. Additionally, the default shake multiplier is now set to 0.5 (instead of 1.0)
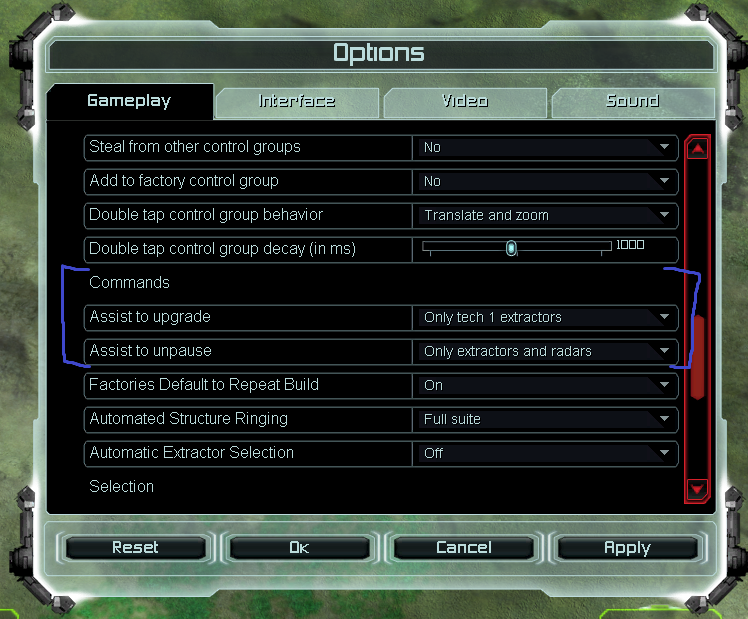
- (#4577) Add game option to upgrade and pause tech 1 extractors when you issue an assist order
A small quality of life feature that reduces the use of a few hotkeys
- (#4577, #4620) Add game option to unpause tech 1 extractors as engineers start assisting
A small quality of life feature that reduces the need to check up on your extractors
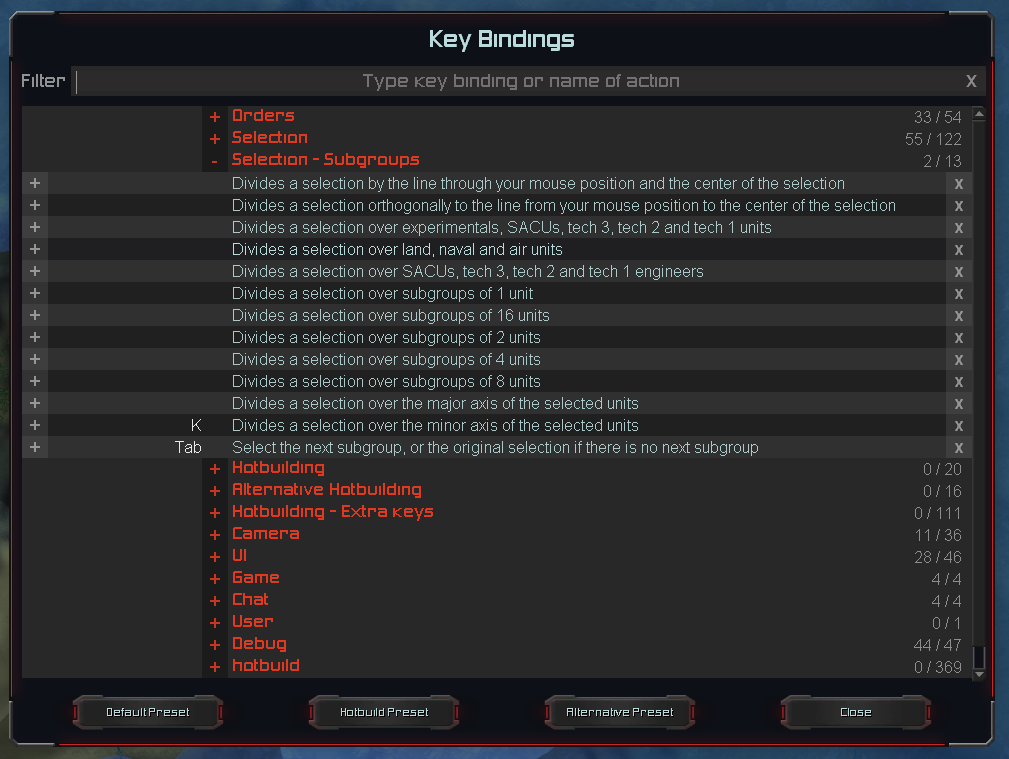
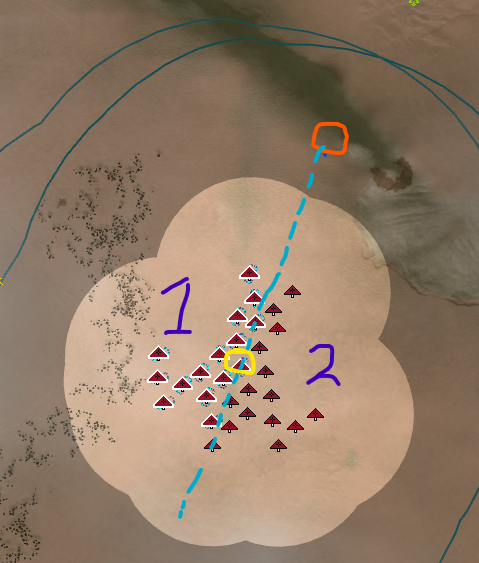
- (#4587) Add hotkeys to divide your current selection into subgroups
There is a separate hotkey to tab through the subgroups. This feature significantly improves your ability to manage and micro larger chunks of units
As a few examples of divisions:
- Divide your selection by tech level
- Divide your selection into groups of 5
- Divide your selection over those nearest and furthest from your mouse location
- Divide your selection into two equally sized groups
For UI mod authors: the changes introduces a framework that allows you to define additional ways to split a selection into subgroups.
- (#4626) Allow mass storages to be built underwater
- (#4490) Add mission briefings to the lobby for all campaigns that ship with Supreme Commander
When you are in a co-op lobby the patch notes button is replaced with a briefings button. There you can see the briefing of a map. Only original campaign maps support this feature at the moment.
- (#4689, #4690, #4691) Add hotkey that resembles the 'hard move' functionality introduced by Strogo
For those unware: it allows you to continiously issue move orders without queueing them and without accidentally converting them to patrol orders. This is particularly useful for ASF battles
- (#4095) Adds a partial share game option
An alternative variant of full share. While structures and engineers are transferred, all other mobile units are lost.
- (#4463) Add a new key binding to select naval units, excluding sonar structures
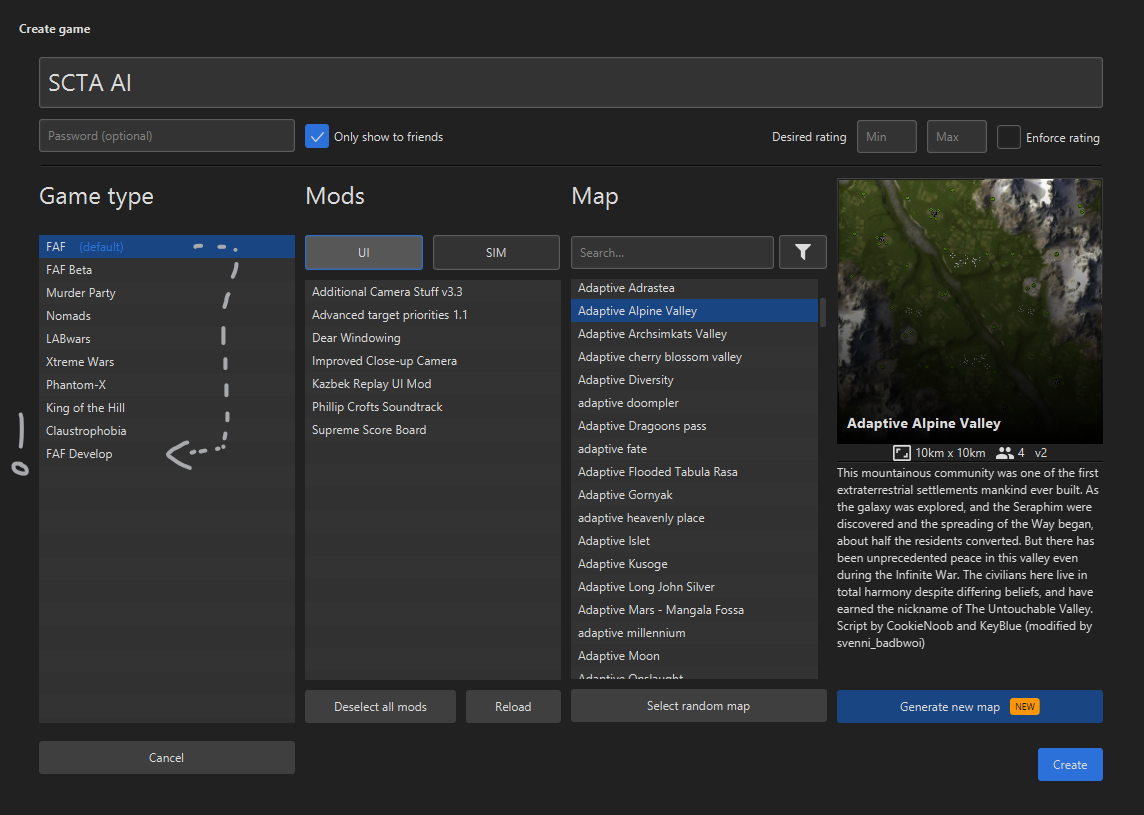
## AI
This update adresses several long-standing issues that affected the custom AI that FAF introduces. Further developments and improvements of the AI will remain our focus in future updates.
Additionally, we would like to remind people that there are various mods that provide different AI experiences. We can highly recommend you to download them from the vault and give them a spin too.
A short list of AIs we recommend at this point:
- M27: made by Maudlin
- RNGAI, as made by Relent0r
- Sorian Edit, as made by Marlo
- Uveso AI, as made by Uveso
- Dilli Dally, as made by Softles
- Swarm AI, as made by Azraeel
And not to forget the AI that ships with the Total Annihilation mod that is maintained by Dragun.
- (#4413, #4419, #4450) Tunes the economic assesments of the AI.
Throughout the game the AI constantly tries to balance his decisions and those decisions depend on various conditions. These conditions can be tweaked and that is exactly what we did here.
- (#4445, #4447, #4455, #4462, #4461, #4460, #4454, #4475, #4505)
General tuning and bug fixing of the AIs. This involves all sorts of improvements, such as fixing a bug causing the AI to hoard units in their base and improving their use of naval units.
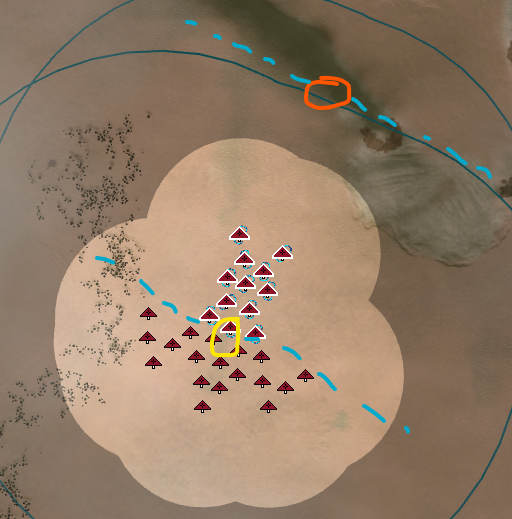
- (#4386) Separately keep track of radar structures for AIs
These are interesting and often vulnerable targets for the AI. By keeping track of them separately it can interact with them more easily.
Better guard those radars from now on!
- (#4412) Add logic to prevent prematurely disbanding a platoon
A platoon is a group of units that is acting according to some logic that describes the behavior of the platoon. When a platoon disbands it returns to base to receive a new order. We fixed platoons disbanding too soon due to a bug.
- (#4682) AI has been upgraded to make better use of experimentals.
- (#4436, #4450) Improve consistency of builders used by the AI
A builder is not an engineer, but a set of conditions that the AI uses to determine what to build. These conditions depend on the status of the AI (do I need additional factories given my income?) and the status of the enemy (should I produce more interceptors?)
These are tweakable and that is what we did here.
- (#4525) Allow AIx multipliers that are lower than 1.0
Some people asked for this feature and here it is - for new players you can lower the multiplier to below 1.0
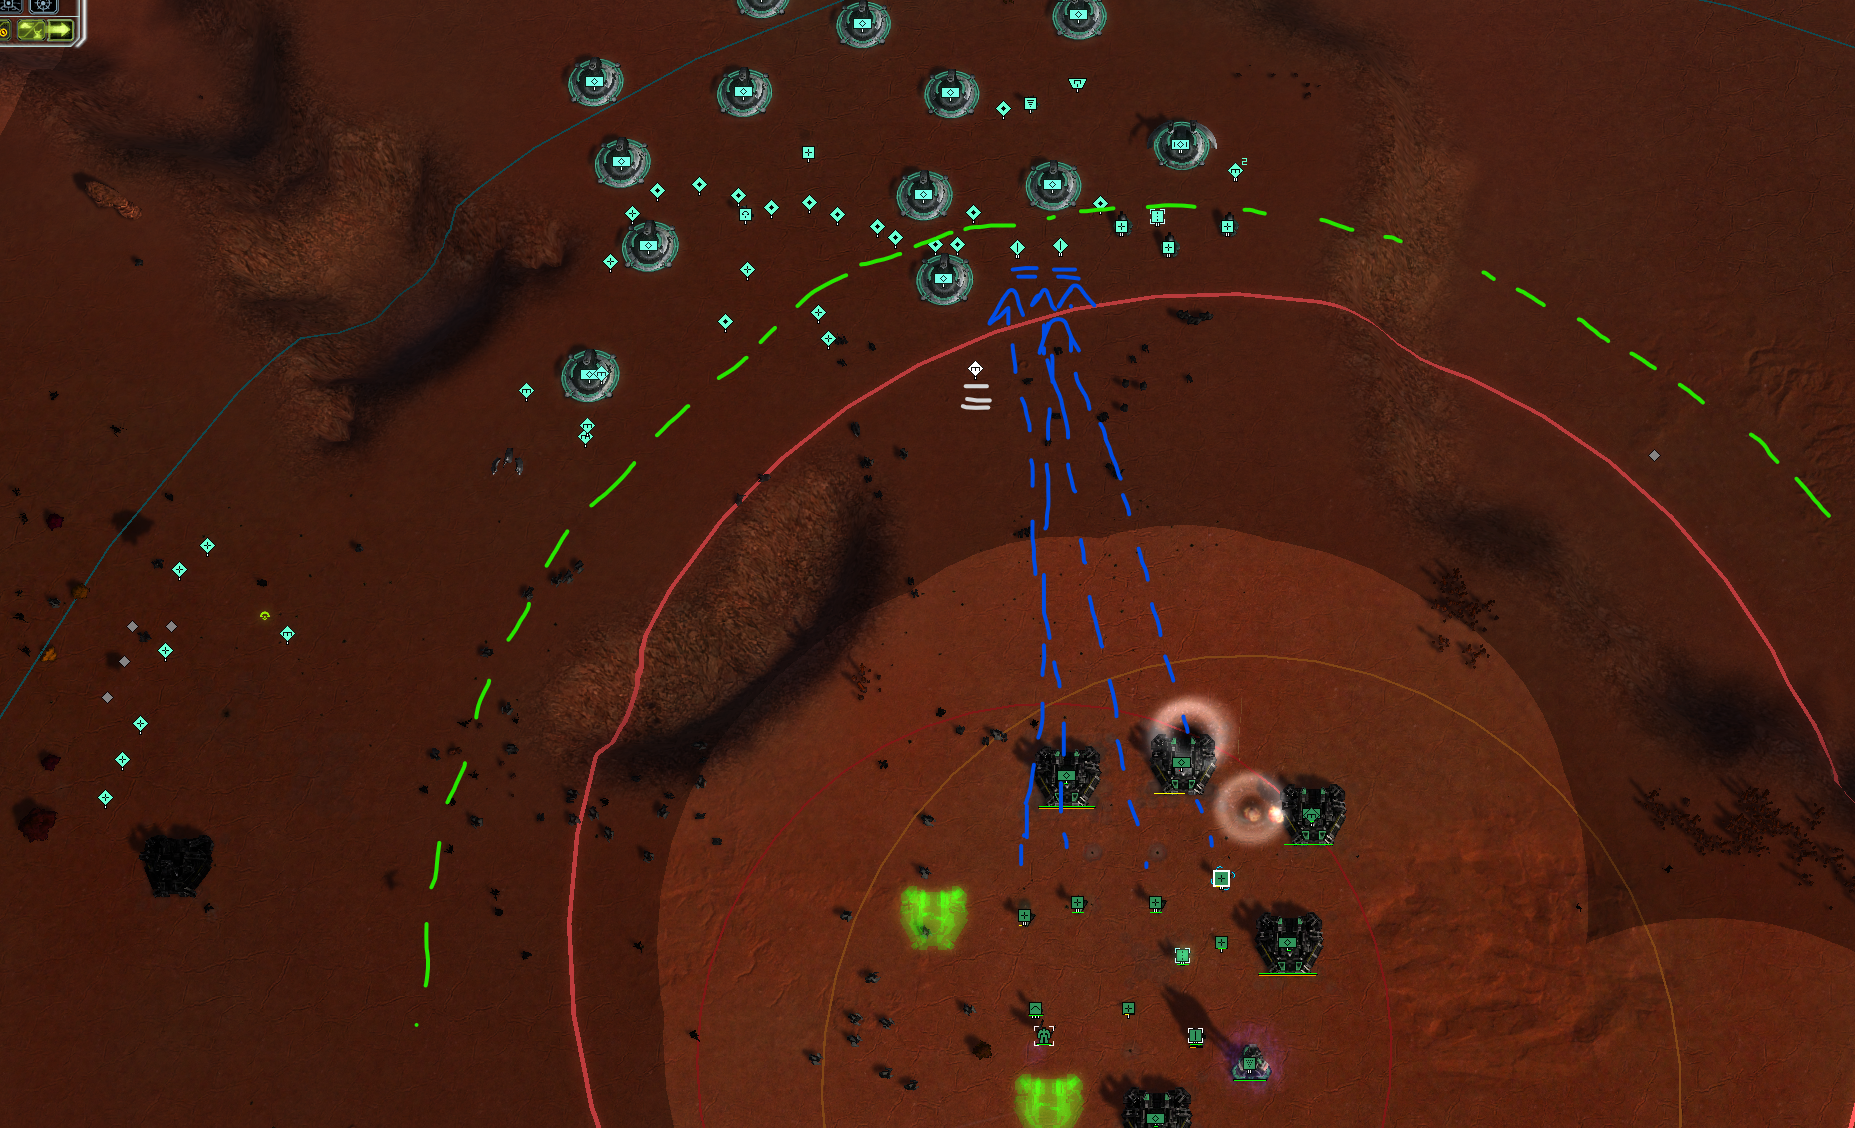
## Navigational mesh
The navigational mesh is an abstract representation of a map. The AI can use that representation to gain an understanding of what the map 'looks like'. The navigational mesh is generated at the start of the map and works on any map.
We're looking for people with an interest in computer science to add features to add many other functions that allow the AI to understand. One example of such a feature is the ability to generate expansions markers: points of interest for the AI when it would like to build an expansion. And we'd like to add so much more so much more so that an AI can understand and properly play on any map. The navigational mesh is only use by the AI and only runs when there are AIs in-game.
- (#4432) Add label utilities
Allows the AI to understand the value of an area, such as a plateau.
- (#4485, #4495) Only load in the navigational mesh as requested
Entirely skip the generation of the navigational mesh when it is not used. This prevents allocation a few megabytes to store the navigational mesh in memory
- (#4555, #4559, #4561) Improve retrieval of (nearest) leaf for path finding
This is an improvement to a macro feature (what is the general path from A to B?) and not a micro feature (how should I move this unit?). It is now more consistent, such that if a unit is remotely able to navigate to some place it will always have a label assigned to it.
- (#4569) Add generation of expansion markers
These markers are generated for each map. The AI can now identify sane expansion locations on any map
## Bug fixes
- (#4483, #4482, #4496, #4499, #4508, #4519, #4546, #4550, #4580, #4599, #4600, #4605, #4606, #4608, #4631, #4638, #4668, #4669, #4671, #4667, #4672, #4678, #4683, #4692, #4727)
General bug fixes that are too small to mention. These are usually introduced during the development environment and caught during testing.
- (#4438) Fix Seraphim torpedo bomber being able to apply damage twice
- (#4453) Fix the marker manager being unable to detect spawn markers
- (#4481) Fix UI scaling of lobby messages
- (#4488) Fix UI scaling of lobby map preview tooltips
- (#4500) Fix and improve option keys
- (#4588) Fix the charge icon of the loyalist
- (#4593) Fix the Lighting Tank being unable to fire at targets on water
- (#4617) Fix a bug where the construction menu would consistently reset
- (#4622) Fix wrong LODs for Cybran shields
- (#4623) Fix removing restrictions breaking the HQ system
This was most notable during co-op
- (#4634) Fix the charge animation of the Emissary
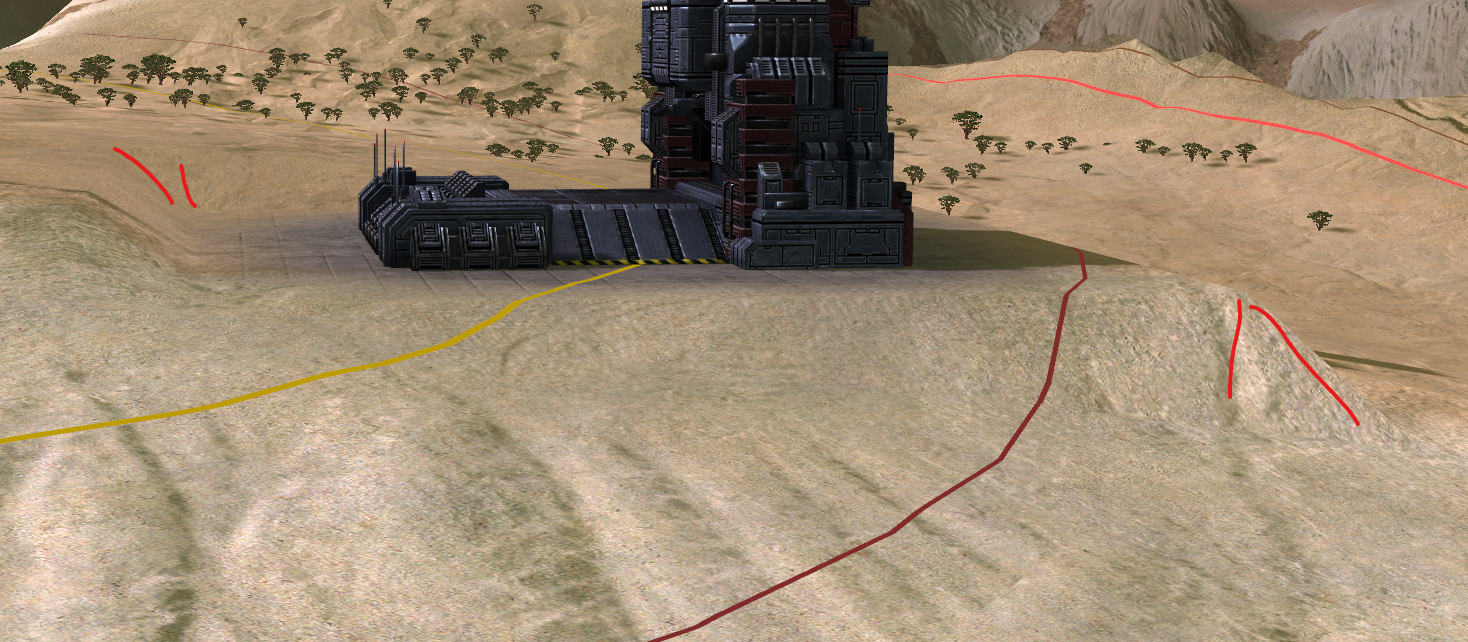
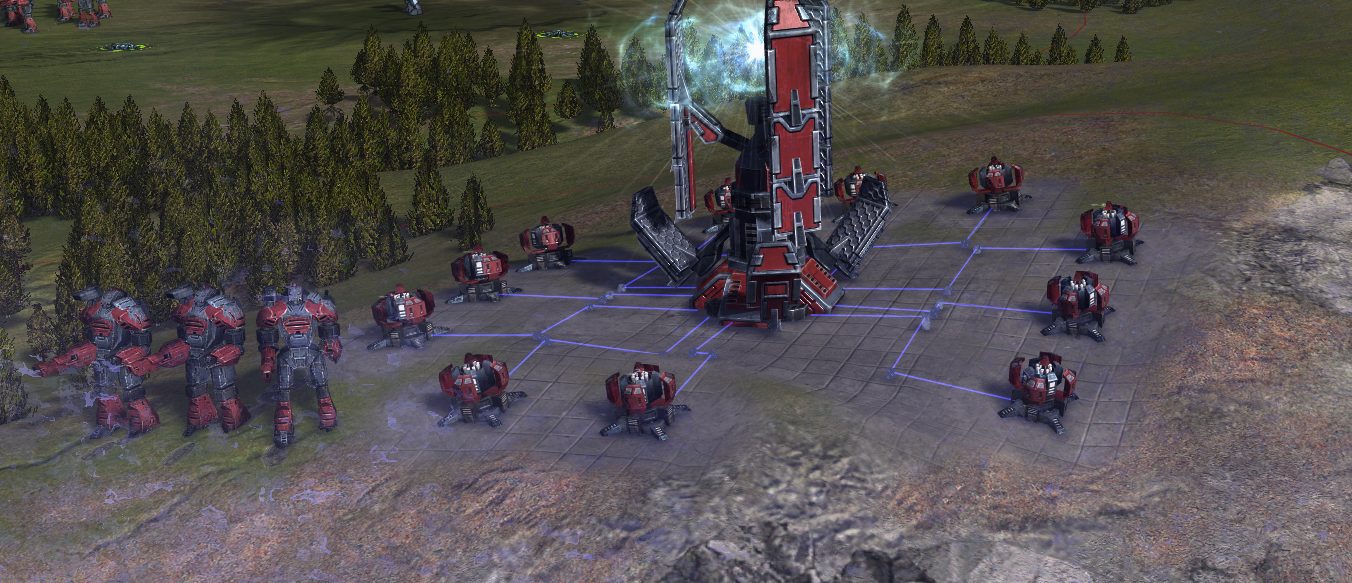
- (#4635, #4639) Fix the direction of adjacency beams for factories
- (#4633) Fix various units being refracted when rendered in front of water
- (#4697) Fix a bug where neutral armies could view the entire map
- (#4699, #4715) Fix the jumping and rotating of units as they start being built
- (#4694) Fix offset of LOD1 of the CZAR
- (#4716) Fix a bug with the creation of templates with 1x1 or 3x3 structures
The old method of creating templates would create gaps, the new implementation allows you to make proper templates with any structure size
- (#4725) Fix a bug where tech 2 and tech 3 Aeon engineers can not move backwards
- (#4726) Fix a bug where damage indicators linger on and remain visible
- (#4730) Fix a bug where using recall could make your ACU immune to damage
- (55ddea) Fix a bug where pausing a unit would also stop updating the work progression
Often noticeable when assisting paused structures
## Performance
We've been consistently improving the performance of the game by re-implementing features and in general by reducing the overhead of functionality. This section may not be as interesting for the average reader, but we add it anyway as good performance is an important aspect of the general user experience.
- (#4399) Improve performance of the heap data structure by 60%
The heap data structure is used during path finding for AIs
- (#4417) Reduce run-time parsing of categories for AIs
Replaces all string literals with their respective categories
- (#4376) Reduce overhead of the objective arrow
Reduces memory usage of certain aspects of co-op missions
- (#4421) Lower case all imports of build conditions
These are imported during run-time as they are processed, by having them as lower case characters we prevent a string operation to turn them into lower case characters during run time
- (#4150, #4444, #4489, #4512, #4512, #4557, #4680, #4681)
Remove fields on instance tables to reduce memory usage. In Lua the hash part of tables grow by factors of two. It can be quite beneficial to refactor the code to remove a few fields as it can prevent the average unit to hit the threshold. As an example:
- (1) A unit with 33 fields in its instance table will have space for up to 63 fields
- (2) A unit with 30 fields in its instance table will have space for up to 31 fields
Where the table occupies 64 * 20 = 1280 bytes in the first example and only 32 * 20 = 640 bytes in the second example.
- (#4426, #4483, #4503) Separate AI and player logic
AI initialisation is now only performed when there is an AI in the game. For a game with no AIs these procedures are skipped which saves several dozens of megabytes worth of memory
- (#4451) Reduce overhead of passing regeneration values to UI
These values are no longer passed via the sync, but attached to the state of the unit instead
- (#4466, #4492, #4597, 3e34599, 9c9dda3) Reduce traffic between the sim and the UI layers
Every bit of data we send to the UI is (deep) copied and usually thrown away afterwards. This involves a lot of memory management and that is the most expensive type of logic that a computer can run these days.
- (#4517, #4534, #4532, #4533, #4531, #4528, #4529, #4530, #4582, #4552, #4585, #4549, #4596, #4611)
Reduce overhead of projectiles and weapons. The primary change is to reduce the amount of table trashing. An example is the use of a table within the scope of a function: it is allocated and then immediately ready to be de-allocated, which is a waste of performance and a hurdle for the garbage collector.
- (#4539, #4540) Reduce overhead of class instantiation
Reduces the overhead of all instantiations such as the creation of effects, decals, projectiles, internal data structures and more. This is a significant boost to the performance overall
- (#4536, #4556) Reduce memory footprint of navigational mesh by 50% to 95%
With thanks to #4523 we can now reliably measure the impact of changes, and as a result we managed to increase our awareness of what is expensive.
- (#4640, #4663) Reduce overhead of unit treads
The new implementation is a lot more memory aware and reduces the amount of table trashing
- (#4657) Reduce overhead of builder conditions of AI
- (#4558) Replace legacy trashbags with the TrashBag class
- (#4576, 4679, #4703, #4711) Reduce overhead of unit intel management
The new implementation is a lot more memory aware and drastically reduces the memory footprint of the average unit
- (#4675) Dynamically compute LOD thresholds for units
The larger the unit the longer it remains in view. These values where all over the place. These changes create a consistent experience for players
- (#4686, #4703, #4712) Reduce overhead of passing veterancy state to UI
The old implementation could cause stutters due to excessive copying of tables when syncing
- (#4686) Fix memory leak with the veterancy system
The old implementation would keep a reference alive to essentially every unit in the game that ever received or did damage to another unit. This would create a directional graph of references with the ACUs being the spills. As a result there is a significant build up of memory as the game progresses
- (fd41dce) The game can now use up to 4 gigabytes of memory, instead of just 3 gigabytes
Due to an assembly patch the game can now use an additional gigabyte of memory. In combination with all the other memory improvements mentioned this should prevent all cases of where players run out of memory
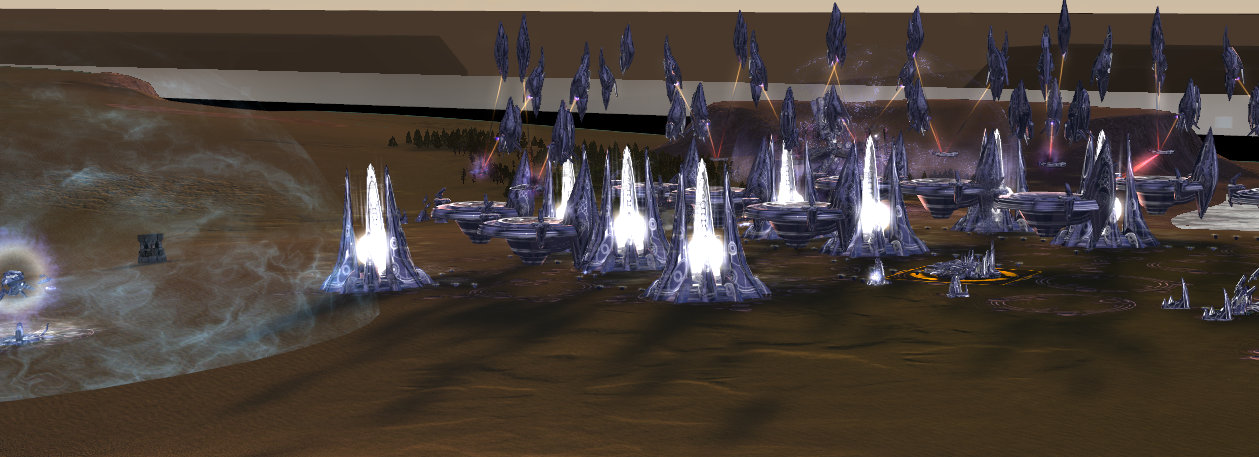
## Physics Based Rendering (PBR)
We're slowly but surely preparing the game for a significant visual improvement. This is a long term project that is going to consume hundreds of hours. We're hoping to find additional contributors that have an interesting in creating (and fixing) meshes and textures.
If you have that interest and/or experience and you'd like to help out then you can introduce yourself in the dedicated channels in the official Discord channel!
- (#4247) Introduces shaders for Physics Based Rendering (PBR)
The shaders are not used yet but the code is ready to run
- (#4443, #4673) Fix existing cube maps and prepare them for PBR
Adds a blur to the mip maps to mimic roughness of the surface
- (#4456) Re-create the Cybran land factories
- (#4469) Re-create the Cybran naval factories
- (#4501, #4664, #4665) Re-create the Cybran air factories
- (#4501) Re-create the Aeon air factories
- (#4479, #4613) Re-create the Aeon land factories
- (#4521) Re-create the Aeon naval factories
- (#4471) Fix localisation and colors of default fields of combo
## Other
- (#4317, #4476, #4320, #4515, #4502, #4504, #4517, #4547, #4513, #4603, #4322, #4677)
All the annotation work that has been merged in. We have an extension that allows you (a developer) to gain basic intellisense support in the repository. This has been, and still is a massive improvement to the workflow of those that work on the game (in)directly.
- (#4468) Fix terrain-type depending mesh selection of structures
This feature is not used, but technically it allows you to change the (textures) of a structure depending on the terrain type it resides on. As an example: a factory on snow would have snow on it
- (#4303, #4604) Add or improve Chinese translation
- (#4487) Improve the test functionality of movies
- (#4523, #4658) Introduce function to determine size of table in memory
Allows us to estimate the size of a table in memory
- (#4512) Fix firing sequence of the UEF Cruiser
This is a visual fix and does not impact gameplay.
- (#4538) Reduce code duplication by introducing 'table.random'
- (#4263) Add division icons
- (#4395) Add MIT licenses to various FAF-introduced files
- (#4659) Add a russian translation for the balance patch
- (#4688) Add a code of conduct to the repository
- (#4731) Fix the auto balance button in the lobby being too large
## Mod incompatibility
There appears to be an issue with the UI mod 'Supreme Economy v2.3'. We've notified the maintainer.
## Contributors
- Rowey (#4317, #4320, #4517, #4515, #4517, #4534, #4532, #4533, #4531, #4528, #4529, #4530, #4547, #4582, #4552, #4588, #4549, #4603, #4322, #4627, #4626, #4657, #4731)
- 4z0t (#4376, #4437, #4472, #4484, #4538)
- Relent0r (#4413, #4417, #4412, #4419, #4435, #4436, #4445, #4447, #4450, #4455, #4462, #4461, #4460, #4454, #4475, #4505, #4682)
- BlackYps (#4247, #4443, #4667, #4673)
- Blodir (#4247)
- Zjonn (#4399)
- MadMax (#4443, #4456, #4469, #4486, #4501, #4501, #4521, #4613, #4622, #4664, #4665, #4694)
- Jip (#4247, 4421, 4386, #4453, #4432, #4444, #4451, #4475, #4426, #4466, #4474, #4483, #4485, #4482, #4492, #4496, #4495, #4489, #4503, #4500, #4512, #4523, #4539, #4540, #4546, #4510, #4536, #4555, #4556, #4557, #4559, #4561, #4560, #4580, #4581, #4585, #4590, #4591, #4596, #4597, #4598, #4599, #4600, #4605, #4586, #4606, #4607, #4577, #4611, #4608, #4587, #4611, #4615, #4617, #4612, #4620, #4623, #4631, #4635, #4634, #4633, #4636, #4640, #4658, #4639, #4639, #4663, #4638, #4558, #4576, #4668, #4669, #4672, #4677, #4675, #4679, #4680, #4569, #4681, #4686, #4689, #4688, #4690, #4691, #4692, #4697, #4699, #4711, #4703, #4712, #4714)
xXEddieXxx (#4438, #4463)
- speed2 (#4448, #4487, #4488, #4508, #4490)
- hdt80bro (#4471, #4476, #4550, #4513, #4395)
- Yuchenjimmy (#4303, #4604)
- Penguin (#4095, #4491)
- Haifron (#4499, #4526, #4519, #4504, #4593)
- Balthazar (#4479, #4716)
- Senex-x (#4659)
- MostLostNoob (#4669)
- maudlin27 (#4671)
- KionX (3e34599, 9c9dda3, fd41dce, 55ddea)
- BlueAmulet (fd41dce)
At last I'd like to thank Phong for consistently hosting games on the FAF Develop game type. I've watched almost all his games to track down bugs that would otherwise go unnoticed. And my thanks to Prohibitorum for proof reading the changelogs.
") !
!
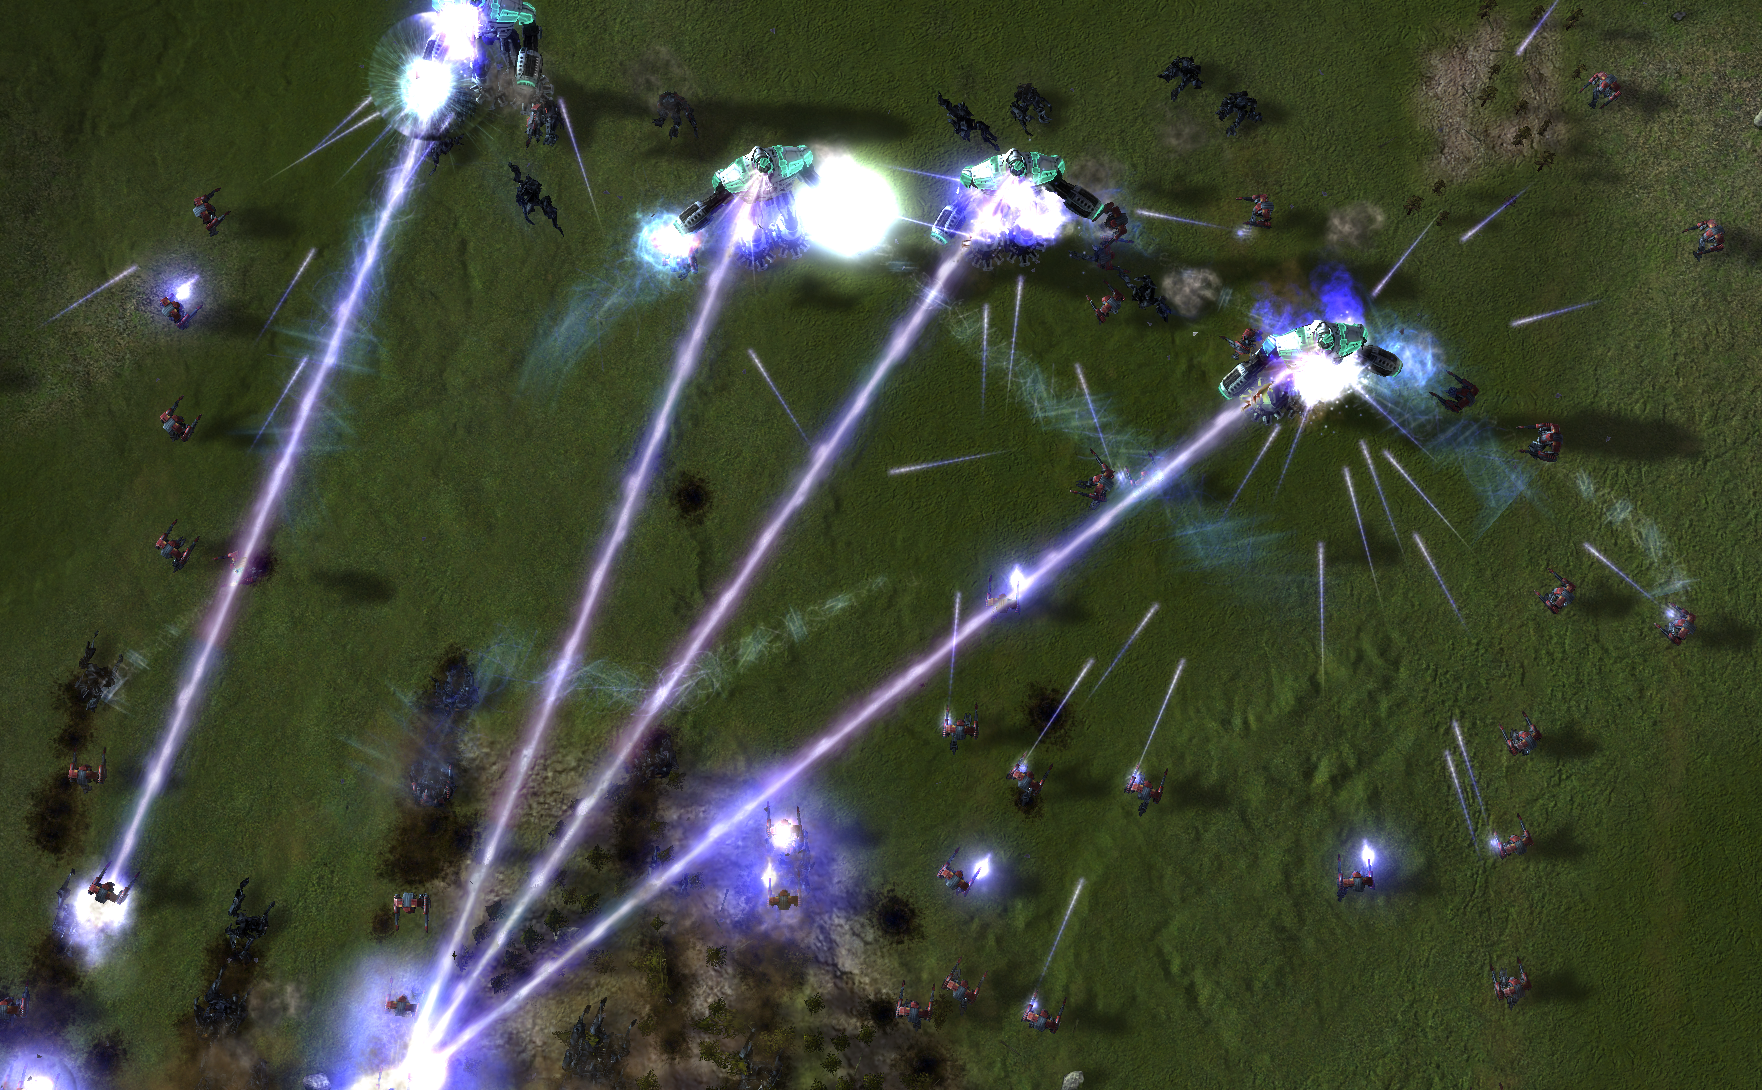
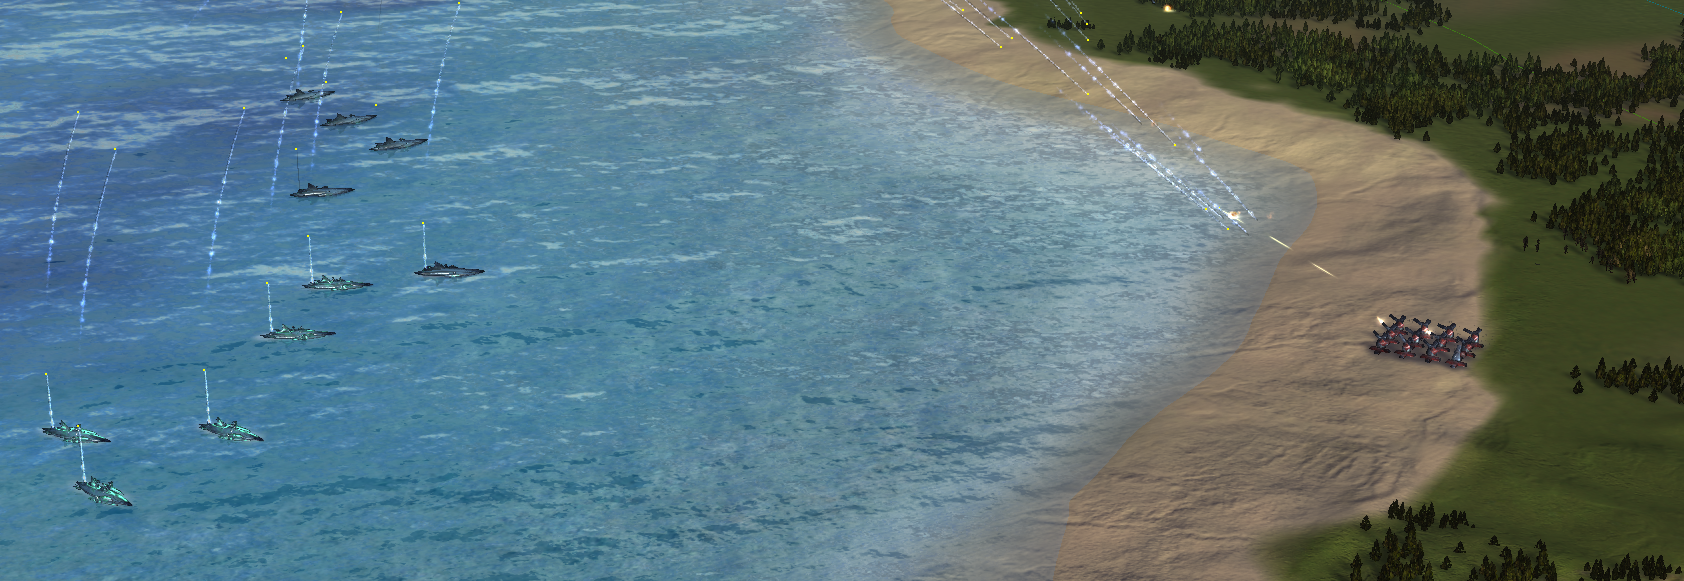
 . And to finish it all up the aesthetics of the game has been improved in various areas, such as how trees interact with the game.