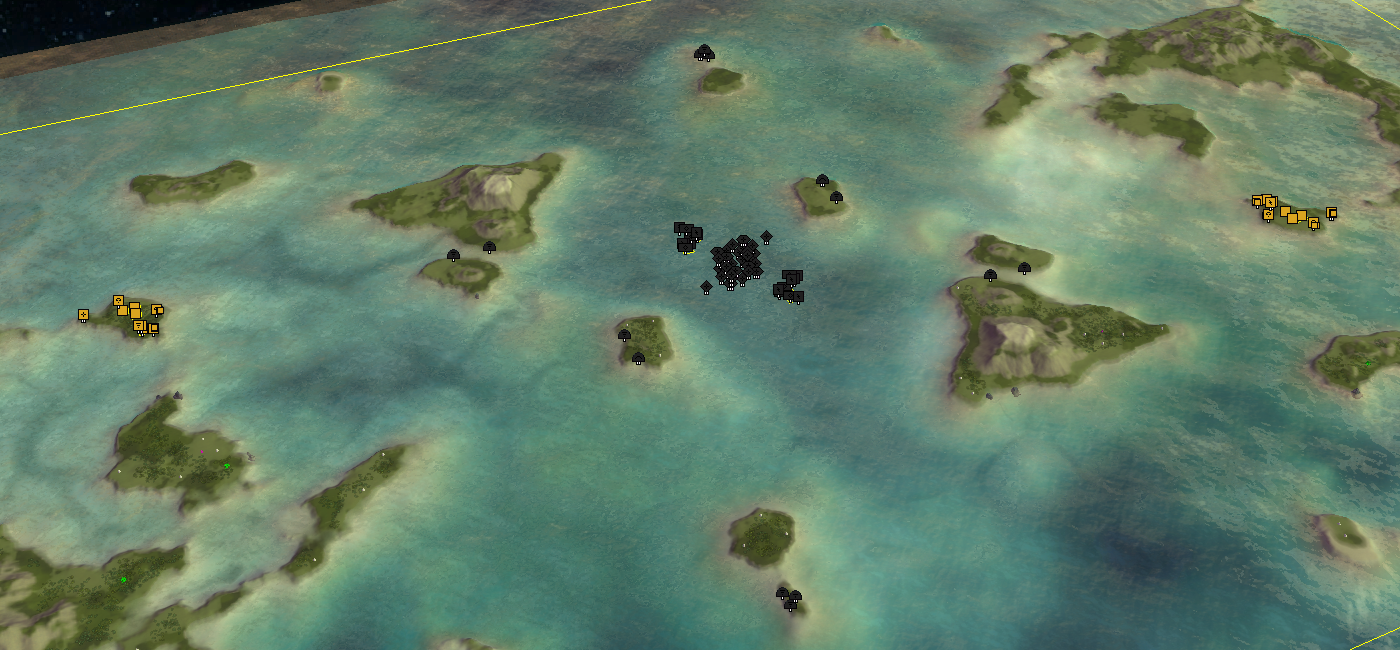
Jip's maps and others
-
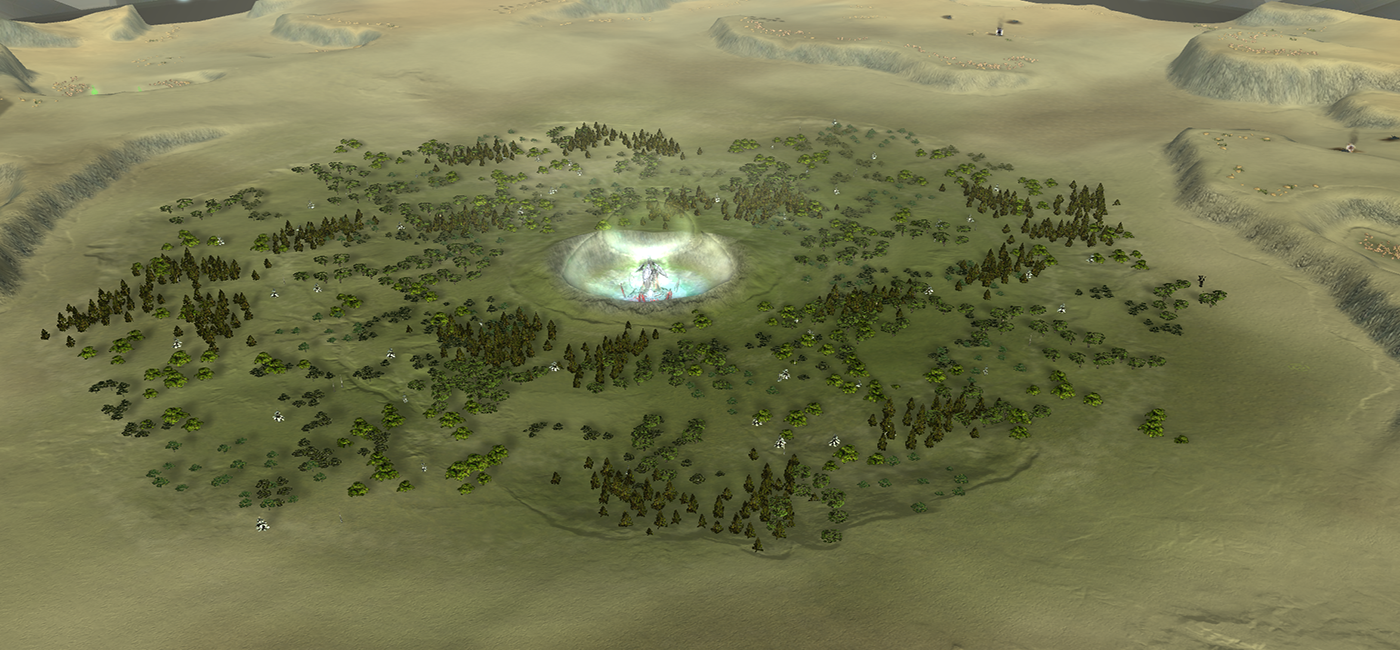
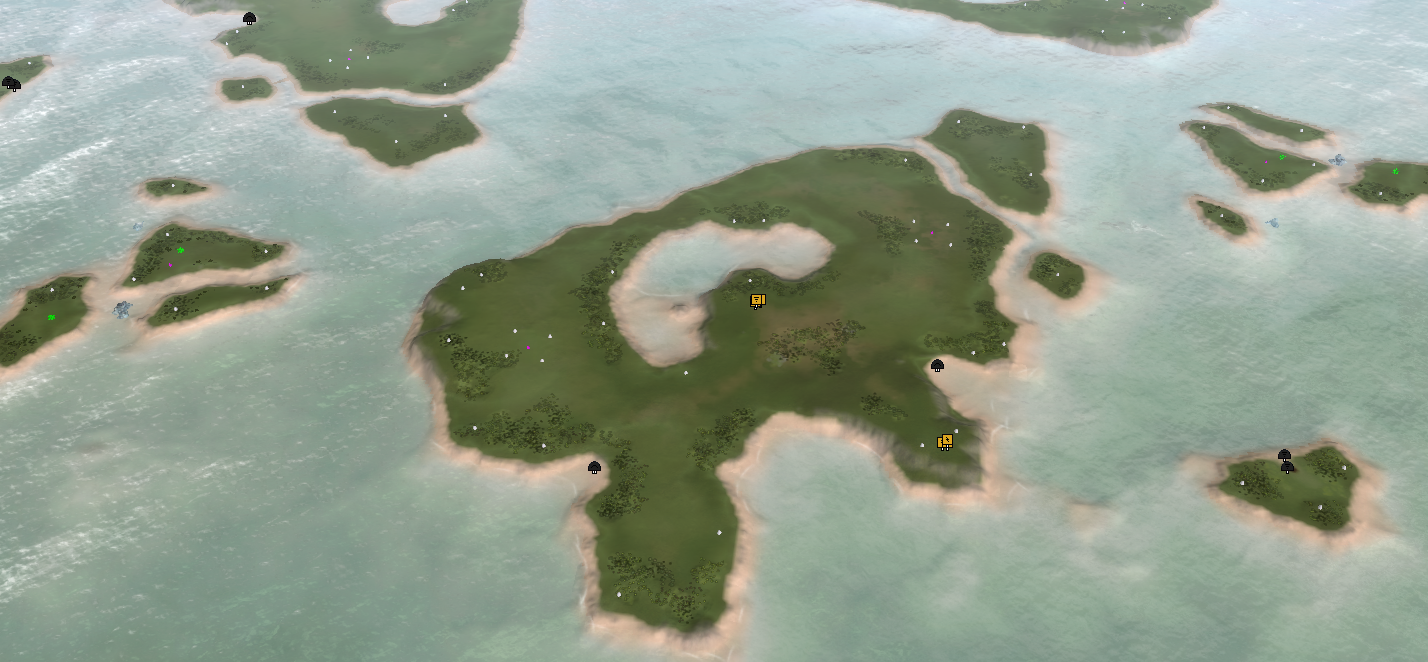
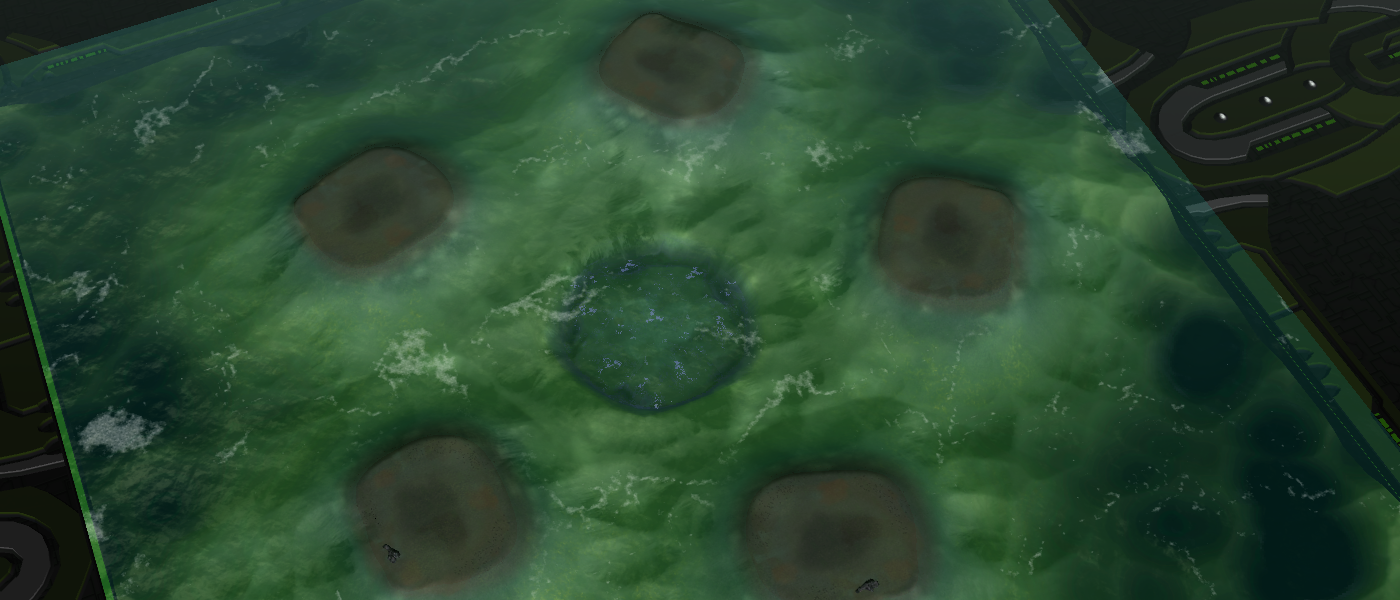
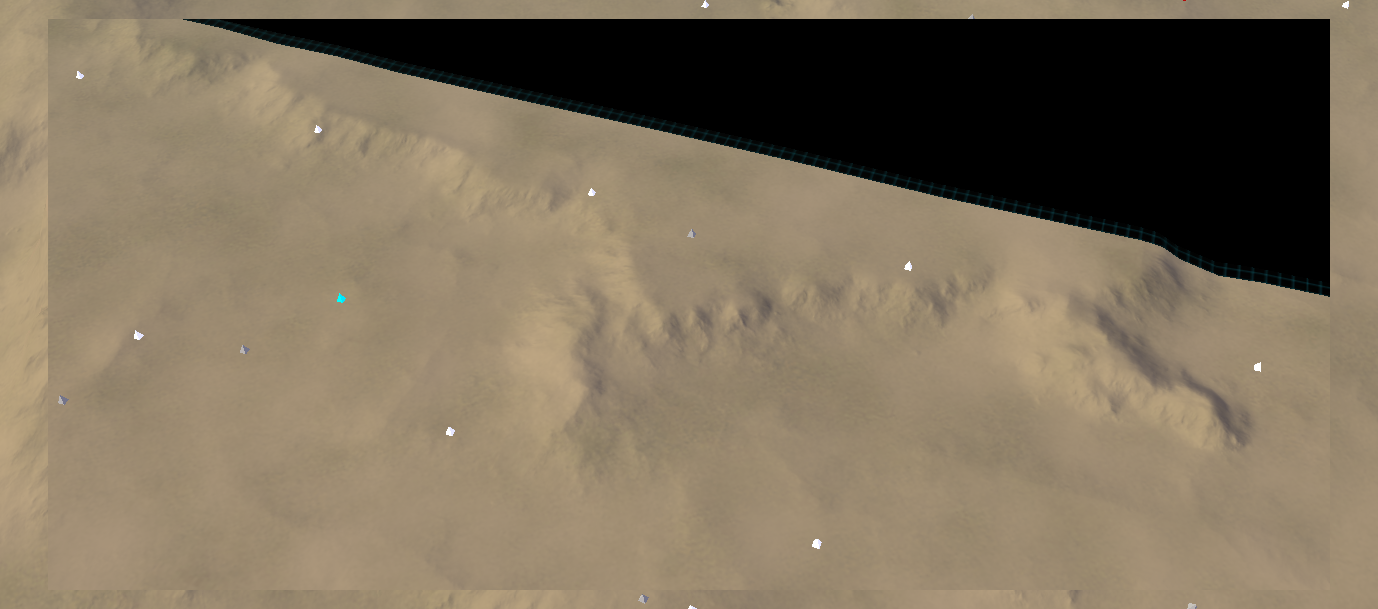
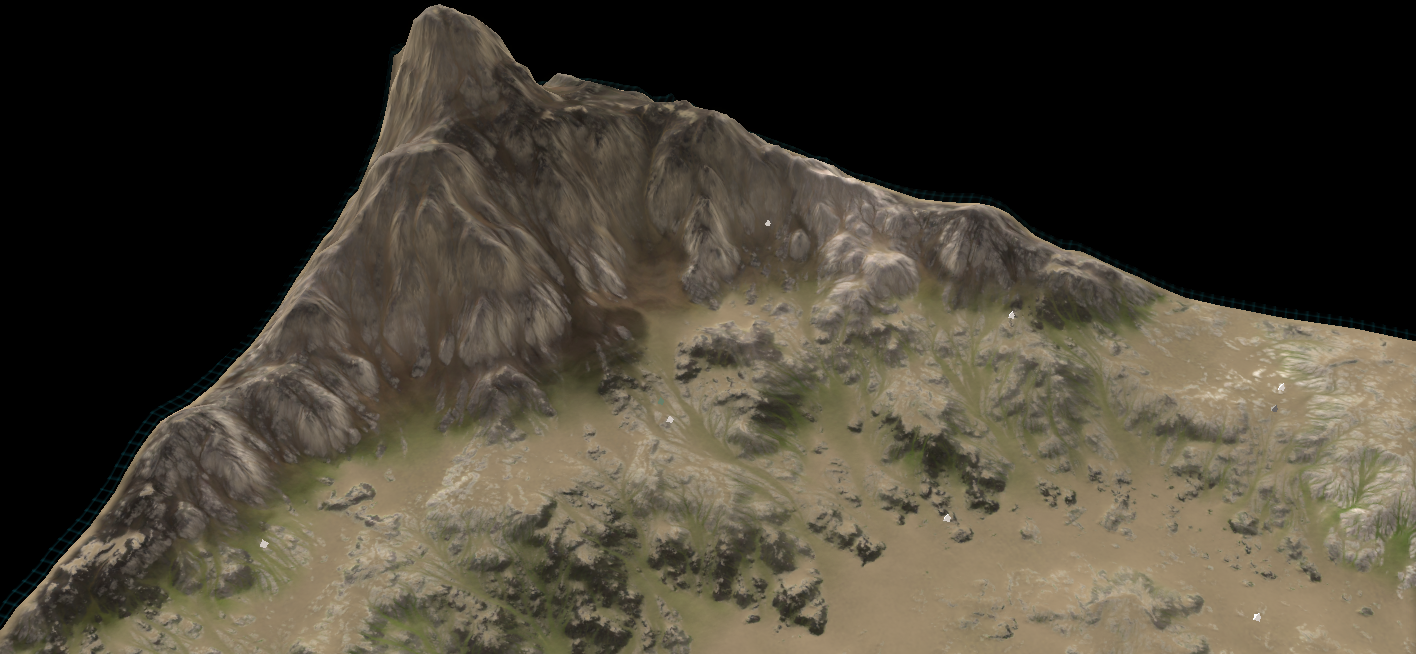
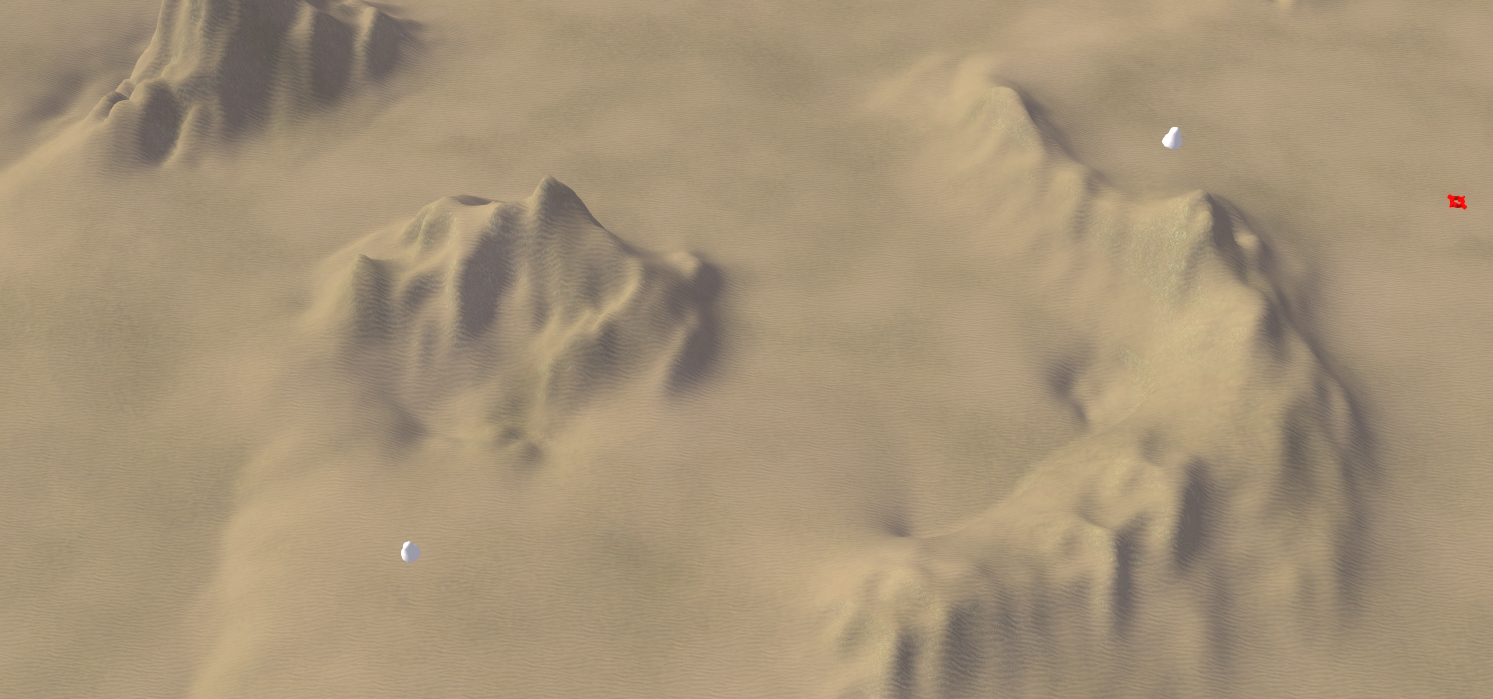
is the top screenshot the new erosion style? in which case i love it
-
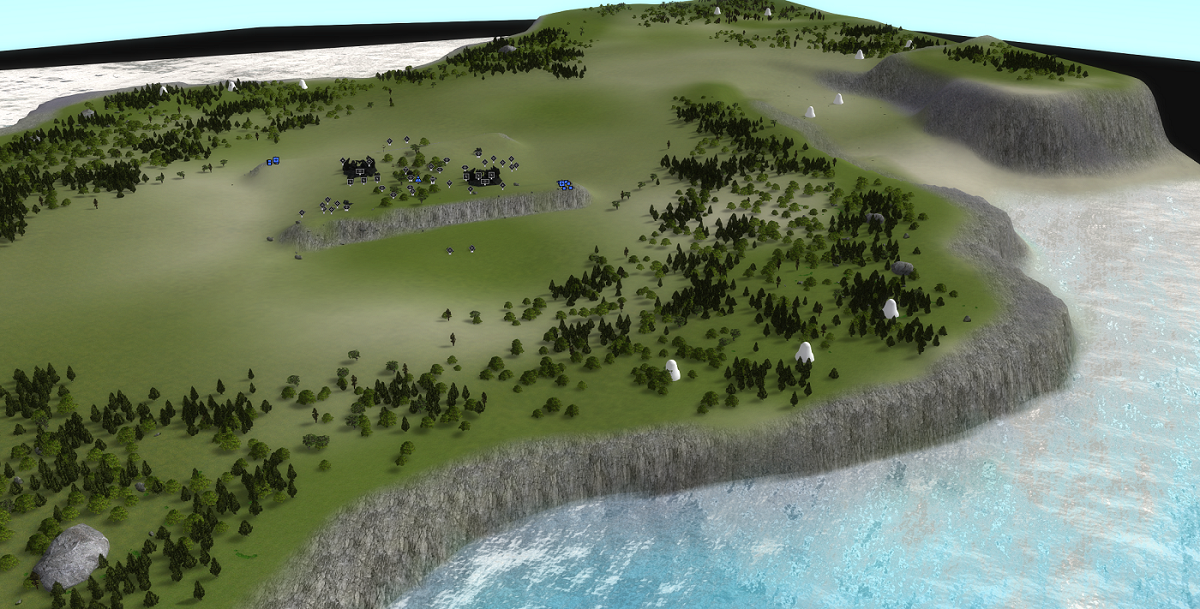
Yes it is - I'm still experimenting with it but that is the idea :). The pipeline is quite different:
-- MANUAL --
- I model the heightmap manually in the ozone editor.
- I paint some parts of the terrain that I want to erode more / less or to have certain properties, such as additional noise, etc.
-- PROCEDURAL --
- I model 'hard-to-do-things' in World Machine, such as ramps that both go up / down and rotate.
- I then erode, etc, the terrain to my liking.
- I use a lowered resolution of the eroded terrain as my heightmap
- I use a high resolution of the eroded terrain as a normal map
This is a similar approach to how models have their normals 'baked' into - you start with a high-res mesh, you then make a low-res mesh and bake in the details of the high-res mesh. In turn, the smaller details come out quite nicely and I can actually create sharp ridges because the normal resolution is 8x (at 20x20) the heightmap resolution!
The image above doesn't have (yet):
- More refined normals (manual placement)
- Stratum layers (just sand right now)
- Albedo decals
- Specular decals
- Lighting decals (shadow / ambient)
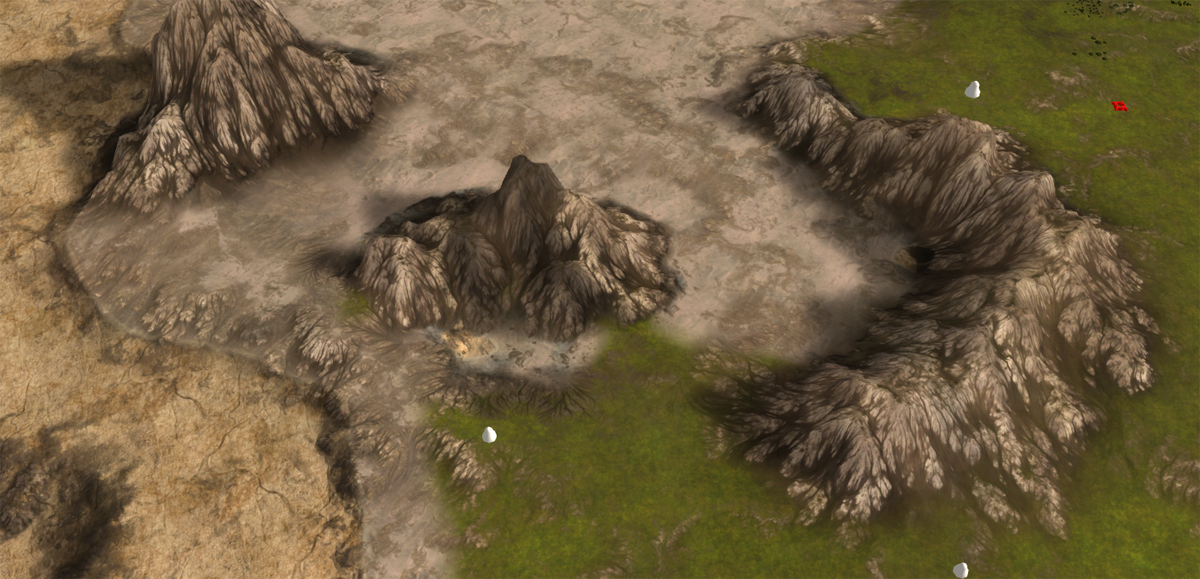
Edit: to show off why the normal map is so important:

Normal map with flat terrain from a eagle-view (above) and from a human-view (below)

Literally all the detail is in the normal map. Accidentally did this by moving the decal. @biass I just accidentally found out how to make pretty normal maps
") .
. -
@nine2 I got it just right now

The last one is a bit of a close up :D.
Edit: after inspecting, there are still a few artifacts. But a lot less visible than the previous set of artifacts.
-
This is in the GPG editor
 ! It doesn't use any stratum layers yet so there is still loads to gain.
I discovered what caused the artifacts: terrain that is too 'perfect' or 'smooth' causes the sediment to pile up. The piled up sediment causes artifacts.
I think the boundaries straight-line are some artifact from how the erosion splits up the terrain into blocks, allowing it to run on multiple threads. But that is just a guess.
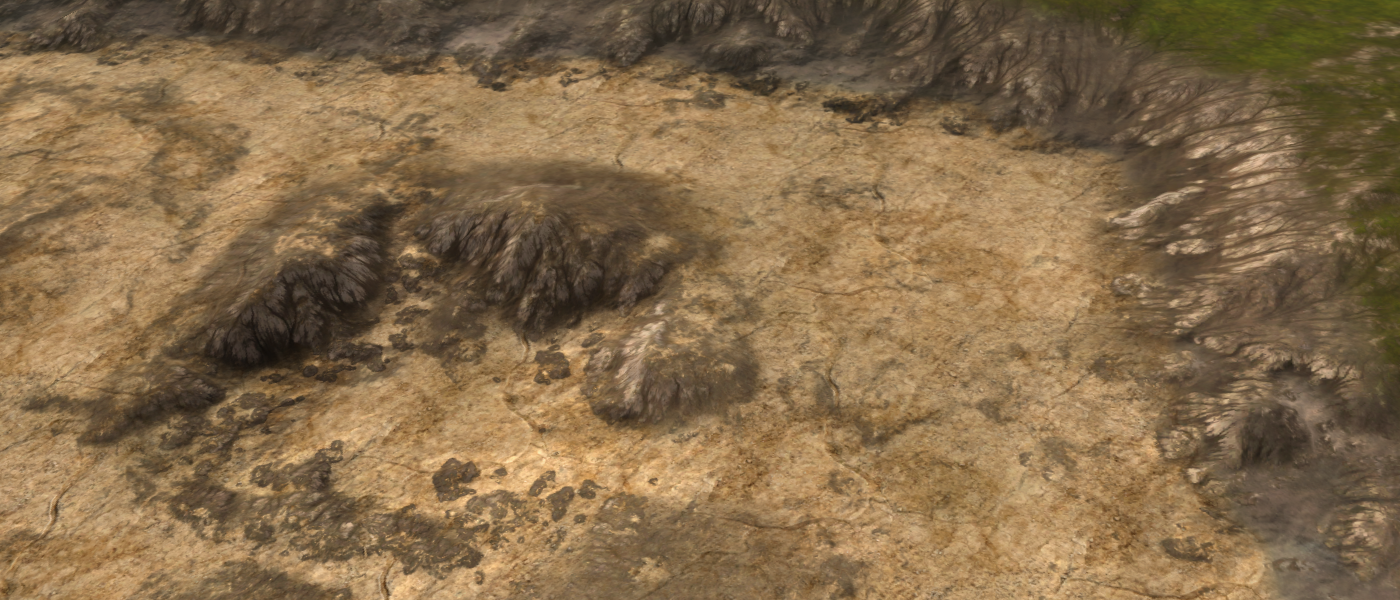
The same location, but now without those artifacts
. -
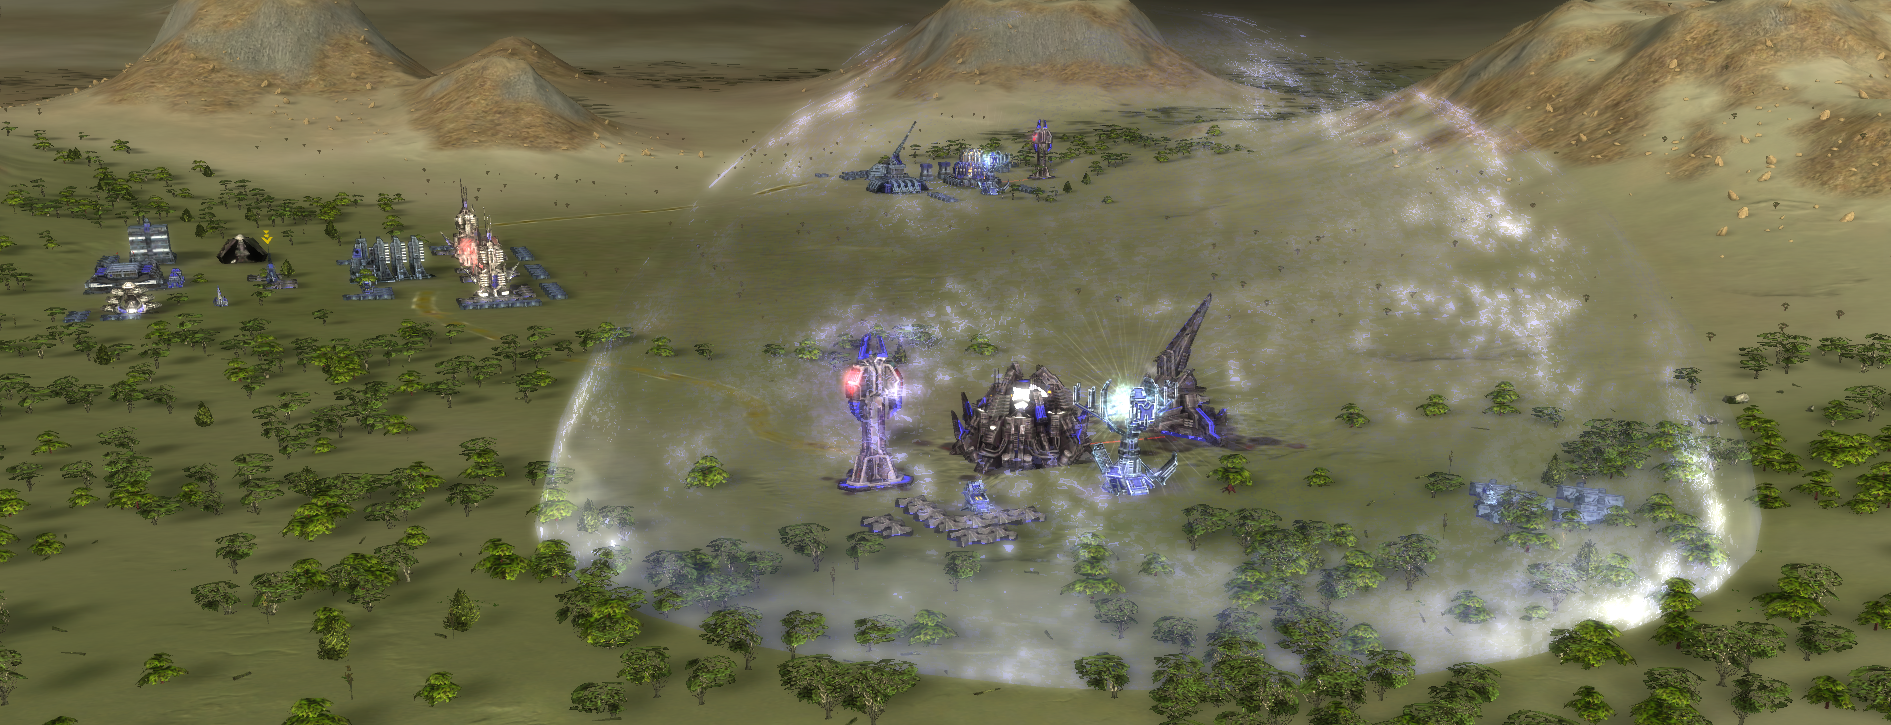
It's hard to believe this is supreme commander! The mapping revolution has begun.
-
wow that last one looks utterly incredible.
-
WOW !!! Can't wait !
-
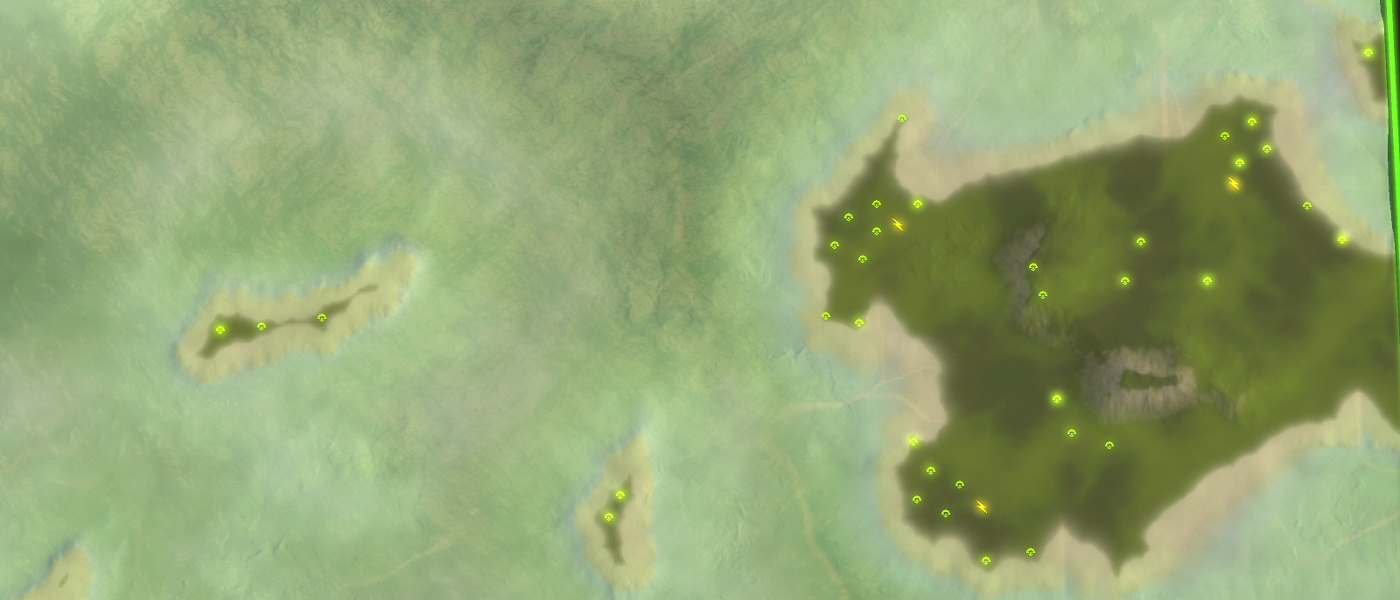
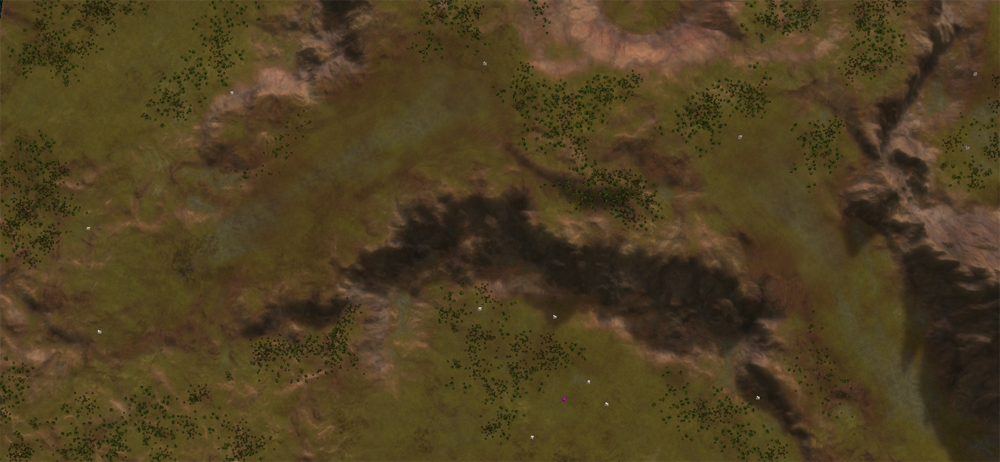
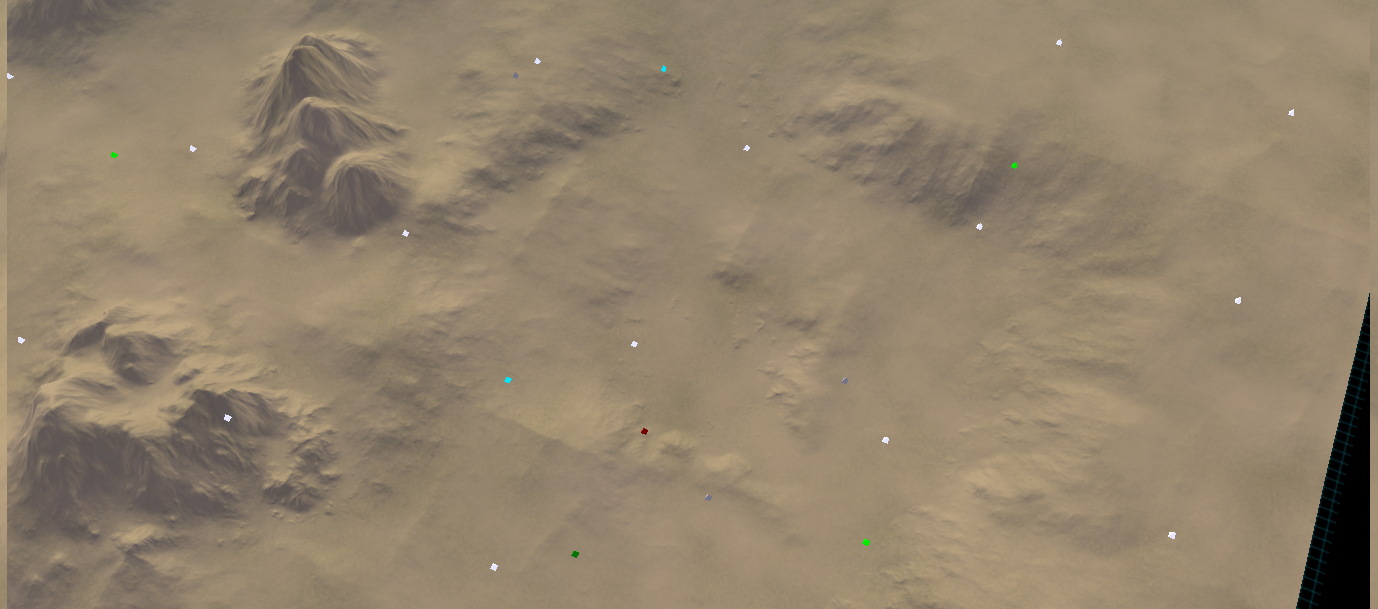
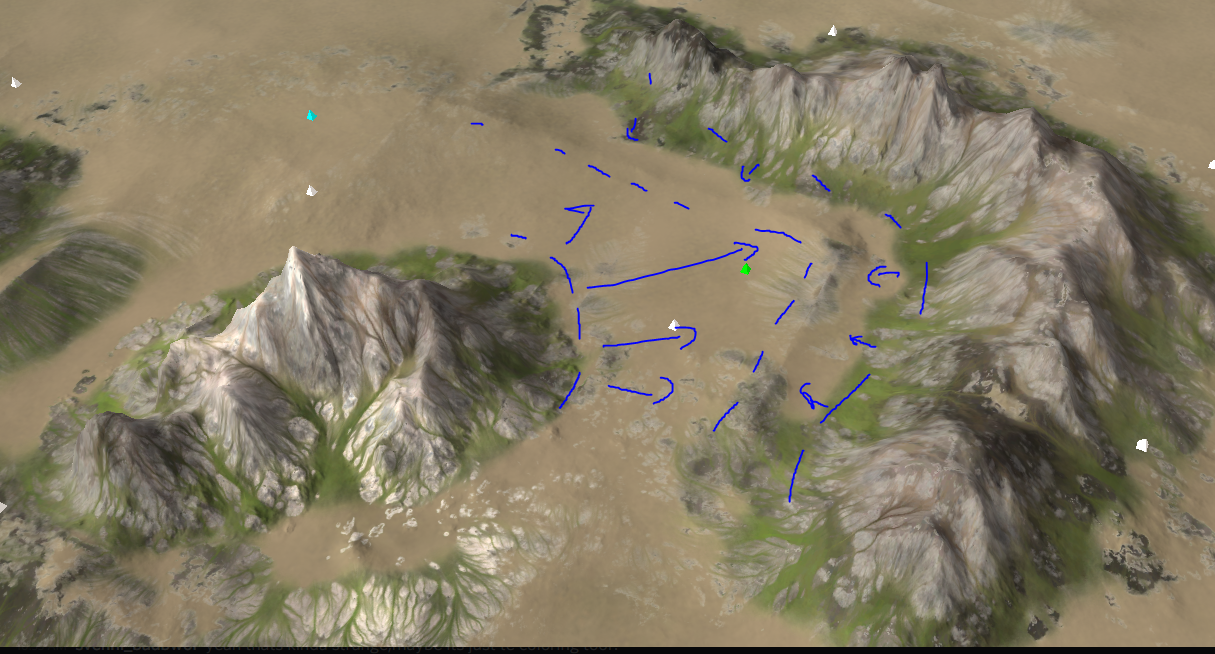
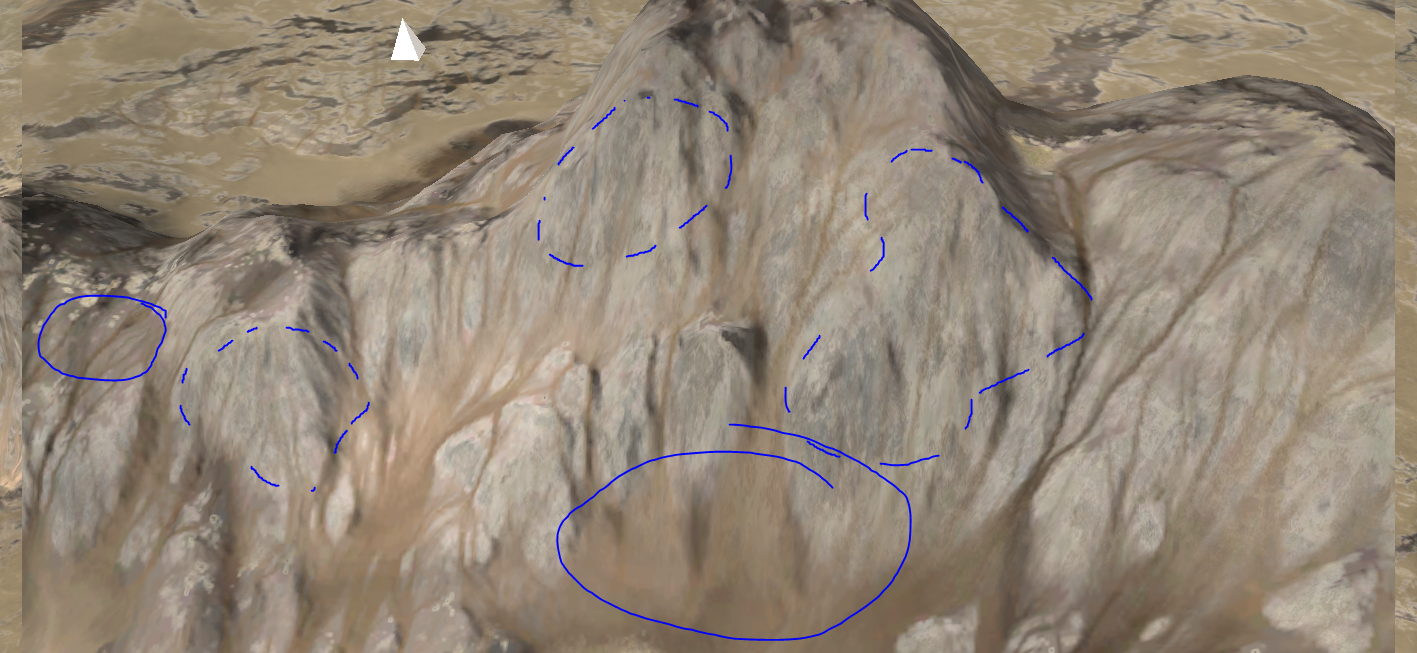
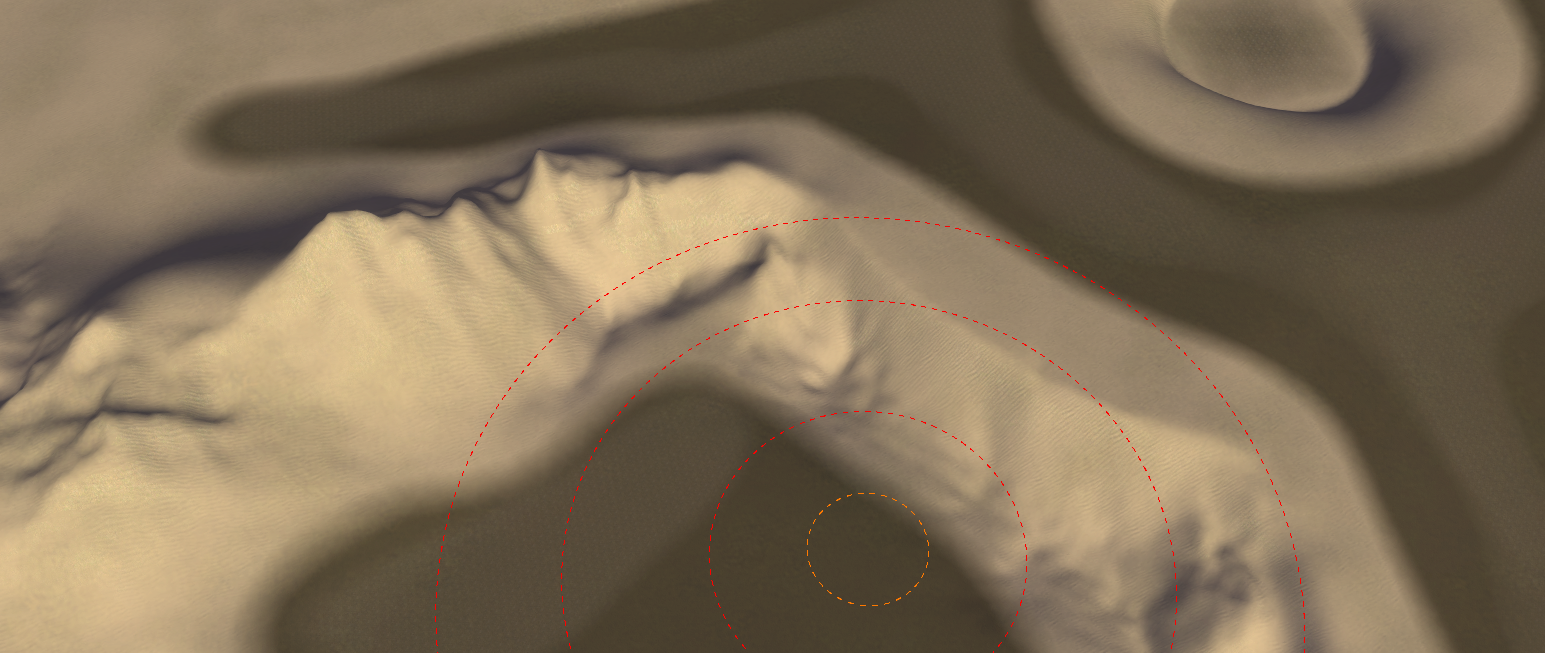
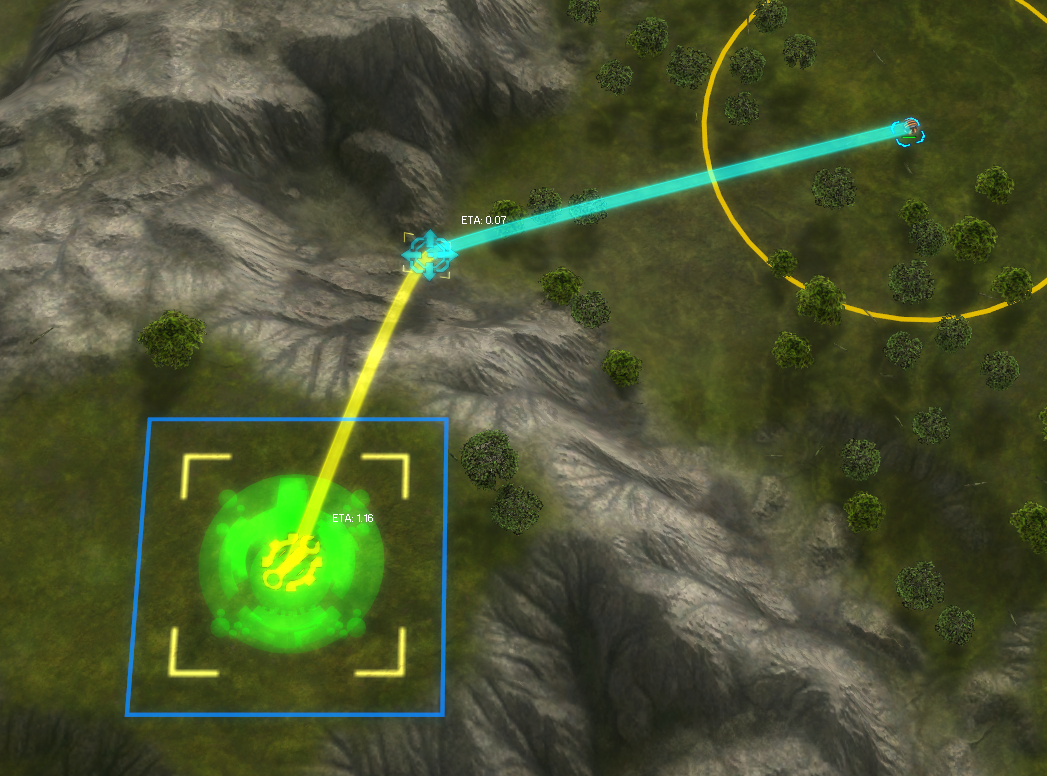
@nine2 the river delta's are back but that is not the point - I'm trying to incorporate the idea of visual cues that you mentioned. I've just figured out how to make the decal stop suddenly without it looking strange, clearly indication that a piece of terrain can be considered flat from that point onwards
. It is done via applying masks at the right places before and after eroding.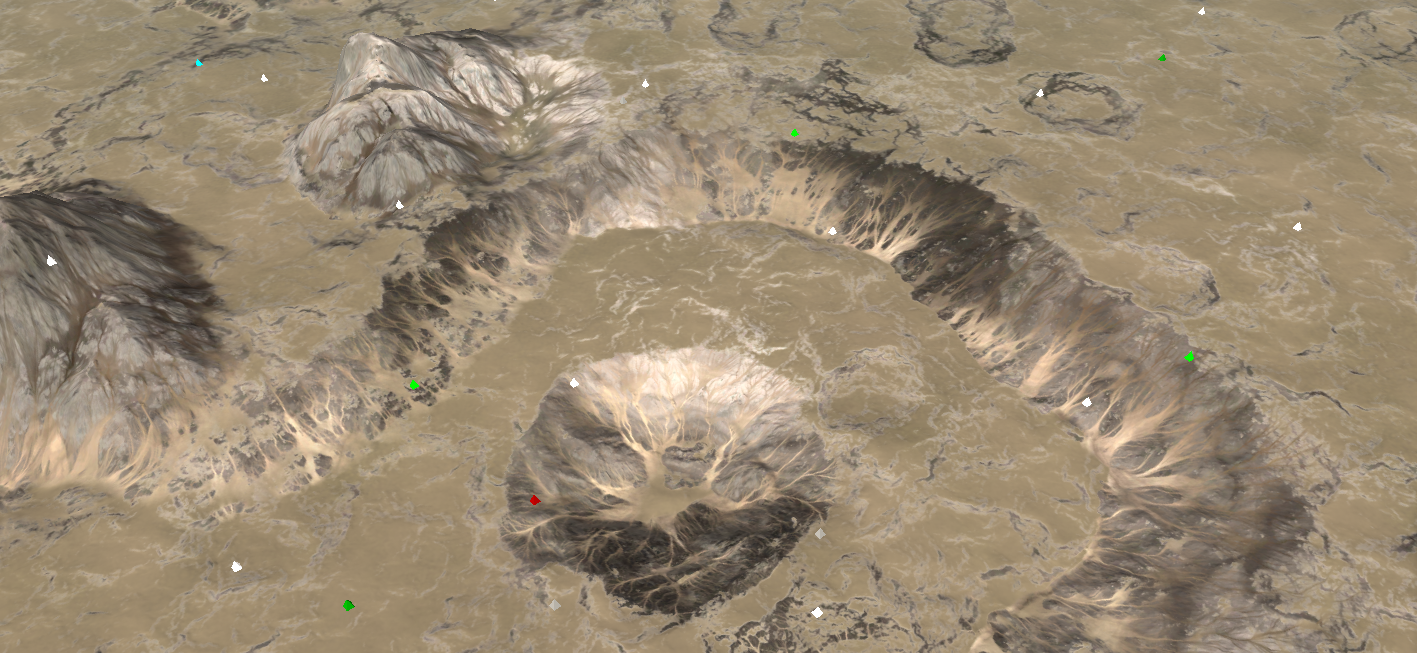
I've also been experimenting with allowing a stratum layer to 'leak through' so that there is detail up close. As an example the dotted circles have a stratum layer just slightly going through, where as the completed circles do not. The different is a significant boost in detail when you're zoomed in.
It does provide more 'control' over the color of the decal, which is a double edged sword: it allows you to more easily tweak it but its harder to see the end result without having everything together in the GPG editor.
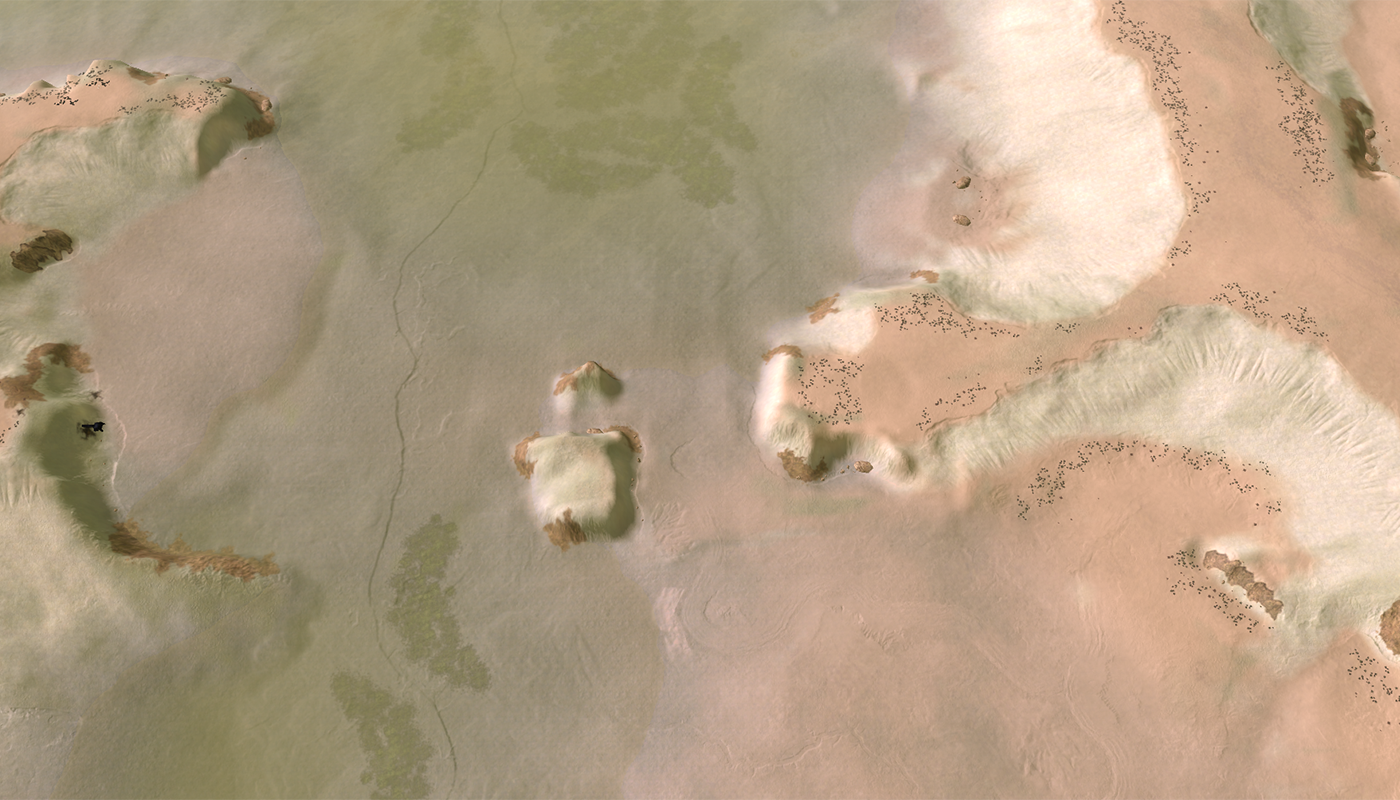
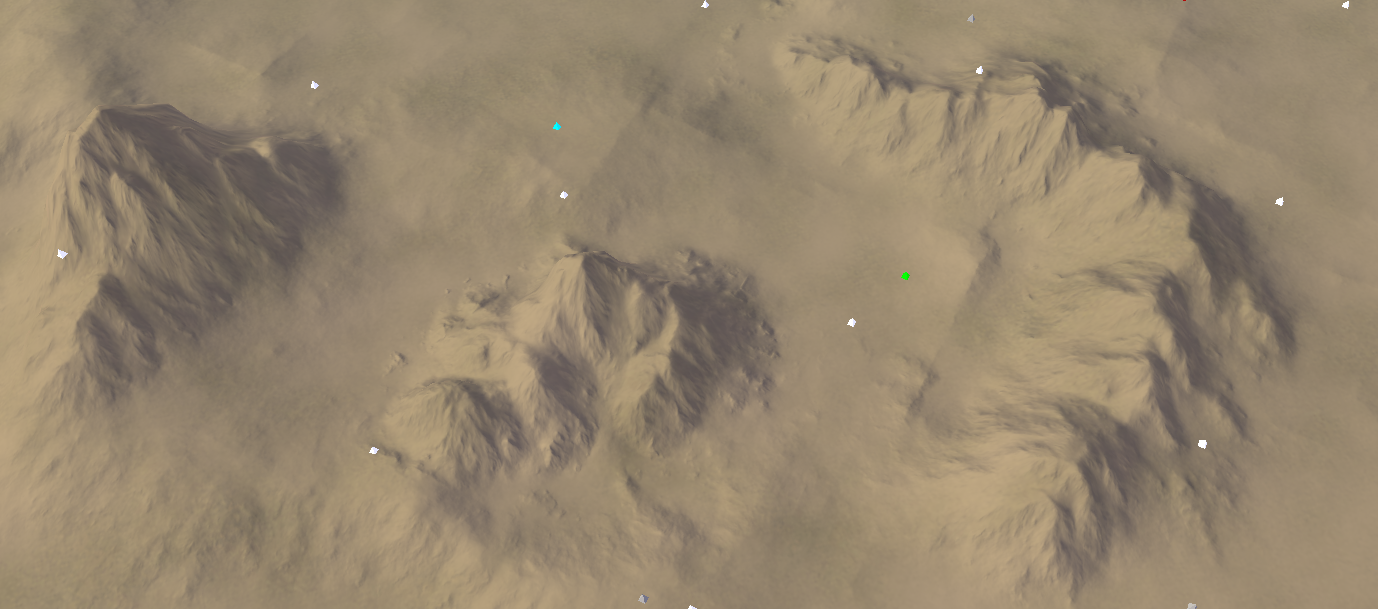
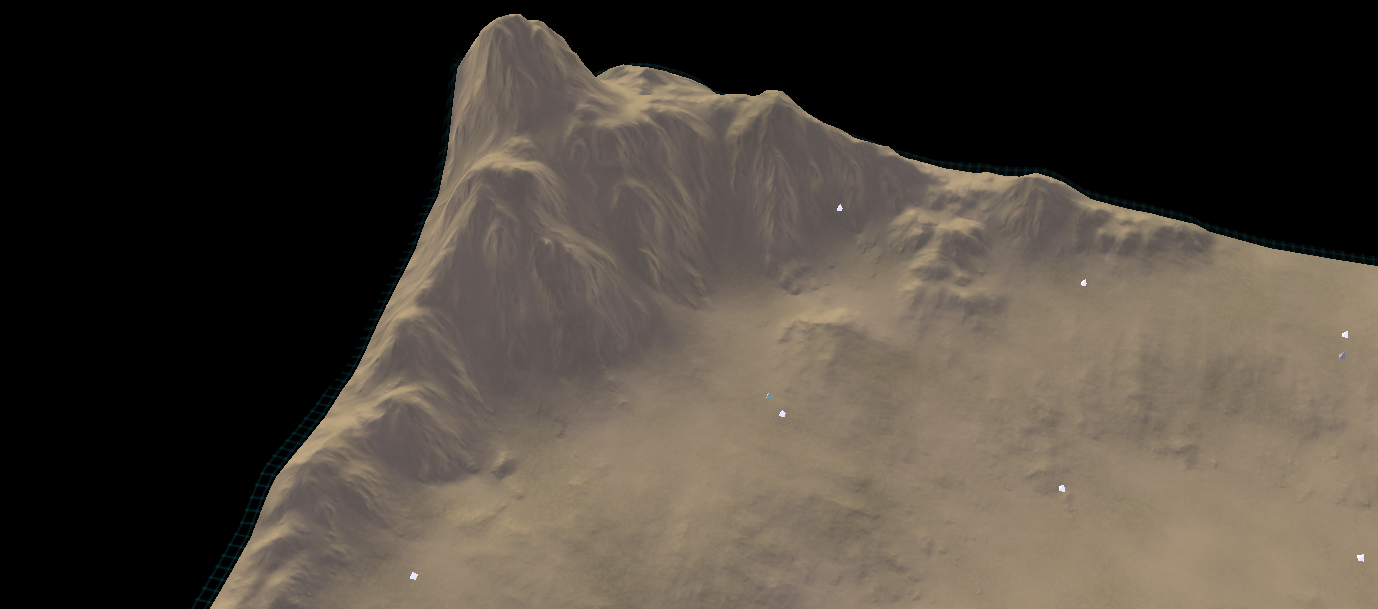
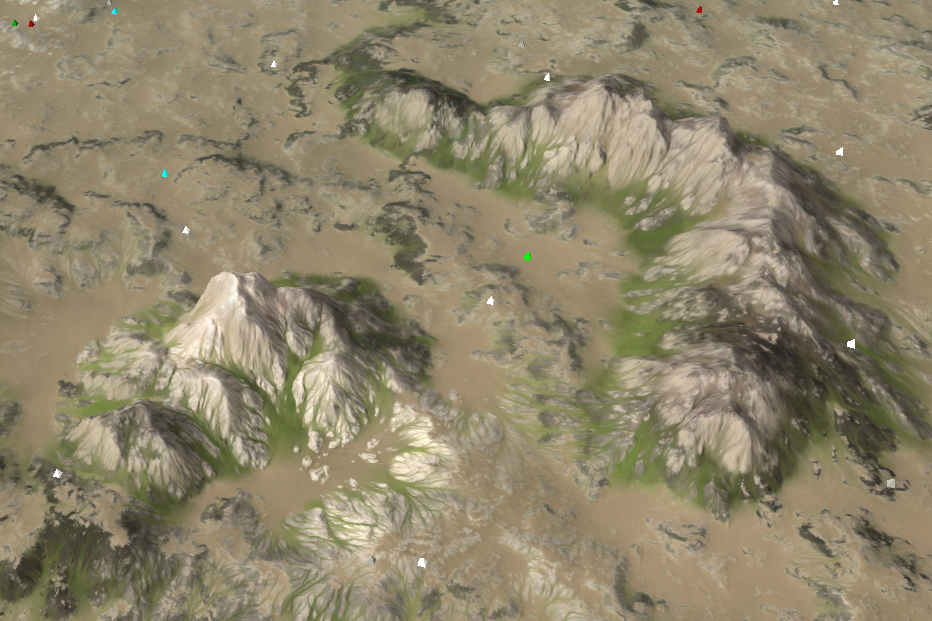
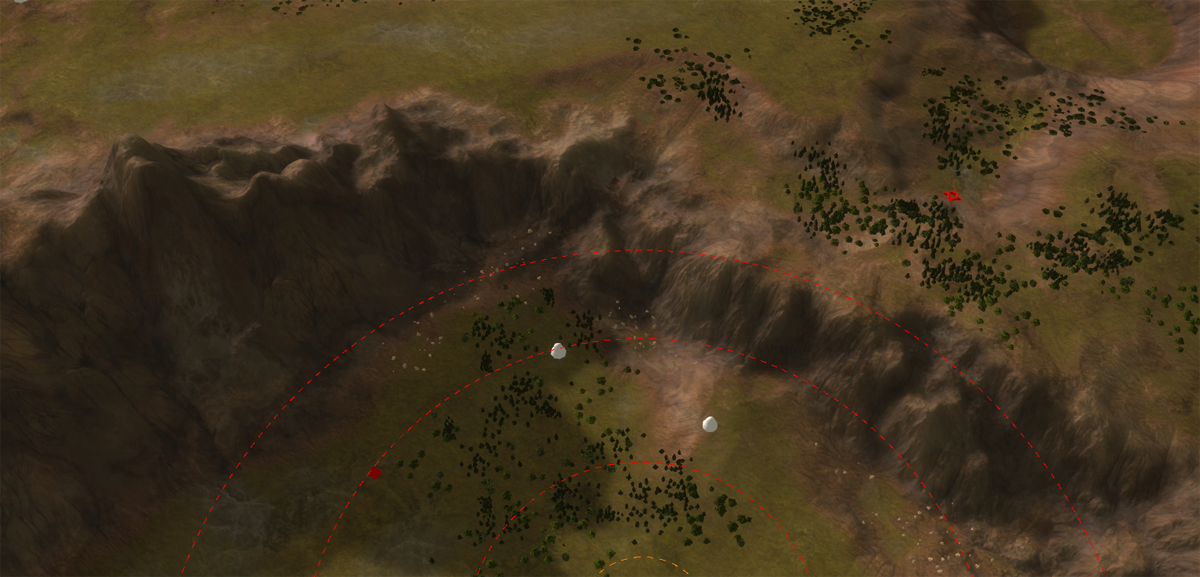
Without all the additional noise and at a lower resolution:
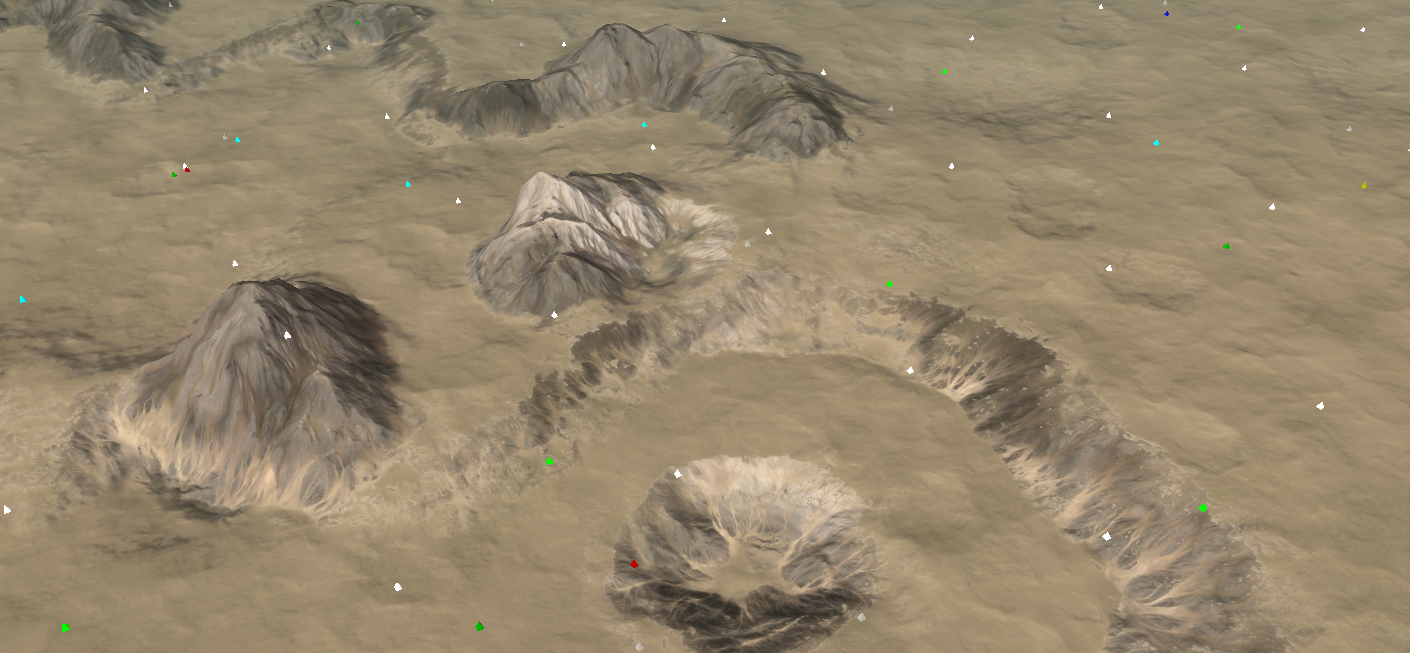
Clearly shows where the ramps are
- perhaps I can color tone the ramps a bit more so that they are more easily identifiable from mountains -
Can you even call this FA anymore?
-
You've outdone yourself. How can I see this in a working map?
-
@nine2 it is still under production. For now, these images will have to suffice
. -
Updated Mellow Shallows to version 14:
- Included feedback from @nine2
Updated Pool of Entropy to version 3:
- Added option to disable the strategic launchers
-
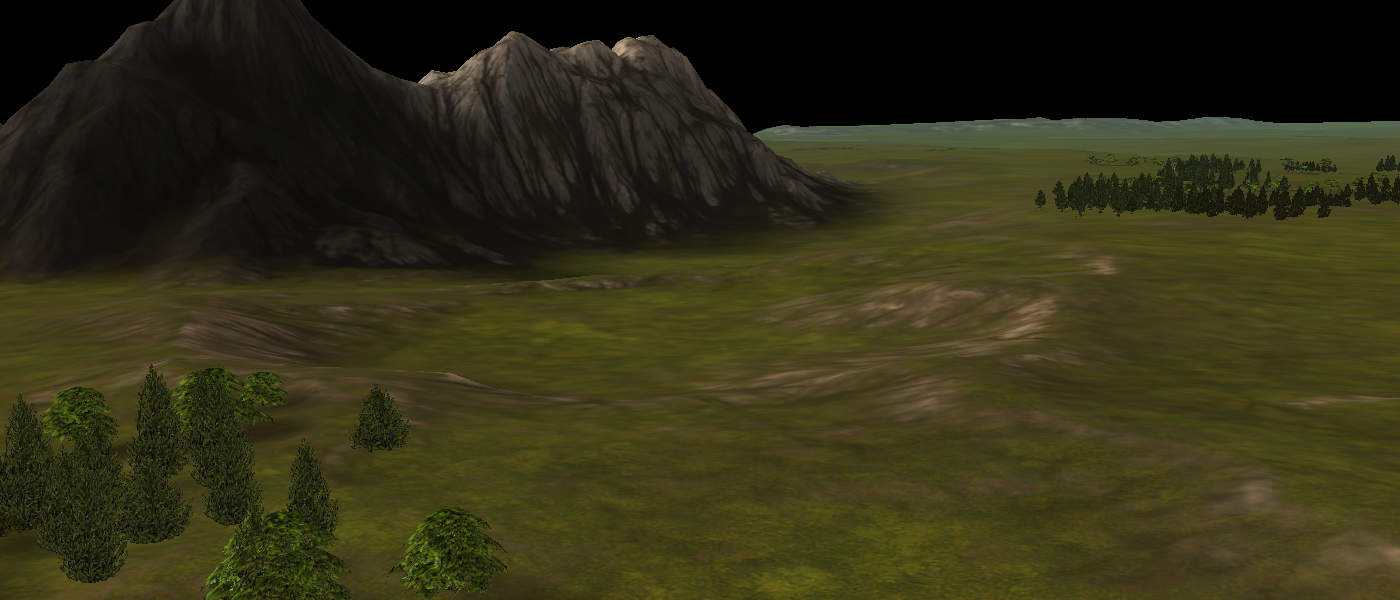
Springtime (the map shown a lot previously) is in a finishing state! The map was made for one of the developers of the LOUD community. It was a remake of 'Valley Passage' but then more aesthetically pleasing.

The map had a few goals in mind:
- Constructing a map layout other than in World Machine without losing the original layout / flexibility.
- Making the map competitively easy to read.
Therefore this map has a 'core' and an actual map file. The core file solely (ab)uses the ozone editor to construct the general layout and uses stratum masks to construct masks that can be used in World Machine.
A screenshot that is taken at roughly the same location, depicting the general layout
This is all fed into World Machine and then used in the actual map file. If anyone would want to 'move a mountain' later on then I'd change it in the core file, run it through the world machine template for this map and then update the actual map file accordingly. A large portion of the process is because of this procedural in a non-destructive manner.
Center of Tatsu is another map that I've been working on. It is the first design of this topic:
A screenshot that is taken at roughly the same location, depicting the general layout and a few stratum layers used for masks in World Machine and the according output
The aim of this map was to solidify the workflow. And solid it certainly became. I was able to completely remove Photoshop from the equation which is critical because Photoshop is both commercial and slow software. The workflow is more automated by the use of a script. The only reason I required Photoshop was to convert the files to the .dds format. As an alternative Image Magick is used for that in combination with a script:
#!/bin/bash

# Variables used throughout the script

resolutionMask=256
resolutionHeightmap=513

target="../center_of_tatsu.v0001/"

for entry in "output/"*;
do
    # determine old file location
    fileOld="${entry%.*}"
    ddsOld="$fileOld.dds"

    # determine new file location
    fileNew=`basename $fileOld`
    ddsNew="$target/env/decals/$fileNew.dds"

    # only change if file we want to convert is newer
    if [[ "$entry" -nt "$ddsNew" ]] || [ ! -f "$ddsNew" ]; then
        # convert the file
        echo "Converting: $entry"
        magick "$entry" -define dds:compression=dxt5 "$ddsOld"

        # move it to the new location
        mv "$ddsOld" "$ddsNew"
    else
        echo "Skipping: $entry (not updated)"
    fi
done
This is only a snippet of the script. But essentially there is no more manual labour in converting the textures to the correct format / size. Now I can click and go - go get some coffee, talk to my neighbour, study a bit, end up at the toilet and then when I'm back all the textures produced by World Machine are converted and stored at the right locations.
On top of that it is significantly faster than Photoshop - converting an 8k texture could take up to an hour in Photoshop, where as it takes about a minute with Image Magick.
When developing the map I used 2k or 4k textures rendering the generating / conversion time to at most a minute, allowing me to quickly assess the results in the old GPG editor. By using the
/EnableDiskWatchprogram argument the textures are automatically updated and therefore the results can be seen without restarting the editor. -
Back again with an update on my first map: Auralian - The Core!
To get an idea, this is how the initial version looked like:
And this is how it looks like now:


The aim was to learn and apply various techniques:
- Use my understanding of how the water works to make it a one-of-a kind water
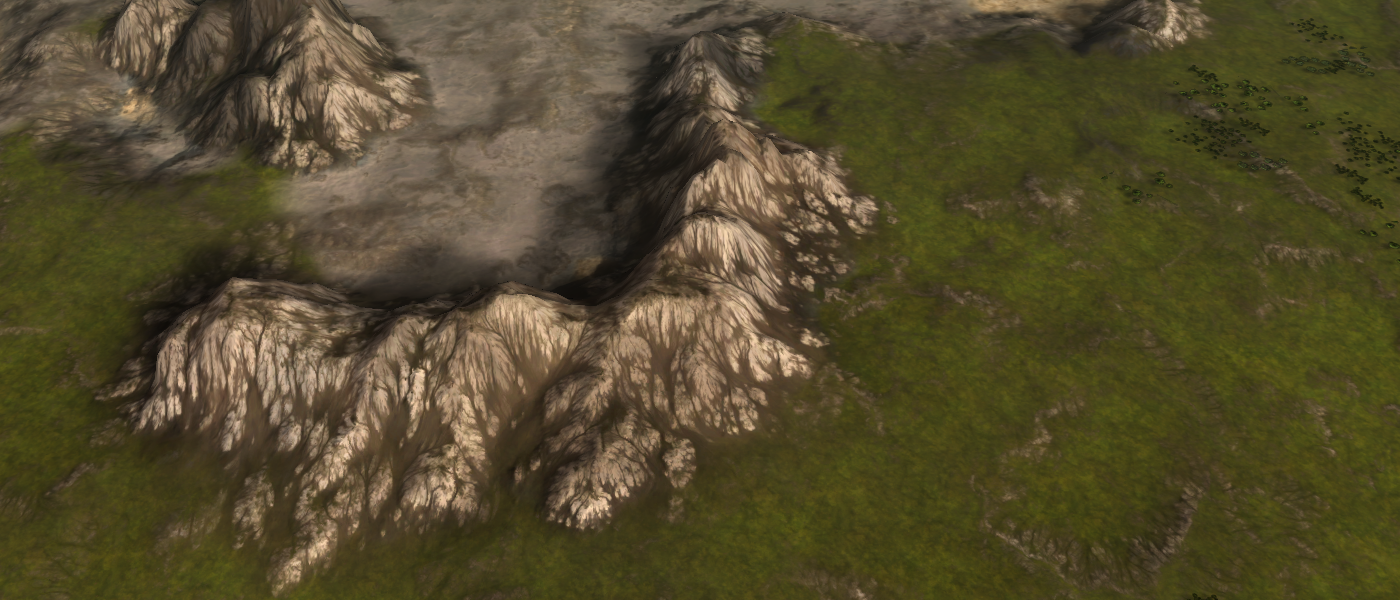
- Use world machine knowledge to make cliffs and underwater patterns. Particularly I've learned about how to control the shape of the rock formations on cliffs a lot more!
- Use general knowledge from other games (Anno 1800) to solidify the looks. An example: the hard border between rock and grass.

The map is by no means competitively interesting. But it can be a solid map for your first few games.
-
those maps visually look fantastic. How much time did it take you to create such beauty)?
-
It depends a lot
.Typically there are multiple phases:
- The design phase
- The implementation phase
- The iterations phase
And all of these can take various amounts of time. The iterations phase depends on how much time was spent on the design phase. The implementation phase is typically one long sit to construct the template with the desired properties. After that it is flexible. Unless suddenly new properties need to be added.
As an example you can see this post from the mapping tournament. Archsimkat and I discussed that map in detail many times over, only to restart the design phase because we messed up the scale
.That map has over 40 hours of work in it. Where as Auralian - The Core was not quite that time consuming. It was a remake, therefore the design was clear and it was more about making the template. -
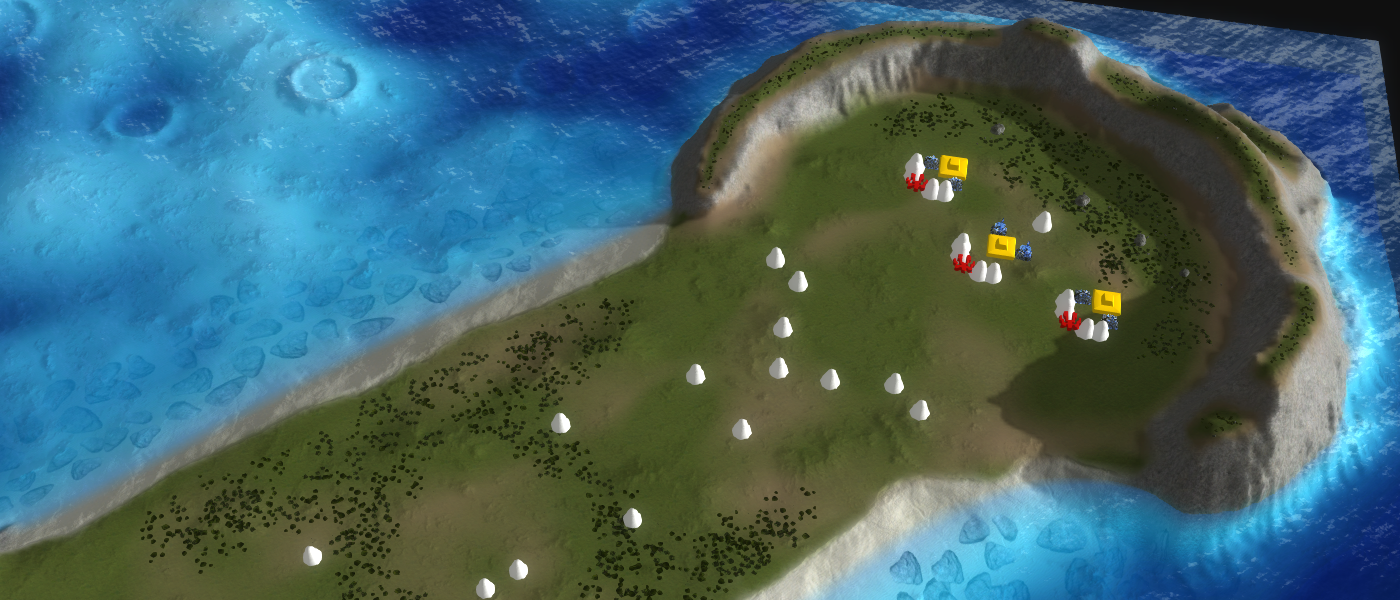
Autumn and especially Mauve are frustrating to play because there are exact locations where you have to put your engineer/ACU to edge build a factory, which also has to be in the exact right spot. Sometimes there is even a tree group in the spot where you have to place the factory so it is not clear that it will work. If you mess up either placement then your units fail to edge build and go for a long walk.
Edge building is a mechanic in this game, so you have to consider if you want your cliff to be edge buildable when making maps. If you don't want people to edge build then make the terrain rough and block placement using reclaim. If you do want people to edge build then make it clear that you can, maybe put factory tarmac decals in the spots the way it is done on Owl Cliffs. Most importantly, test out all the places to make sure they work as intended.
-
@ludmilla I agree
I've been working on a way to fix this issue. As an example in Kaali:
There is a small spot where you can move the engineer, and a larger spot where you can then build the factory. Slowly but surely this will be added for Autumn and Mauve too.

-
You could argue that it's up to the player to test the maps they are going to play and to look for buildable cliffs. That's part of preparation and can make some small difference between good players.
So you could have some "easy maps" where you mark the buildable spots and some "hard" and more competitive maps where people have to figure it out themselves
-
I see your perspective. And I agree that there should be some advantage to having played a map before. But these cliff building situations can be tricky and if you make a mistake it may as well cost you the game.
Some of my older maps will receive updates to support a similar feature to that of Kaali and future maps will have them too. I will make it a map option to turn it off for those that wish to play without - but it will likely be on by default (including for ladder) unless people really want it off.
Hello! It looks like you're interested in this conversation, but you don't have an account yet.
Getting fed up of having to scroll through the same posts each visit? When you register for an account, you'll always come back to exactly where you were before, and choose to be notified of new replies (either via email, or push notification). You'll also be able to save bookmarks and upvote posts to show your appreciation to other community members.
With your input, this post could be even better 💗
Register Login