About decals: generating a map-wide normal texture
-
Requisites
Map editing tools, such as:
Generation tools, such as:
Image editing tools, such as:
Decal templates for this article:
Instead of using a generation tool you can also use a sculpting tool - as long as its able to generate a high-resolution normal map.
If you use World Machine then you require at least the Indie version of World Machine. With the free edition you cannot generate textures that have sufficient size for any reasonably result.
This guide is rather advanced and it should probably not be part of the workflow of your first map. Never the less - feel free to try it out.
A warning
Adding in full-fledged normal textures will significantly increase the total size of your map (in mb). A 10x10 map that would be 2-4mb can quickly turn into a blob of over 25 mb. Please be careful when updating the map in the vault as it occupies a lot of storage space on the server.
Map-wide normal maps
A long part of the process of making maps is placing decals. A large portion of these are decals that affect the normals of the surface to simulate a more rough terrain while that is not actually the case. For more information about this, see also:
Essentially we will do the same but instead of manually placing hundreds of decals on the map we'll generate one large decal that encapsulates the majority of the detail.
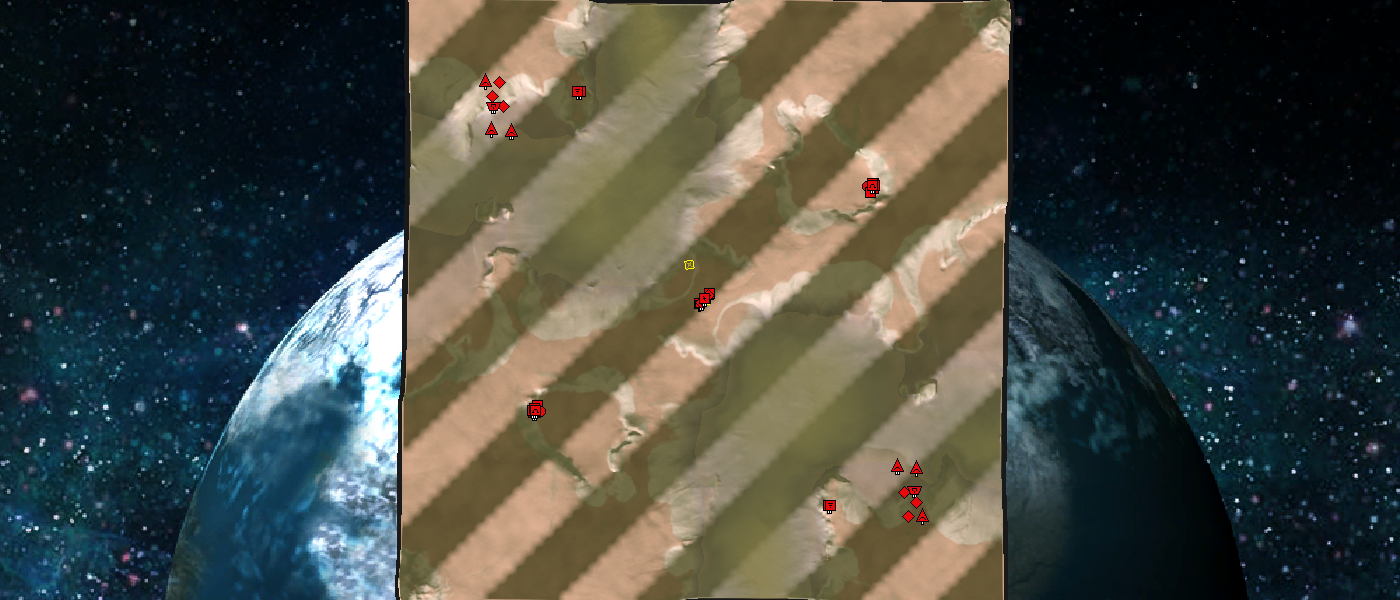
As an example we'll work with the map Long John Silver:
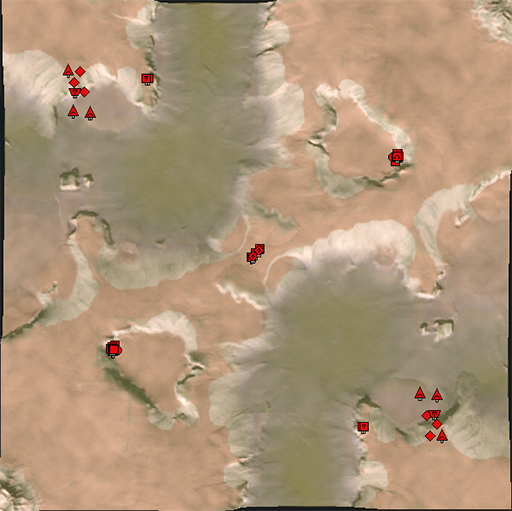

Which has the following heightmap:


With World Machine we'll generate the following normal map:
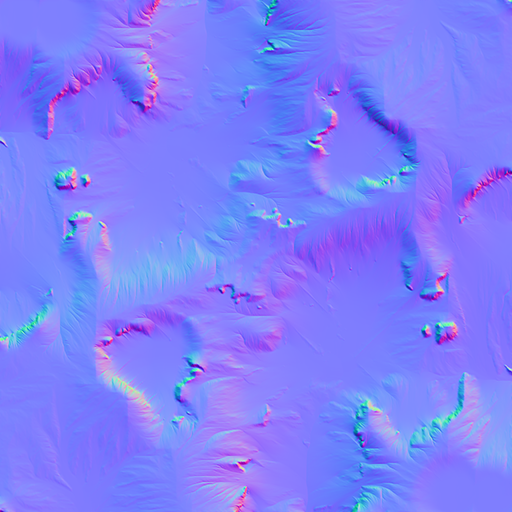

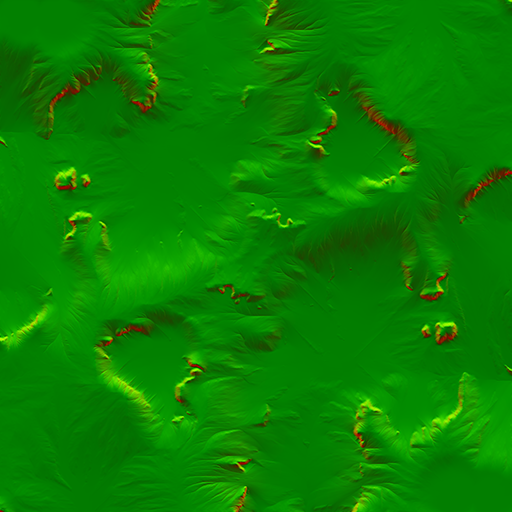
With our favorite image editing software we'll turn it into the decal format supported by Supreme Commander:

And with our template we'll place the decal exactly centered in the map ensuring that everything is properly aligned. This will result in images such as:
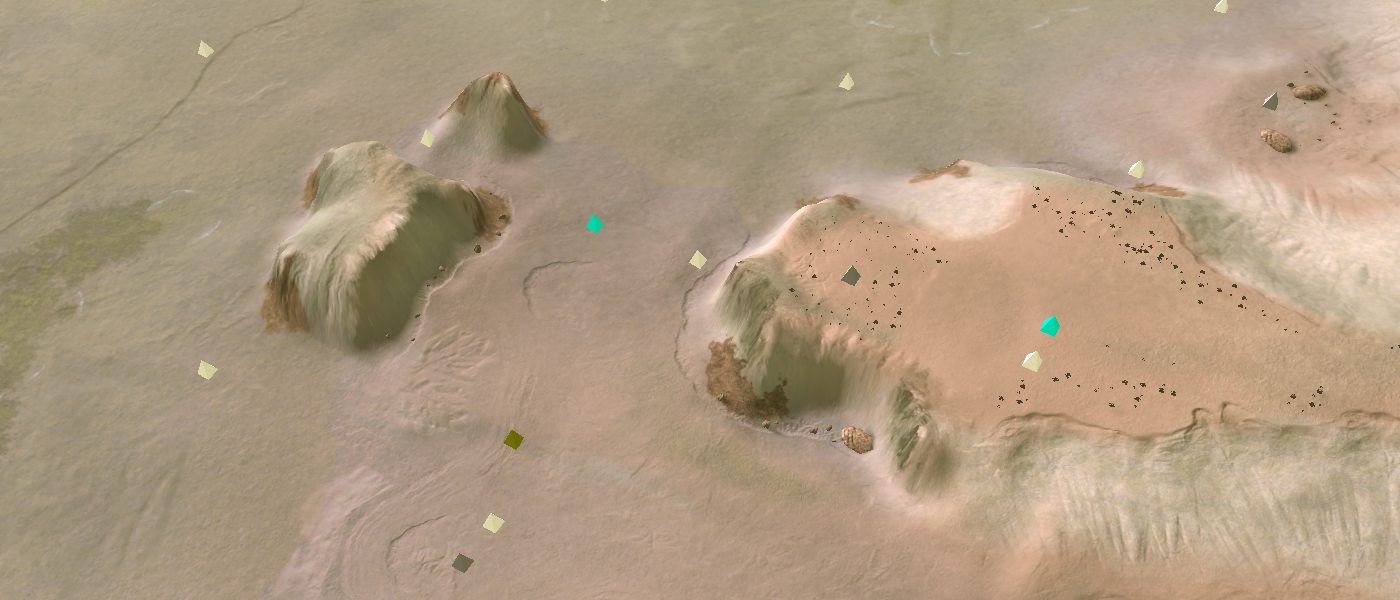

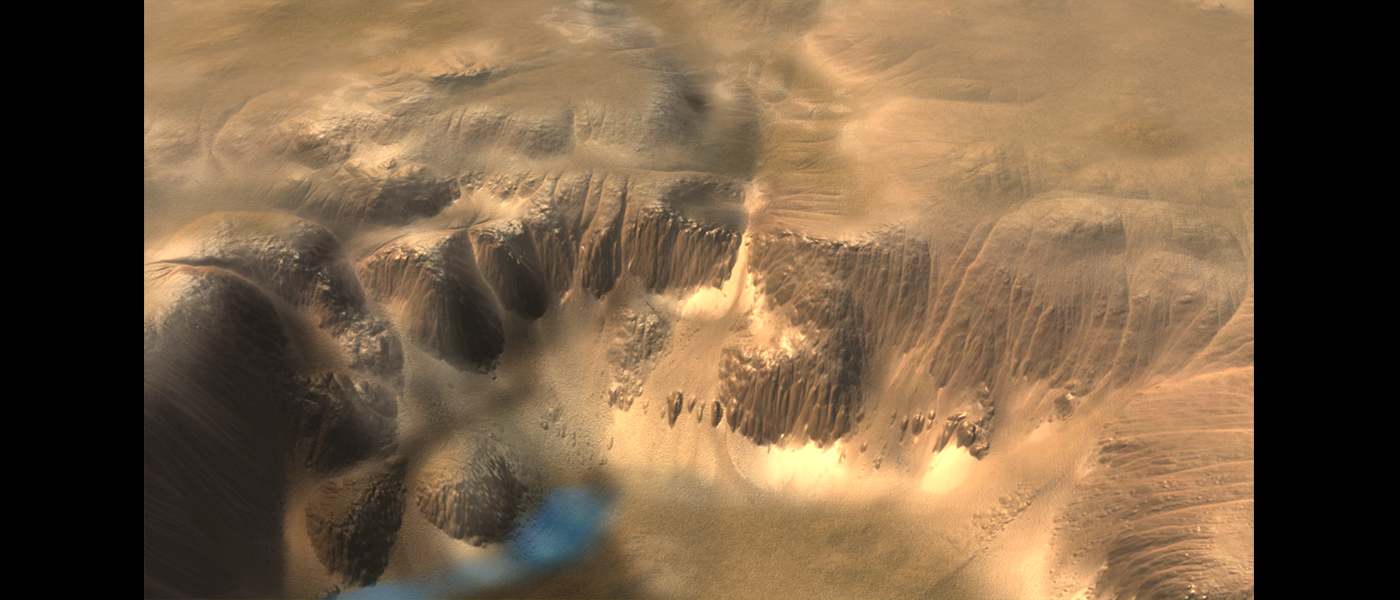
On Long John Silver - with the map-wide normal map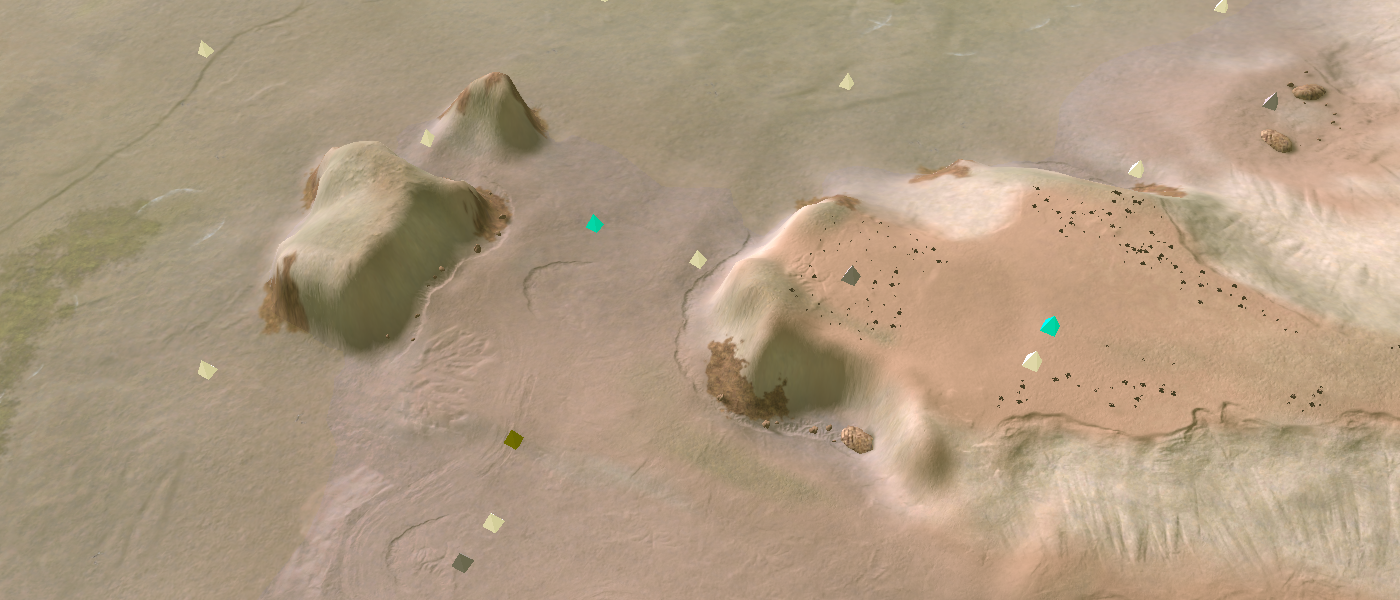

On Long john Silver - without the map-wide normal map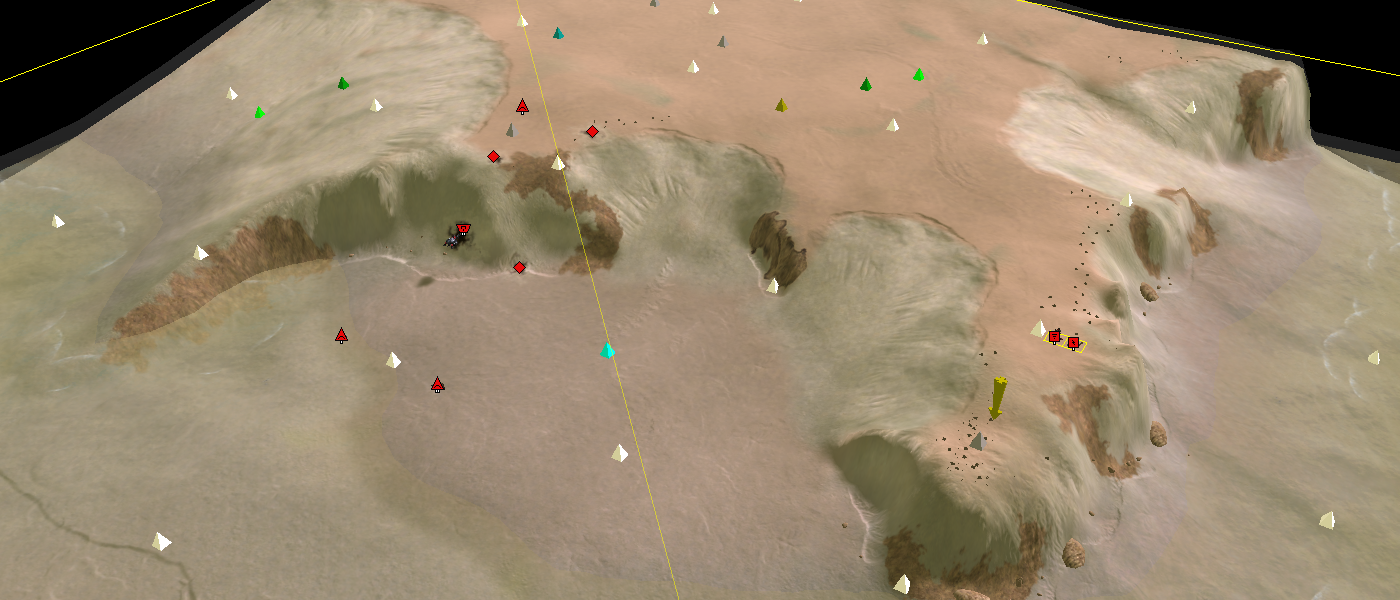

On Long John Silver - with the map-wide normal map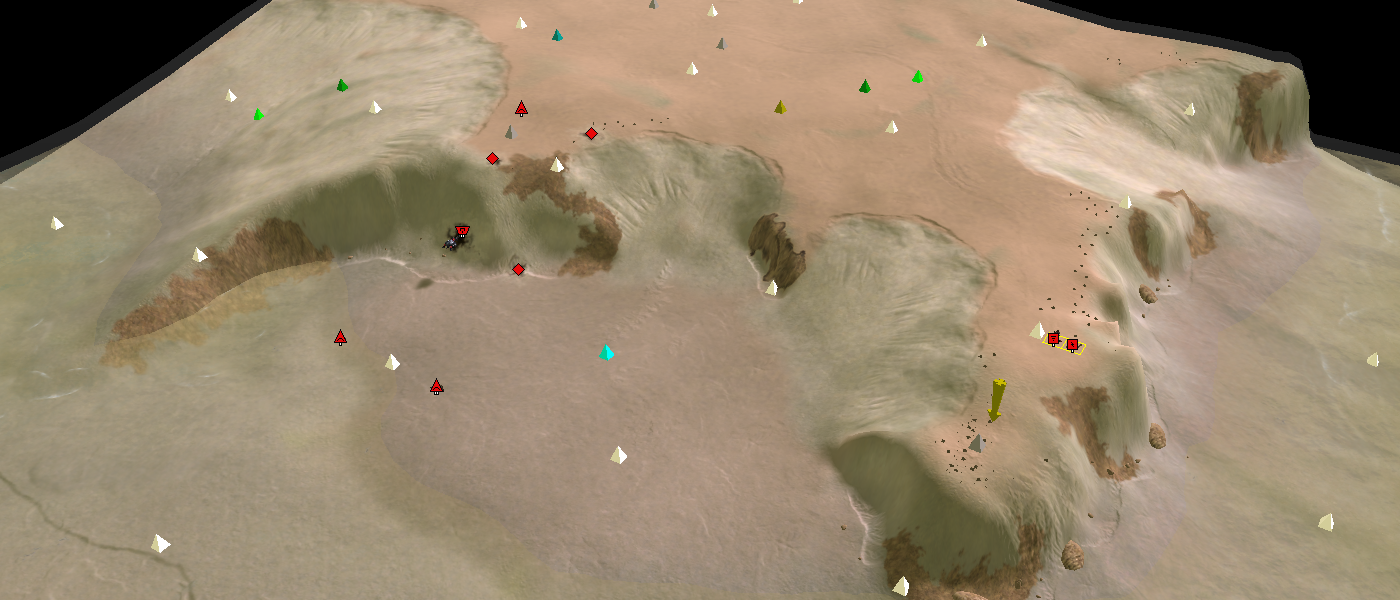

On Long john Silver - without the map-wide normal map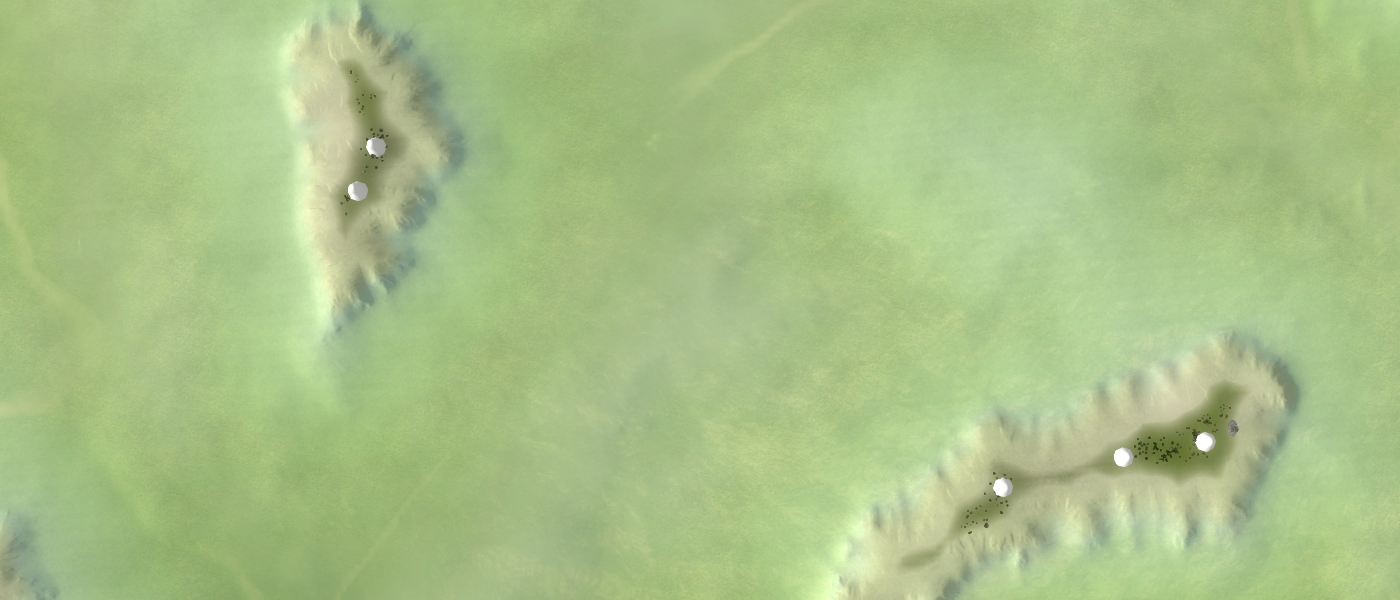

On Mellow Shallows - with the map-wide normal map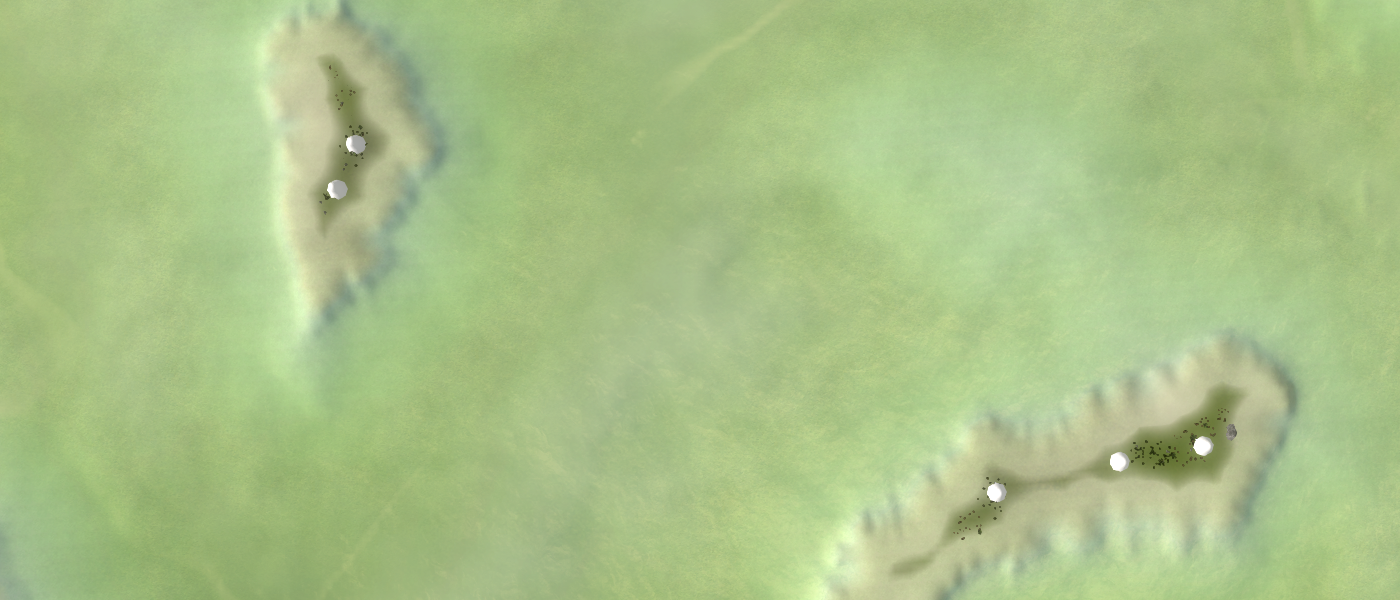

On Mellow Shallows - without the map-wide normal mapMaps that already use this technique:
- Salt and Pepper from @svenni_badbwoi
- Mars - Mangala Fossa from @svenni_badbwoi
Workflow in World Machine
We don't need World Machine to do a lot of complicated tasks. There are a few important tasks:
- Change the resolution of the output
- Import the previous heightmap with correct interpolation
- Add erosion and tweak it
- Turn it into a Normal map
- Turn that normal map into a bitmap
You can find a ready-to-use world machine file in the decal template repository that you can find at the top.
We'll start off with changing the resolution. Generally you want a resolution of
4096x4096. Navigate toWorld Commands -> Project World Parametersand change the resolution accordingly. If you just want to preview your erosion results make sure to set it to1024x1024or2048x2048such that it takes less long to render.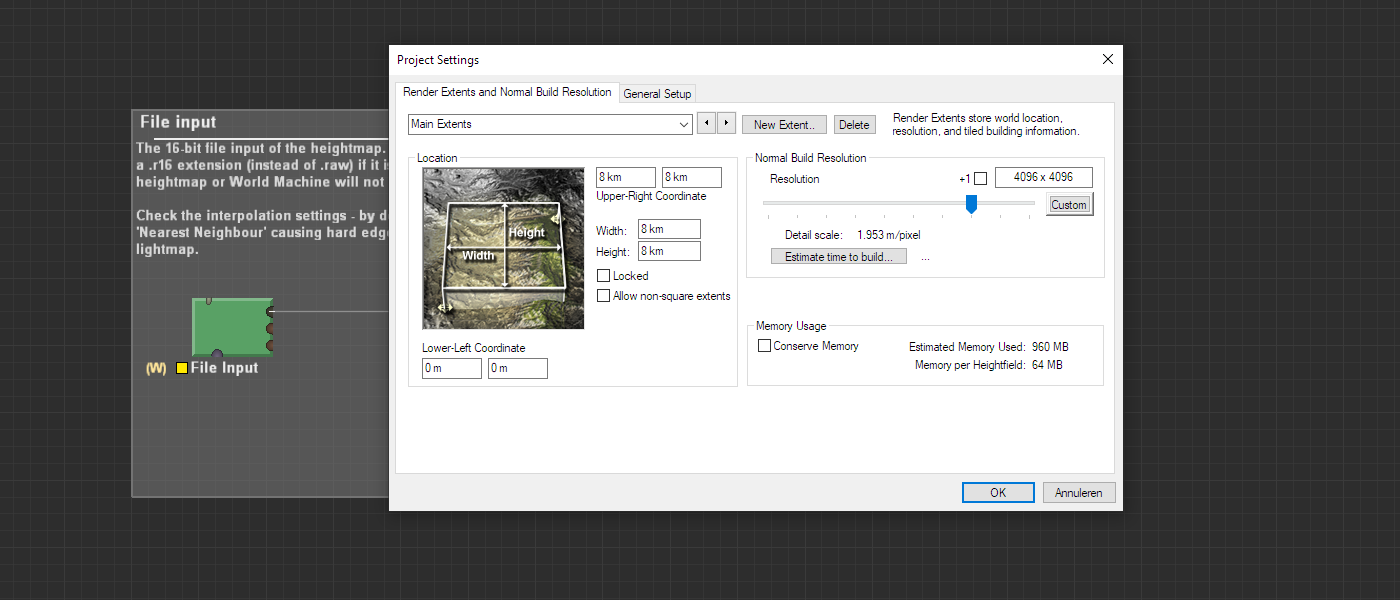

Adjusting the resolution in the project settings in World MachineNext off we need to select our heightmap. You can export your heightmap from the Ozone editor or from the GPG editor. Make sure to rename the raw file from
.rawto.r16as otherwise World Machine will not realise it is a raw file with 16 bits per pixel. Select your raw file and then select the correct interpolation mode. I personally like to use Fractal but any exceptNearest Neighboursis fine. TheNearest Neighbourswill make the heightmap quite blocky.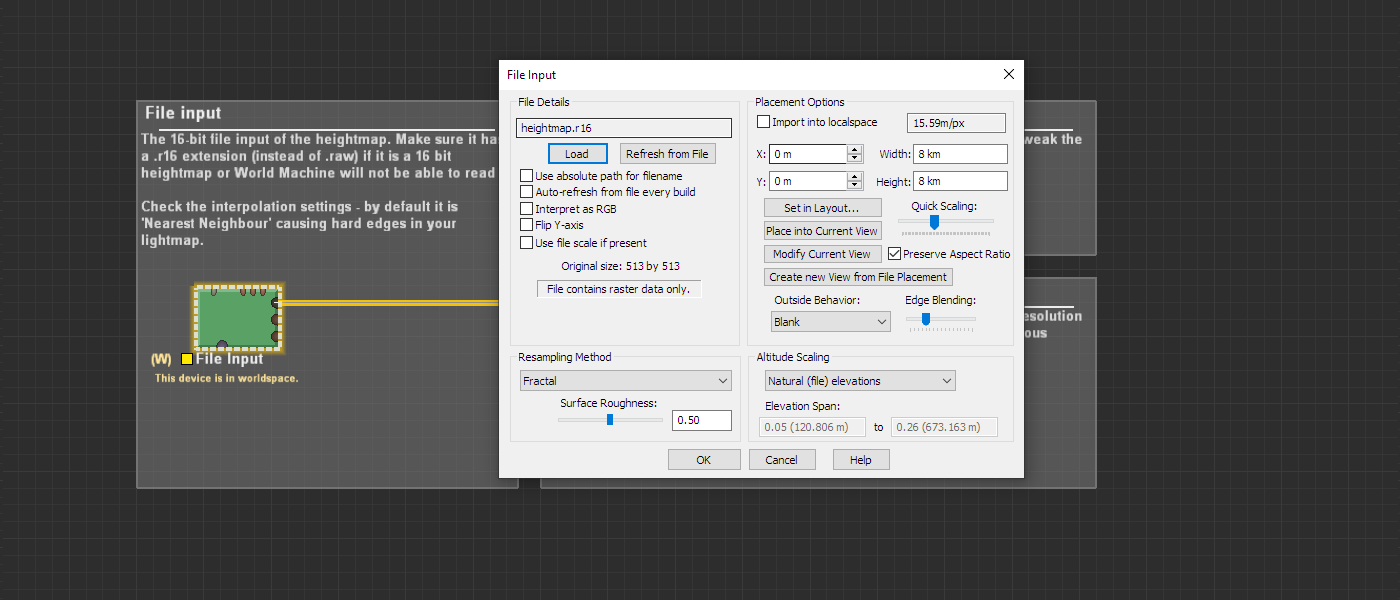

Selecting the correct heightmap inr.16format and choosing an interpolation modeThen we create the rest of the node network. For this simple setup we'll be completely relying on the
Erosionnode. It has various presets to choose from and properties to tweak - feel free to look around and see its effects. If you degenerate too far from the actual terrain (it erodes away) then you'll generally have a poor result - as the normal map does not reflect the heightmap anymore.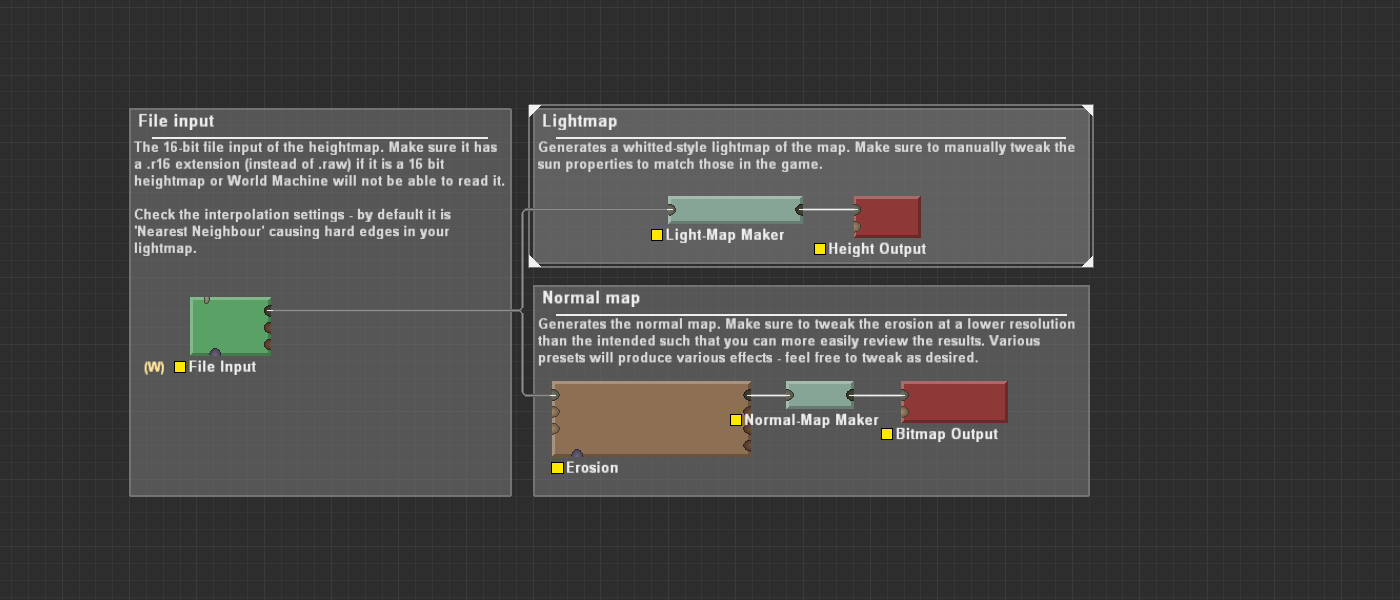

The entire project inside World MachineLast but not least is building the result. Make sure to save these as .png files as we do not need the full 16 bits for decals. The building process can take a while. Once that is done we're ready to jump into our image editing software.
Image Editing Software
The actions in question depend on your software suite. There is a separate guide on how to approach this for both Photoshop and Gimp. Please follow that guide to transform your
purple normal mapgenerated by your tool into agreen normal mapthat Supreme Commander uses for its decals that are related to normal manipulation.Make sure to save the resulting texture in a directory such as
/maps/example-map.v0001/env/decals/normal.ddswhereexample-map.v0001is replaced with the name of your map. It is critical that it is stored in theenv/decalshierarchy structure - otherwise the game and the Ozone editor will not recognize your textures as decals.Using the decal presets
Start up your map in the GPG editor. Make sure to copy it to the
/mapsdirectory of the original Supreme Commander installation directory - otherwise the GPG editor will not be able to load your map and probably crash.Once loaded up it is time to copy the correct template to your map. I assume that your map is square as all the presets are square too. If you use area's to hide certain bits of the map then that doesn't matter too much. Choose your template depending on the map size. As for this tutorial we'll work with the
10x10.luatemplate asLong John Silveris 10x10.For the template I've removed the lighting map as it is not relevant for this guide. Make sure to replace
example-map.v0001with your map name. In the case of the guide this isadaptive_long_john_silver. Then make sure that the path is correct - if you followed the guide precisely then you should be good.Decals = { -- ['9000'] = { type = 'Normals', name0 = '/maps/adaptive_long_john_silver/env/decals/normal.dds', name1 = '', scale = { 512, 512, 512 }, position = { 0, 0, 0 }, euler = { -0, 0, 0 }, far_cutoff = 10000, near_cutoff = 0, remove_tick = 0, }, -- }Import your adjusted
10x10.luaby going toFile -> Import -> Decalsin the GPG editor. You should see a decal that stretches across the entire map - if it is too big or too small than you've chosen the wrong template for your map. Save the map and then all should be good.Testing your map
Make sure to test your map by copying it back to the folder that is used by the vault. Generally this is
/%USERPROFILE%/My Games/Gas Powered Games/Supreme Commander Forged Alliance/mapswhere%USERPROFILE%is replaced with the user profile that has the game installed.Frequently Asked Questions (FAQ)
My map looks all weird after importing - what is going on?

The default texture that is loaded when it can't find a textureThis is typically the default texture that is loaded. To be exact, it is this texture:

The engine uses this when it can't find a texture. There could be various reasons:
- The path in your template file is off. Make sure that the local path actually references a file in your map folder structure. As an example, if your path is
/maps/adaptive_long_john_silver/env/decals/normal.ddsthen there should be a folder calledenvinside your map folder, followed by a folder calleddecalswith a texture namednormal.ddsin it. Make sure to watch for typos. - The GPG editor sometimes refuses to load in textures. I am not entirely confident as to why this is. From practice I know that you can save the map and open it up with the Ozone editor. If it shows correctly in the Ozone editor then it will show correctly in-game. Of course - it can't hurt to check that.
My map looks all weird for other people who downloaded it from the vault - what is going on?
The path to your texture files may not always be properly updated - in that case you need to manually update it. This is easiest done in the Ozone editor. We only use the GPG editor to load in a perfectly map-wide aligned decal - from that point on you are free to go back to the Ozone editor and change the texture as you desire.
When updating the texture in the Ozone editor nothing changes!
The Ozone editor caches textures to speed up the application. It is best to save the adjusted texture with a separate name - then reload the map folder by switching back and forth the map folder. You'll see the new texture and you can now safely replace it with the old one. At the end make sure you only have the texture you use in your map folder as these textures take up a lot of bandwidth.
Sources
About the decal format:
About you
If you have interesting sources, approaches, opinions or ideas that aren't listed yet but may be valuable to the article: feel free to leave a message down below or contact me on Discord. The idea is to create a bunch of resources to share our knowledge surrounding various fields of development in Supreme Commander.
If you've used this resource for one of your maps feel free to make a post below: I'd love to know about it!
Credits
With thanks to @svenni_badbwoi for having a chat with me about his approach
") .
. -
Frequently Asked Questions (FAQ)
Help - my map looks glossy - as if it is wet!
An example of terrain that appears glossy or wet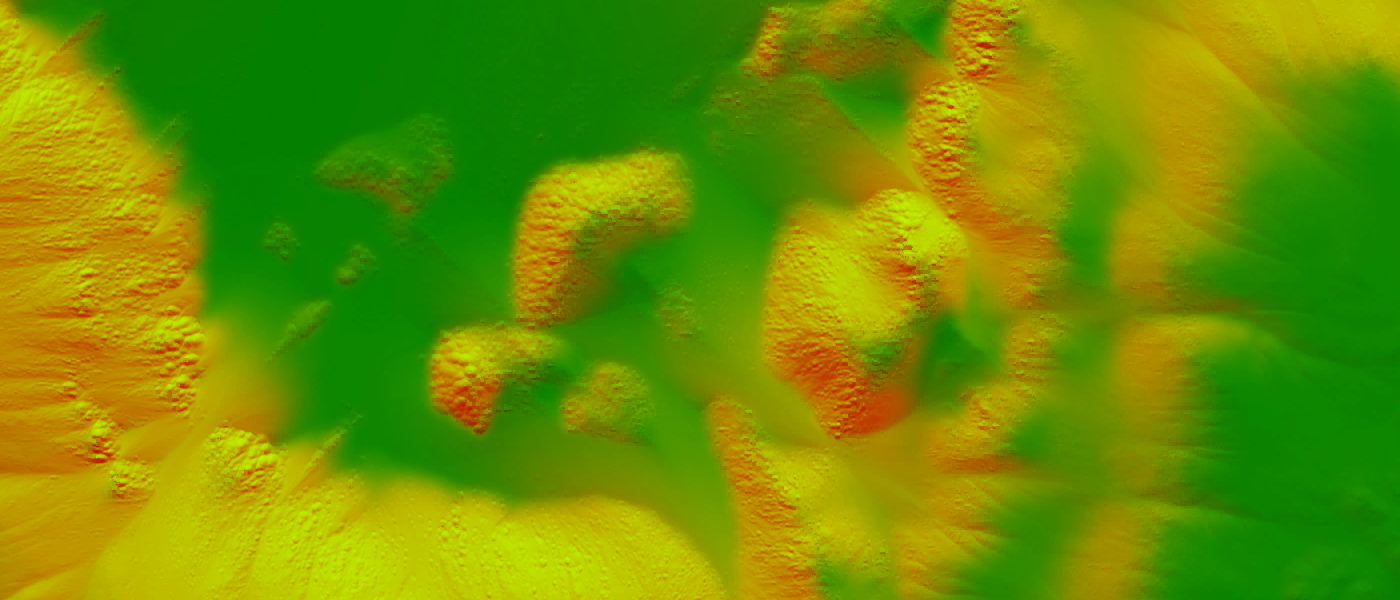
An example of a noisy normal map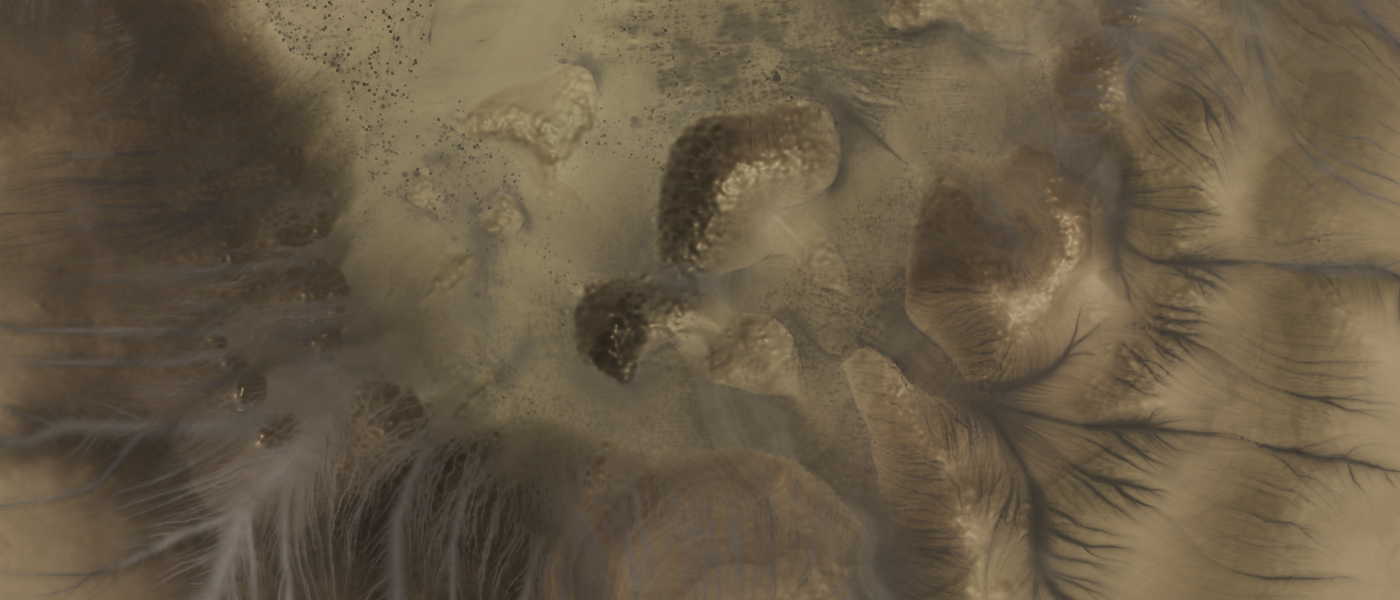
An example of a speccy albedo mapThis is a combination of factors:
- A bright albedo color from either strata layers or other decals.
- A noisy normal map.
- A speccy albedo map.
The noisy normal causes some pixels to be lit or darkened accordingly. If this happens quite rapidly (in other words: it starts resembling noise) then some pixels will be lit completely while you wouldn't expect it. Due to how Supreme Commander works with bright colors in combination with bloom it starts looking glossy and / or wet.
A solution can be to slightly blur the terrain before generating a normal map from it - this ensures that all pixel-level noise is removed prior to making the normal map!
-
 J Jip referenced this topic on
-
 M MadMax referenced this topic on
-
M MadMax referenced this topic on
-
M MadMax referenced this topic on
-
M MadMax referenced this topic on
Hello! It looks like you're interested in this conversation, but you don't have an account yet.
Getting fed up of having to scroll through the same posts each visit? When you register for an account, you'll always come back to exactly where you were before, and choose to be notified of new replies (either via email, or push notification). You'll also be able to save bookmarks and upvote posts to show your appreciation to other community members.
With your input, this post could be even better 💗
Register Login